
 Store Locator
| Autopot |
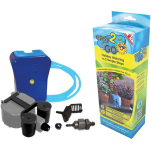
AutoPot AquaBox Spyder

Fast & Tracked Delivery
Discreet Packaging

Safe & Secure Checkout
Product Description
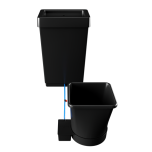
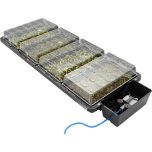
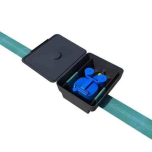
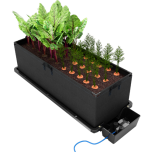
AutoPot AquaBox Spyder is a self-watering innovative system that requires no water supply, pumps or timers. Connected to an existing water barrel it can automatically water through a series of capillary wicks, a 1.2sq/m area. Using an AQUAValve at its centre, the AquaBox Spyder draws from the water supply ensuring a highly efficient use of water. Plant roots attach themselves to the capillary wicks below the soil level.
Key Features
- Effortless Irrigation
- Patented Water Control
- 360º Coverage
- Easy Installation
- Eco-Friendly
What It Is Used For
Autpot Aqua Spyder is ideal for raised beds and allotment plots, requiring no electricity, pumps, timers, or running water, and operates solely on gravity.
How To Use AutoPot AquaBox Spyder
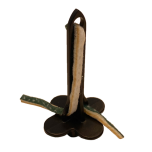
Half fill your raised bed with grow media. Create a mound in the centre that gently slopes down to the edges. Take the Spyder Body. From the outside of the Body push the 9mm grommet into the hole in the Body wall. Take the 2m length of 9mm pipe. Push approx. 15cm into the Spyder Body through the grommet. Wetting the pipe end with cold water helps harden it, aiding insertion. Attach the AQUAvalve to the end of the 9mm pipe that you pushed into the Body. To do so remove AQUAvalve collar. Push the 9mm pipe through collar and attach it to AQUAvalve nozzle. Rescrew the AQUAvalve collar - DON’T overturn...when you feel it grip STOP. Remove any slack in the 9mm pipe by drawing excess out of the Spyder Body. Align the ‘half-moon’ section on the rear of the AQUAvalve with the ‘T’ section in the Spyder Body. Firmly push the AQUAvalve onto the ‘T’. Cut your 6m roll of capillary mat into twelve 50cm lengths. Thread the 50cm lengths into the Spyder Body from the outside. Tuck the inside ends behind the retaining tabs. Firmly seat the AQUAbox Spyder Body in the centre of the mound you created previously. Push the circular spirit level into the lid of the Spyder. Close lid but DO NOT COVER. Adjust Spyder until bubble in the spirit level is centred. Cover the capillary strips, water the bed using a hose or can, and allow to drain. Plant the bed up and water through again using a hose or can. Connect 9mm pipe to the 16-9mm Click Fit Adapter. Connect the Adapter to your reservoir. Allow your plants to establish for 2-8 weeks before switching on.
Specification
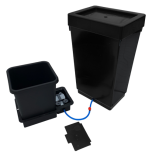
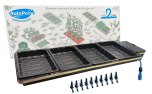
Kit includes:
- x1 AQUAbox Spyder Body
- x1 AQUAvalve
- x1 Circular Spirit Level
- x1 13mm-4mm In-line Filter
- x1 4mm Top Hat Grommet
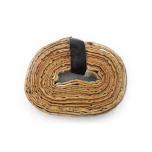
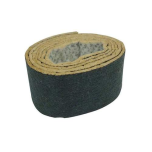
- 6m AQUAbox Spyder Capillary Matting
- 2m of 4mm Pipe
- Full Instructions