

 Store Locator
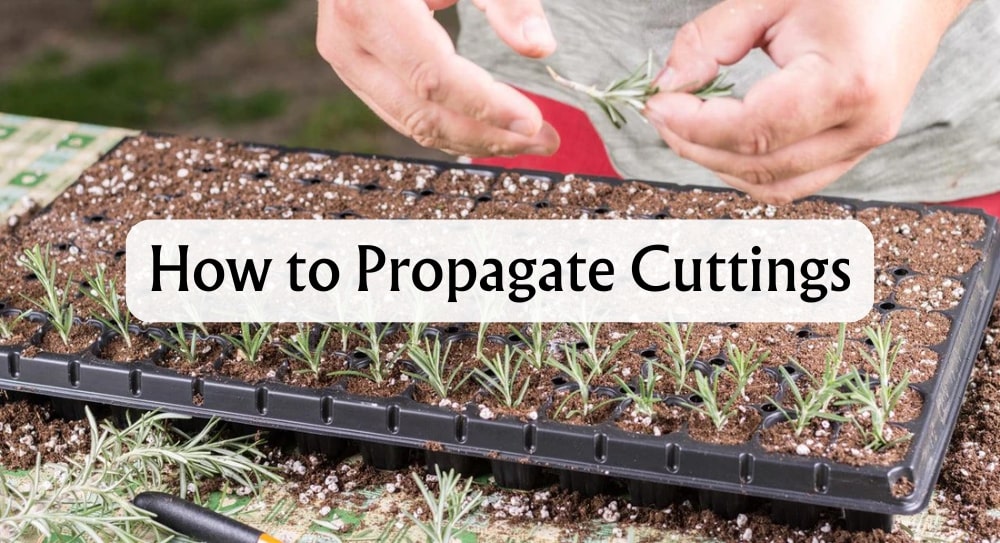
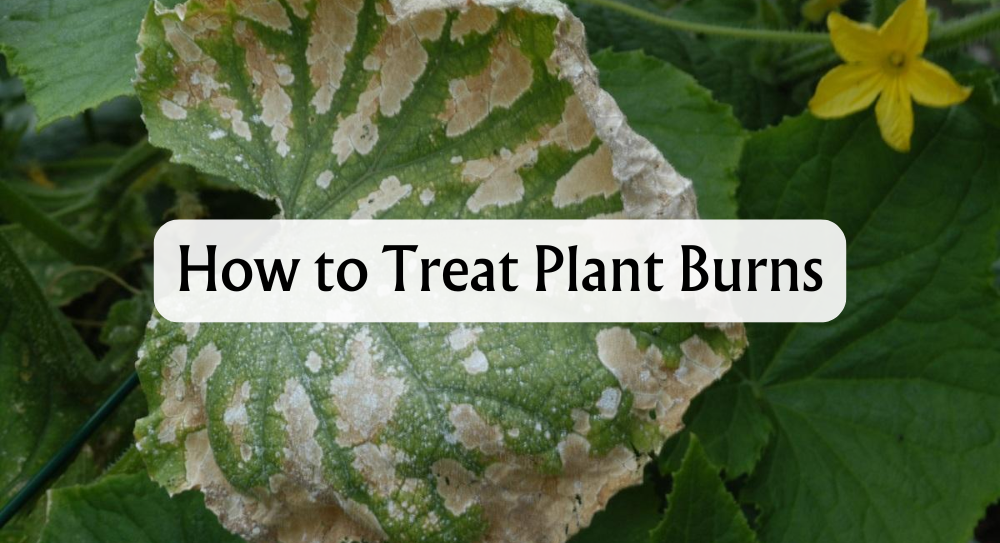
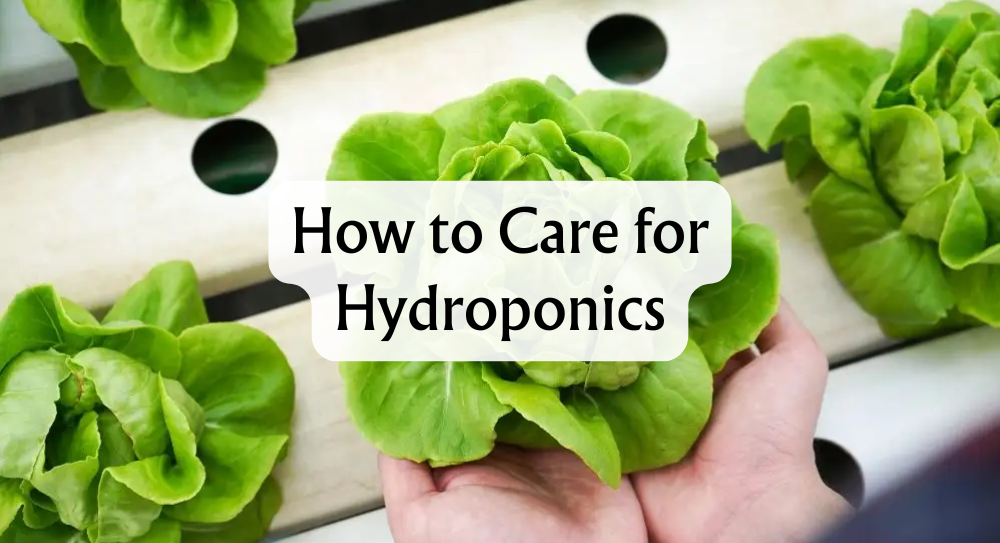
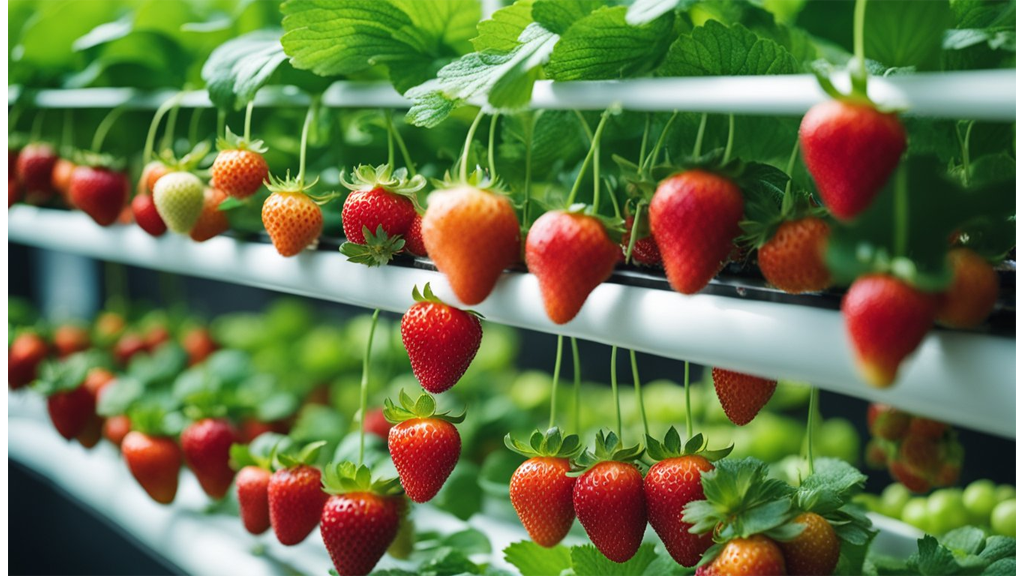
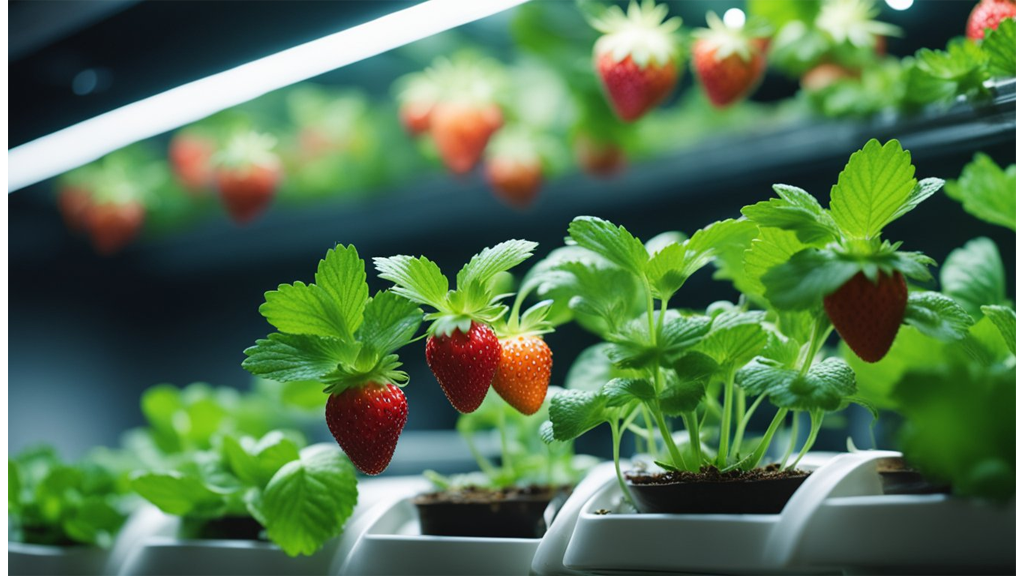
We can easily multiply our favourite plants by taking cuttings and growing new ones, saving money and ensuring our garden stays true to what we love. Plant propagation is simply making new plants from existing ones, and it's an essential skill for gardeners who want to expand their collections or keep specific traits found in parent plants. Whether we're working with deciduous shrubs, tender perennials, or even succulents, learning the basics of cuttings helps us maintain a thriving, healthy garden.
The process is straightforward: we snip a section of stem, trim the lower leaves, and encourage it to take root in water or compost. Early and late summer are ideal times for this, especially when the plants are actively growing. Some methods use rooting hormone or bottom heat to boost success, and with the right conditions, these cuttings soon become strong, independent plants.
Key Takeaways
- Propagation by cuttings is easy, cost-effective, and reliable.
- Basic tools, careful trimming, and proper care lead to healthy new plants.
- Success depends on choosing the right time and technique for each plant type.
Required Items To Propagate Cuttings
Successful propagation starts with having the right tools and materials on hand. Each item plays a specific role in supporting healthy cuttings and increasing the chance of strong root development.
Soilless Potting Mix
A soilless potting mix is our first essential. Unlike garden soil, these mixes are designed to provide excellent drainage and aeration, reducing the risk of waterlogging and soil-borne diseases.
We recommend using a blend of perlite and peat moss, or commercial seed-starting mixes. These are easy to find and ideal for rooting cuttings. Perlite helps keep the mixture light, and peat moss retains just enough moisture.
Other good options include vermiculite or a mix of perlite, sand, and peat. The key thing is to avoid standard garden soil since it may carry pests or diseases.
Using a clean, sterile growing medium ensures that our cuttings get the healthiest start possible. For added convenience, many shops offer ready-made cuttings composts labelled as ‘soilless’ or ‘seed starting’ mixes.
Small Pots Or Planting Tray
We need small pots or a planting tray to hold our cuttings securely. Selecting containers with drainage holes is critical because standing water leads to rot and fungal problems.
The size matters—choose pots that are not too deep or wide. A 7cm to 10cm (3in to 4in) diameter pot works well for most cuttings. Planting trays with inserts can be useful if we're propagating several cuttings at once.
Types of Containers:
- Biodegradable pots (eco-friendly, easy to transplant)
- Plastic pots or trays (reusable, available in multiple sizes)
- Trays with inserts (neat spacing, easy labelling)
For those of us who like to reuse supplies, plastic pots and trays can be cleaned and sterilised after each use.
Pruners, Scissors, Sharp Knife
Sharp, clean cutting tools are vital. Using the right tool prevents crushing stems and reduces infection risk.
We prefer a sharp knife for making clean cuts below a node, as it glides smoothly through soft tissue. Secateurs or scissors also work, especially for woody stems. The key is to keep blades sharp.
Sterilisation matters: Before use, wipe blades with rubbing alcohol or a diluted bleach solution (one part bleach to nine parts water). This protects both the parent plant and the cutting from disease.
Keep a dedicated knife or pair of pruners just for propagation to prevent cross-contamination.
Small Trowel
A small trowel is helpful for filling pots and trays with the soilless mix. It makes scooping, levelling and moving growing medium easy and mess-free.
When inserting cuttings, a trowel helps us gently create space in the mix without harming delicate roots. This is especially useful when moving rooted cuttings into their own pots.
A lightweight, narrow trowel works best for small containers. Stainless steel options last longer and are easy to clean.
For added efficiency, keep the trowel dry and clean during use to avoid compacting the potting mix.
Sharp Stick, Pencil, Chopstick
A sharp stick, pencil, or chopstick is our go-to for making planting holes. These allow us to poke a hole deep enough to insert the cutting without bending or damaging the stem.
The goal is to create a space in the soilless mix so we can place the cutting in without squashing the delicate tissue against the side. Press lightly and pull the tool straight up.
Practical tip: Use a tool that's slightly wider than the cutting’s base. For smaller cuttings, a pencil works wonderfully; for thicker stems, a chopstick or dibber is better.
Avoid pressing the soil too tightly around the cutting, as compacted mix hinders root growth. Instead, gently firm the mix to hold the stem steady but allow for airflow.
Take Cuttings
When we’re ready to take cuttings, choosing the right plant is our first priority. We always select healthy, disease-free parent plants for the best results. Timing matters too, especially for softwood and hardwood cuttings.
Softwood cuttings are best taken in late spring to early summer, using the freshest growth. We usually snip sections about 5-10cm (2-4in) long from new stems. After trimming just below a node, we remove the lower leaves and sometimes pinch out the soft tip to encourage strong rooting.
For hardwood cuttings, we switch to late autumn or winter when plants are dormant. Here, we take thicker, woody stems about 15-30cm (6-12in) long. It helps to make a straight cut at the base and a slanted cut at the top—this way, we always know which end goes into the soil.
Here’s a quick look at cutting types:
| Cutting Type | Best Season | Length | Example Plants |
|---|---|---|---|
| Softwood | Late spring-early summer | 5-10cm | Fuchsia, Hydrangea |
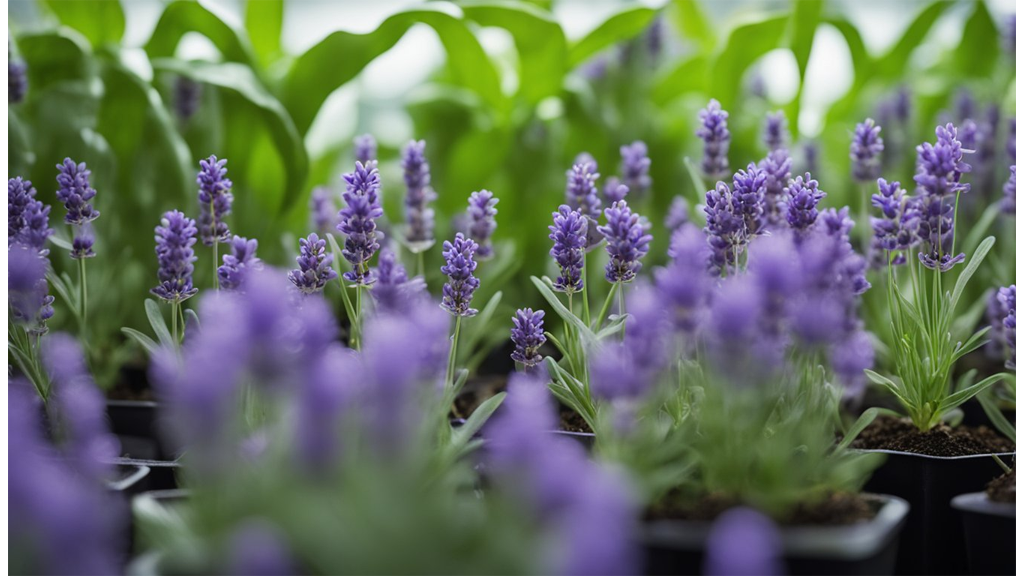
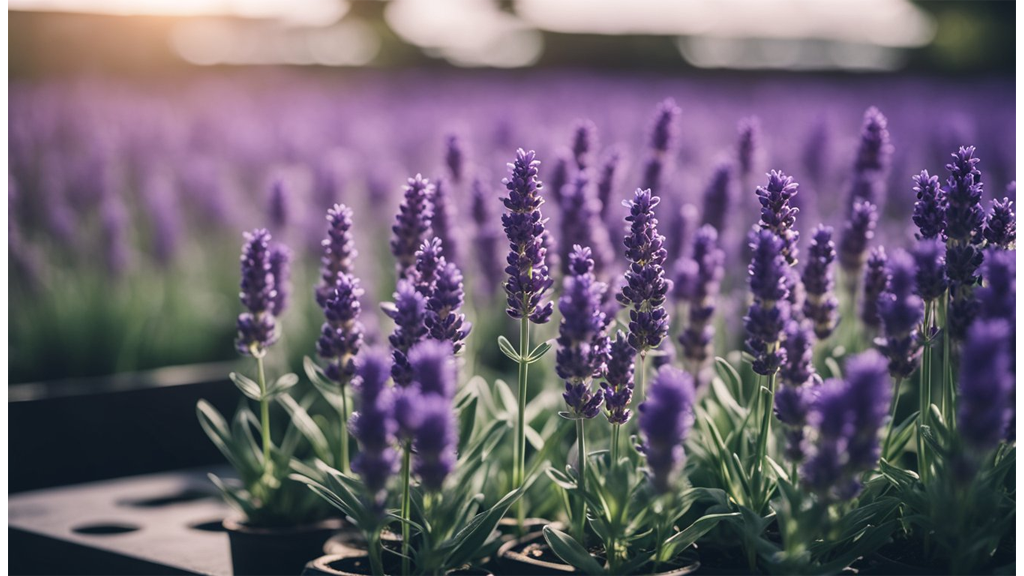
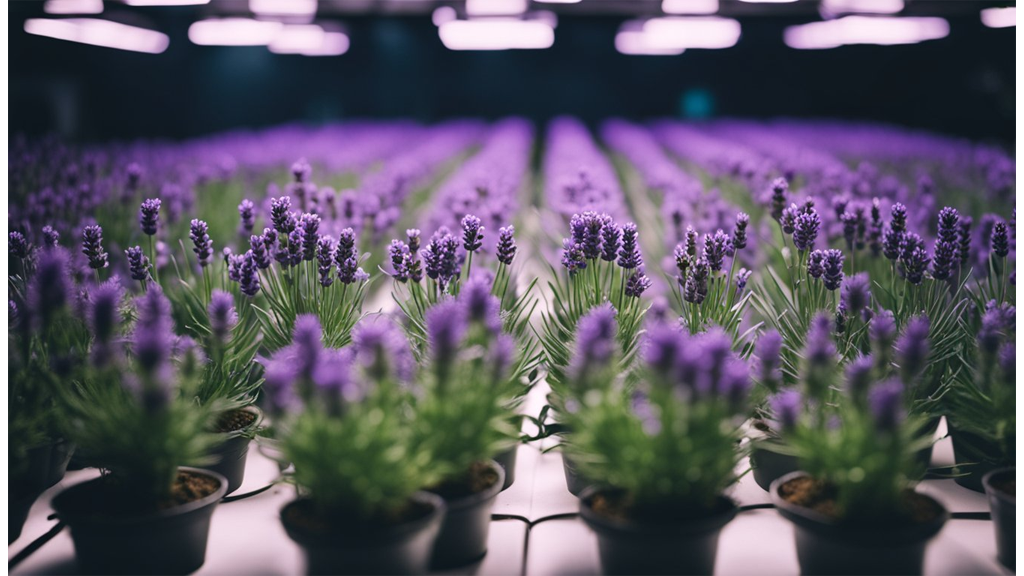
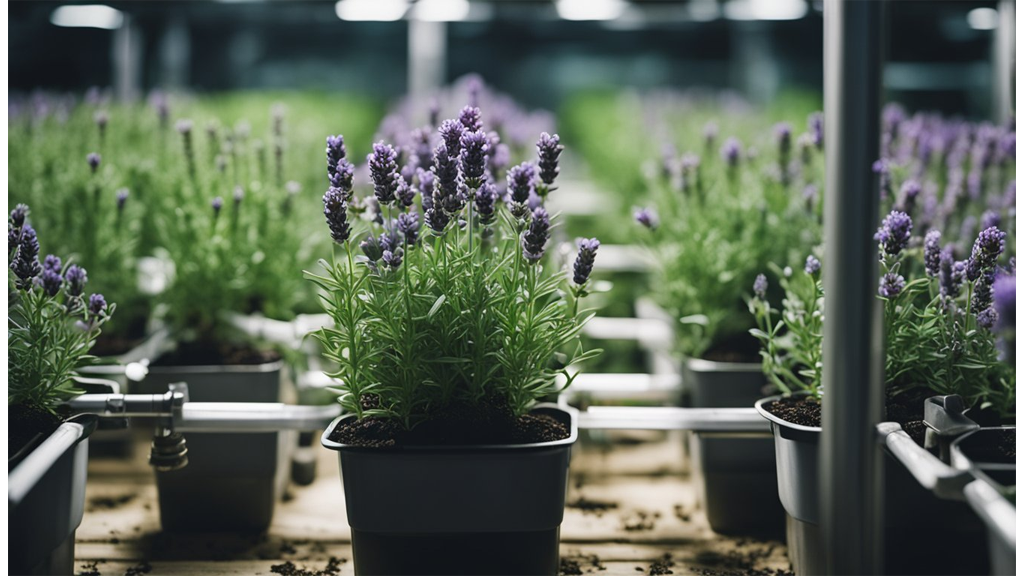
| Semi-hardwood/ripe | Midsummer-late summer | 7-15cm | Lavender, Camellia |
| Hardwood | Autumn-winter | 15-30cm | Rose, Currant |
| Root | Late winter-early spring | Variable | Phlox, Oriental poppy |
Stem cuttings aren’t the only option. We can also use semi-hardwood or greenwood cuttings during summer, and try root cuttings for certain species. It’s important to include a node on stem cuttings, since roots usually grow from there.
By preparing cuttings carefully and working at the right time of year, we set ourselves up for successful propagation.
Trim Leaves
When we propagate cuttings, trimming the leaves is an important step. By reducing the number of leaves, we help lower moisture loss, which gives our cuttings a better chance of taking root.
We always start by carefully removing the lower leaves. This keeps only a few leaves at the top. As a rule of thumb, leaving 1-2 leaves is usually enough for most houseplants.
Why trim leaves?
- Reduces water loss: Fewer leaves mean less evaporation.
- Boosts rooting: Energy goes to root development instead of leaf support.
- Prevents rot: No leaves touching the soil or water reduces the risk.
If we're working with leaf cuttings, the leaf itself is the main piece we use. For example, African violet cuttings use just the leaf and a bit of the stalk.
Here's a simple process we can follow:
- Use clean scissors or a knife.
- Cut below a node—about 1/4 inch works well.
- Remove leaves from the lower half.
- Leave 1–3 leaves at the top.
A quick visual guide:
| Step | Purpose |
|---|---|
| Remove lower leaves | Reduce moisture loss |
| Keep top leaves | Maintain some photosynthesis |
| Avoid wet leaves below | Decrease risk of rot |
This approach creates the ideal balance of moisture and energy, setting our cuttings up for healthy root growth.
Applying Root Hormone
Using rooting hormone can really give our plant cuttings a boost. It encourages roots to form more quickly and helps our cuttings establish themselves securely in soil.
Let’s look at some key benefits of rooting hormone:
- Stimulates faster root growth.
- Increases success rates when propagating difficult plants.
- Reduces the risk of cuttings rotting before they root.
When we're ready to use it, the process is simple. We begin by taking a fresh cutting and trimming just below a leaf node. This is the point where roots are most likely to develop.
Next, it’s important to make sure the wound at the end of the stem is clean. We can lightly moisten the bottom of the cutting, which helps the powder or gel adhere.
Here are the basic steps:
- Moisten the cut end of the stem.
- Gently dip the moist end into rooting powder or gel—just enough to lightly coat it.
- Shake off any excess hormone to avoid clumping.
- Plant the treated cutting directly into our chosen propagation medium.
| Rooting Hormone Type | Best For | Application |
|---|---|---|
| Powder | Most cuttings | Dip and tap off |
| Gel | Delicate stems | Dip directly |
Keep in mind, powdered rooting hormone is designed for soil use, not for water propagation. We should plant the cutting in soil soon after treatment and water as usual.
Applying rooting hormone is a small step that can make a big difference in our propagation efforts.
Plant The Cuttings
When we're ready to plant our cuttings, we have two popular options: rooting in soil or rooting in water. Each method works best for different plants and situations.
In Soil
First, we fill a small container with a soilless mix or seed-starting compost. Using a pencil or stick, we make a hole deep enough for the cutting but not so large that it wobbles.
We insert the cutting so at least one node is buried, then gently firm the soil around its base. This helps the cutting stand upright and keeps air out around the stem.
Key tips:
- Use a container with drainage holes.
- Water the soil until it's moist but not soggy.
- Place the container in a warm, bright spot with indirect light.
In Water
Some plants such as pothos, philodendron, mint, and basil root well in water.
We place our cuttings in a glass so that the nodes are fully submerged.
It's important to change the water every few days to keep it fresh and limit bacteria.
| Plant Type | Medium | Notes |
|---|---|---|
| Soft-Stemmed | Water | Nodes must be underwater |
| Woody/Herbaceous | Soil | Firm compost around the base for stability |
| Succulents | Dry soil | Let leaf callous before placing on the compost |
Succulent Leaves
For succulents, we let the cut ends callous for two to three days. We then place the leaves directly on top of dry succulent soil without watering.
Once roots form, we can start watering sparingly.
Avoid covering succulent leaves, as airflow helps them root successfully.
Tend The Cuttings
Once we’ve taken our cuttings, it’s time to give them the best environment to encourage rooting. Keeping consistent moisture is key. We want the compost or water around the cuttings to be damp, but never soaked.
To maintain high humidity, we can cover the cuttings with a clear plastic bag or a plastic dome. This helps reduce water loss and keeps the air moist. Make sure the cover isn’t touching the leaves if possible.
We should place our cuttings in bright, indirect light. Direct sunlight can be too intense and may dry them out, while shade may slow down growth. A spot on a windowsill with filtered light works well.
Heat matters too. Most cuttings do best at a temperature around 18–24°C. Too much heat can cause wilting, whereas cooler spots may slow down root development.
It’s important to check the soil regularly. If the surface looks dry, mist with water to raise the moisture level. Overwatering can cause rot, so we need to aim for just moist, not soggy.
Let’s keep an eye out for signs of new growth. Tiny leaves or shoots usually mean roots are beginning to form. Another trick is to gently tug on a cutting after a couple of weeks; resistance generally suggests healthy root growth.
Checklist for Tending Cuttings:
| Task | Frequency |
|---|---|
| Mist or water soil | Every 2–3 days |
| Check humidity | Daily |
| Inspect for growth | Weekly |
| Monitor temperature | Daily |
By giving our cuttings these conditions, we encourage strong, healthy root systems and steady new growth.
Transfer The Cuttings
Once our cuttings have developed roots reaching 1–2 inches, it's time to transplant them into soil. This step is key for successfully propagating plants and giving them the best start.
Here's how we can transfer the cuttings:
- Gently lift each rooted cutting from water or starter mix.
- Prepare a small pot with a well-draining, appropriate soil mix.
- Make a hole in the soil using a pencil or your finger and carefully place the cutting in, keeping the roots straight.
- Firm the soil gently around the base to avoid damaging delicate roots.
- Water lightly to help the soil settle without over-saturating.
A quick reference:
| Root length | Pot size | Soil type | Watering |
|---|---|---|---|
| 1–2 inches | 7–10 cm | Peat-free mix | Light, even |
After planting, the cuttings need time to acclimatise to their new environment. At first, we keep them indoors or in a sheltered spot with indirect light.
To harden off our young plants:
- Gradually increase exposure to outdoor conditions
- Do this over 7–10 days
- Start with a couple of hours outside, then extend the time each day
By following this process, we help our transplants adapt successfully and reduce transplant shock. Healthy, well-acclimatised cuttings are much more likely to grow into strong, mature plants.
Conclusion
Let's quickly recap the key steps for propagating cuttings:
- Select healthy parent plants.
- Cut a stem section (usually 10–15cm).
- Remove lower leaves and, if desired, dip in rooting hormone.
- Place the cutting in potting mix, sand, or perlite.
- Keep moist and provide bright, indirect light.
Using a soil-less potting mix, such as sand or perlite, often helps roots develop better than when we use water alone. Keeping the soil moist but not wet is also important for success.
It's exciting that many of us can start new plants from our existing favourites. With just a few simple steps, we can grow more of the greenery we love and share them with friends.
If you're new to propagation, why not try with an easy plant like pothos or coleus? Small successes add up and make gardening even more rewarding.