


 Store Locator
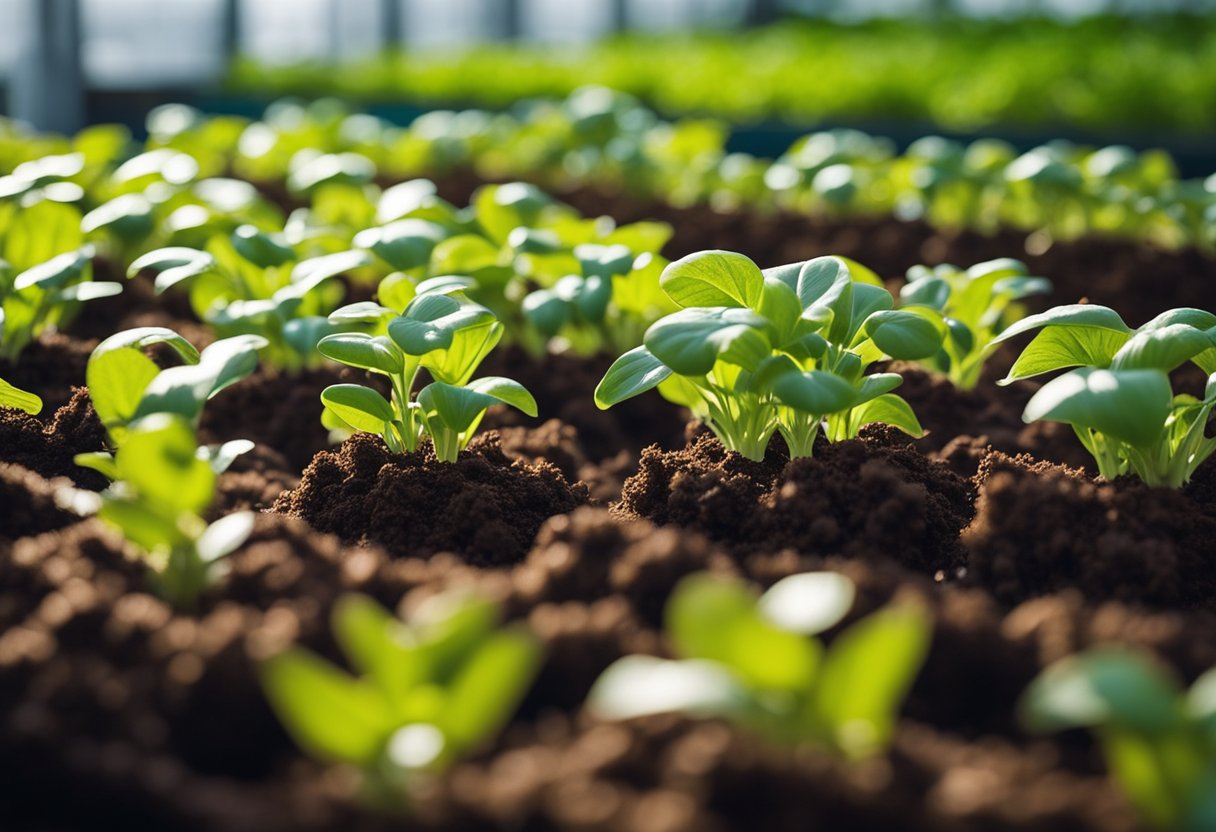
Transplant Hydroponic Plants to Soil
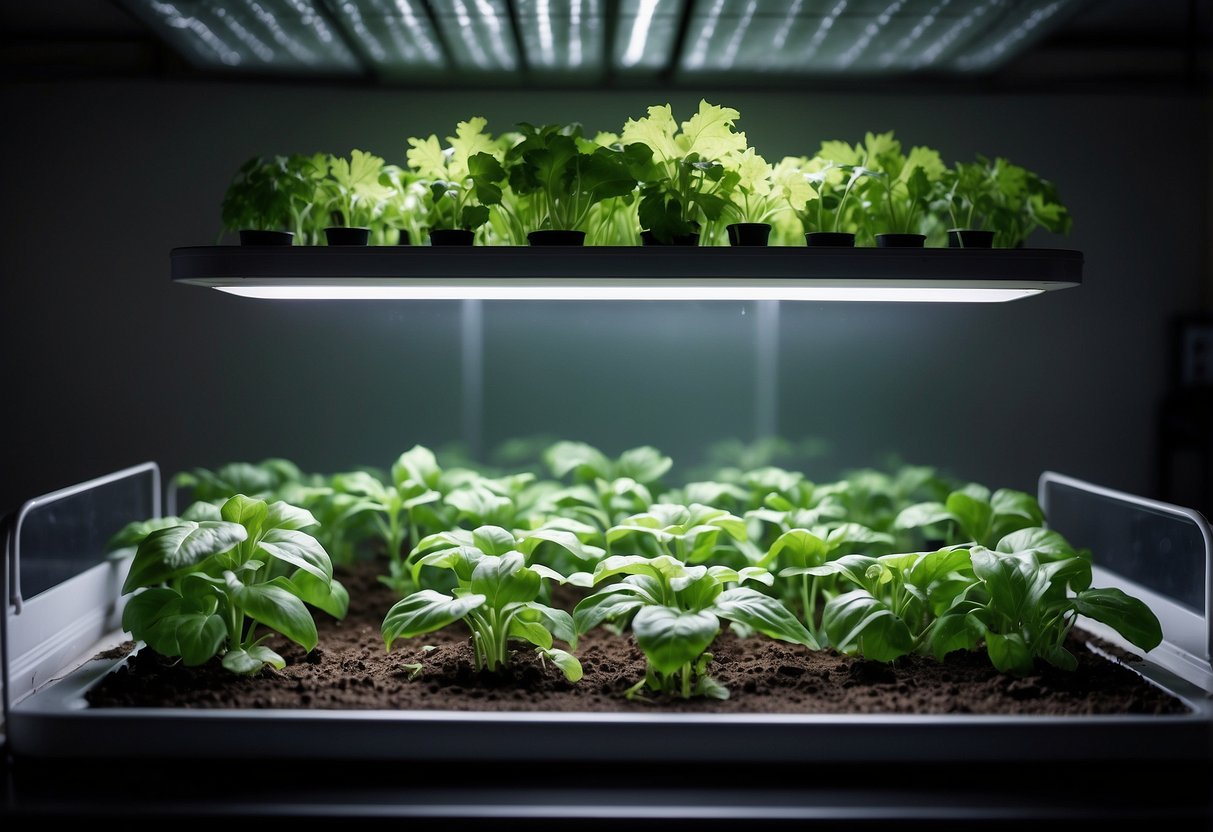
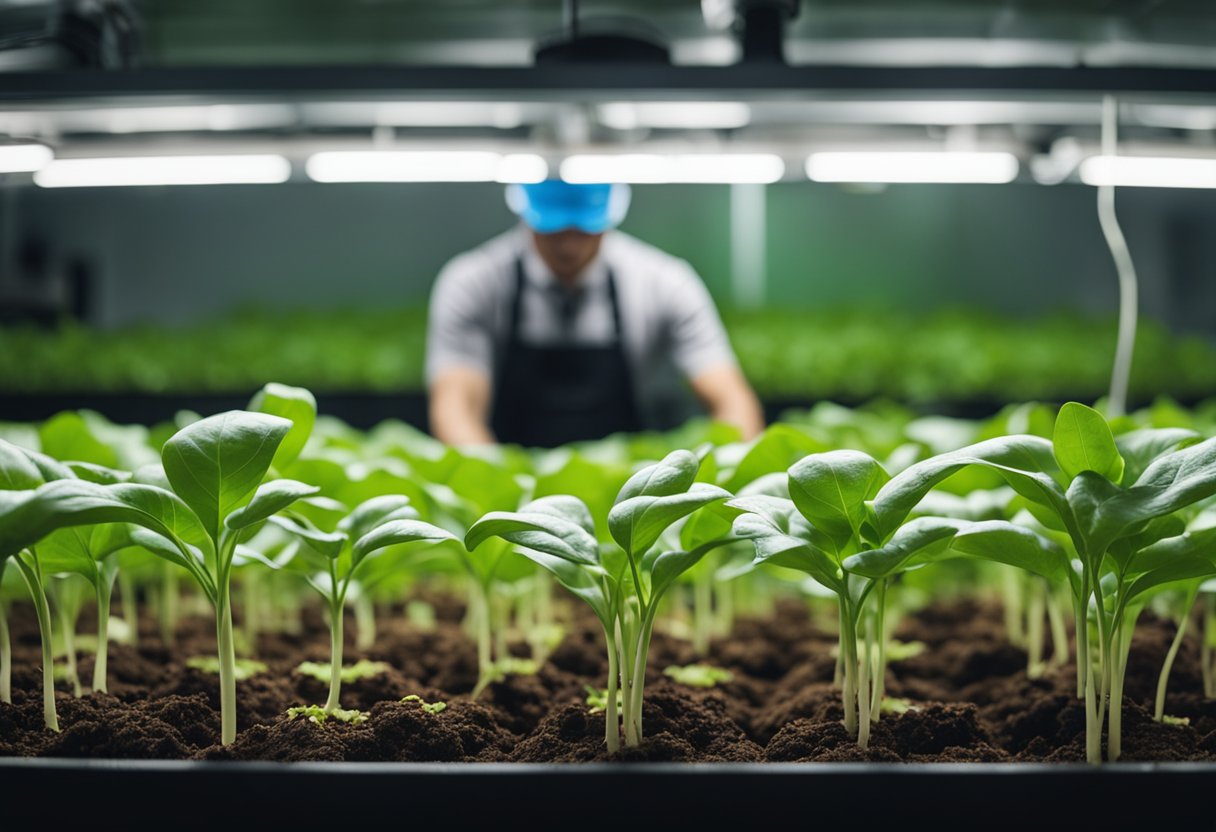
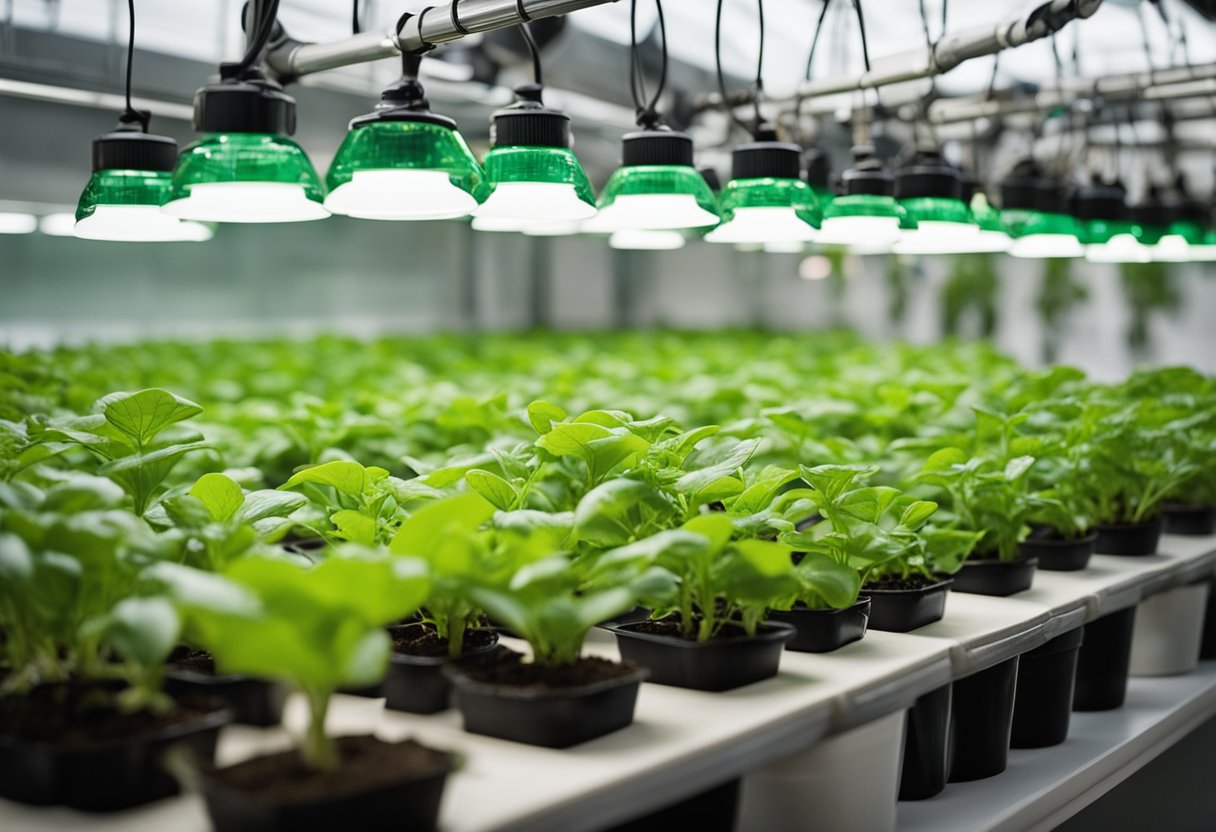
Ever looked upon your hydroponic garden and considered if these plants could ever transition to a traditional garden bed? We're exploring just that: can these plants, raised in a water-based, nutrient-rich environment, thrive in the great outdoors of your garden soil? Hydroponics is a method where plants are grown without soil, relying instead on nutrient-filled water. This groundbreaking technique allows for efficient water usage and nutrient delivery, all while occupying minimal space.
The intrigue about transferring hydroponic plants to soil is not unfounded; it's a common consideration for gardeners looking to integrate the rapid growth of hydroponic systems with the long-term sustainability of soil gardening. The process, however, is not without its challenges. Adapting to the variances of soil climate requires careful planning and execution. We'll guide you through the essentials: the reasons to transplant a hydroponic plant, the preparations necessary, a step-by-step process for plant health, potential pitfalls, and handy tips to boost the odds of success.
Keep reading as we delve into the 'how-tos' and 'whys', ensuring that by the end, you'll be armed with all the necessary knowledge to make an informed decision.
Key Takeaways
- Hydroponic plants can be transplanted to soil, though specific steps must be followed to ensure success.
- Preparation is key, involving soil choice and careful handling of the plant's delicate hydroponic roots.
- Awareness of potential challenges and implementing best practices can greatly improve the chances of a thriving transition.
Can Hydroponic Plants Be Transplanted into Soil?
It is certainly possible to transplant hydroponic plants to soil, but it's a bit like moving house—exciting, yet a tad challenging. Why? Because our hydroponic friends are accustomed to a certain lifestyle (think spa-like nutrient baths) that doesn't quite match the soil's rough and tumble.
You see, hydroponic roots are the indoor types, living their entire lives in water, and suddenly putting them into soil is quite the culture shock. They need a gradual intro, a bit like dipping your toes in the water before diving in. So, how do we do that? Acclimatisation is key. Think about it: our green buddies have been sipping nutrients directly from the water, so they've never had to hunt for their food before. The soil is a different game; they need to stretch their roots and forage for nutrients.
Here's a small list of plants and how they react to the change:
- Lettuce and spinach throw a little party when they get to move to soil, they transition quite well.
- Those summery favourites, tomatoes and peppers, are also pretty cool with the change.
- But, and it's a big but, delicate lovelies like orchids, cacti, and succulents might throw a fit; they're not fans of drastic changes.
We don't need an exhaustive list to know that our job is to help make the transition as smooth as silk. How? Gently introducing them to their new home by reducing water dependency and ensuring they've got the right soil mix. It's a bit like matchmaking – finding them the perfect soil partner.
In a nutshell, it's a ''yes'' from us for transplanting hydroponic plants to soil, but it's not a simple plop-and-drop. It's more of an art, ensuring the new environment around the roots provides a comfy soil home.
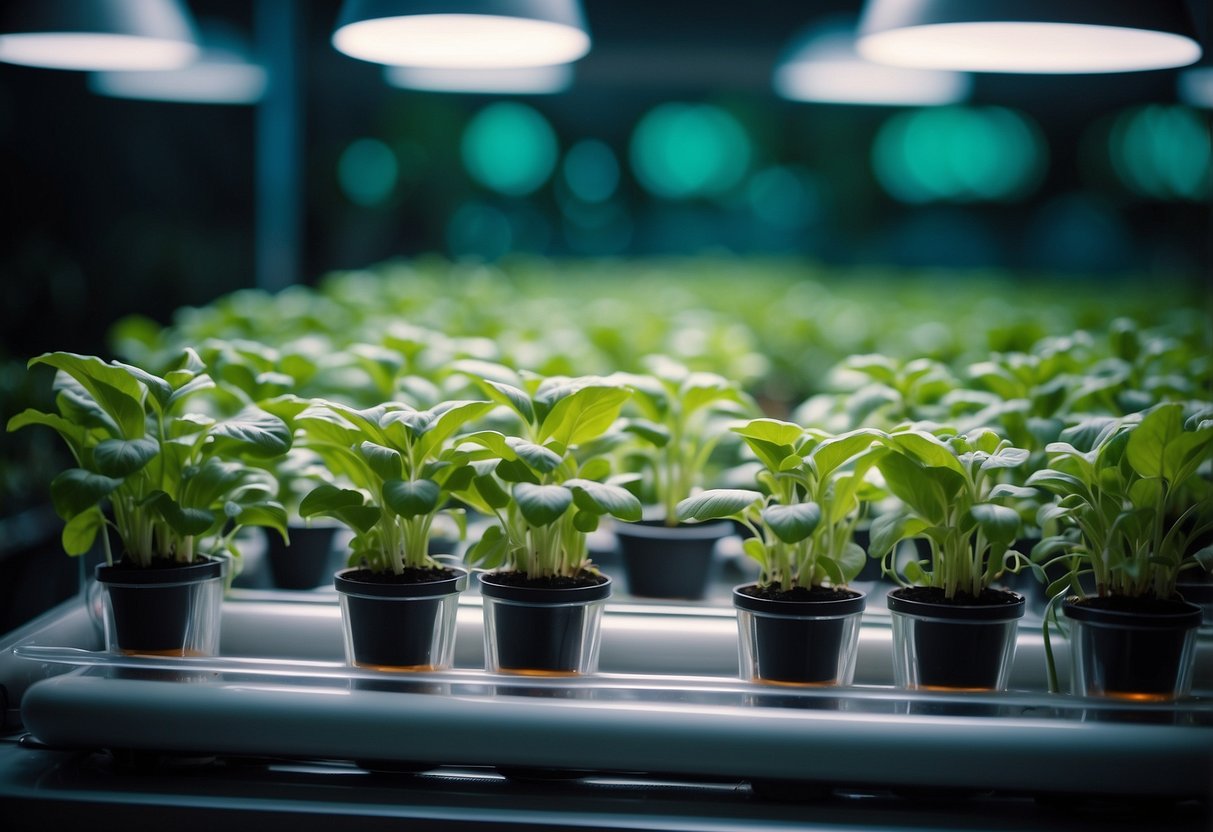
Why Transplant Hydroponic Plants to Soil
There are reasons aplenty, and we're going to take a gander at a few.
First off, nothing beats natural sunlight and a bit of rainwater. Our plants love it! While it may be less reliable, sunlight beats a grow light any day of the week. Exposure to these natural sources is like a spa day for them, complete with the microbiota in the soil that's like the cherry on top for their growth and health.
Then there's the brass tacks of running a hydroponic setup – it’s not cheap! The costs and maintenance of keeping things afloat, like electricity for pumps and timers and mixing up those nutrient solutions, can add up. Sometimes we just want to keep a bit more of our hard-earned money in our pockets, right?
Here's the thing: hydroponic systems are notorious space hogs. When we move plants to soil, it’s like a space-saving hack, freeing up room for other lofty hydroponic aspirations – perhaps plants that bring in a bit more dosh or just work better without soil.
And who doesn't love a good experiment? Planting in soil gives us the chance to don our lab coats and see which method yields the best growth rates – it's all in the name of science and getting our outdoor garden to flourish.
| Transplant Benefit | Description |
|---|---|
| Enhances Growth | Utilises natural elements for plant health. |
| Saves Money | Reduces reliance on costly hydroponic equipment. |
| Optimises Space | Makes room for more hydroponic endeavours. |
| Encourages Experimentation | Allows for growth method comparisons. |
Getting our green buddies to settle into their new home can be a breeze or a bit of a challenge, but with some TLC, a successful transplant is definitely on the cards. And, let's be honest, watching our garden grow is one of the purest joys of gardening, isn't it?
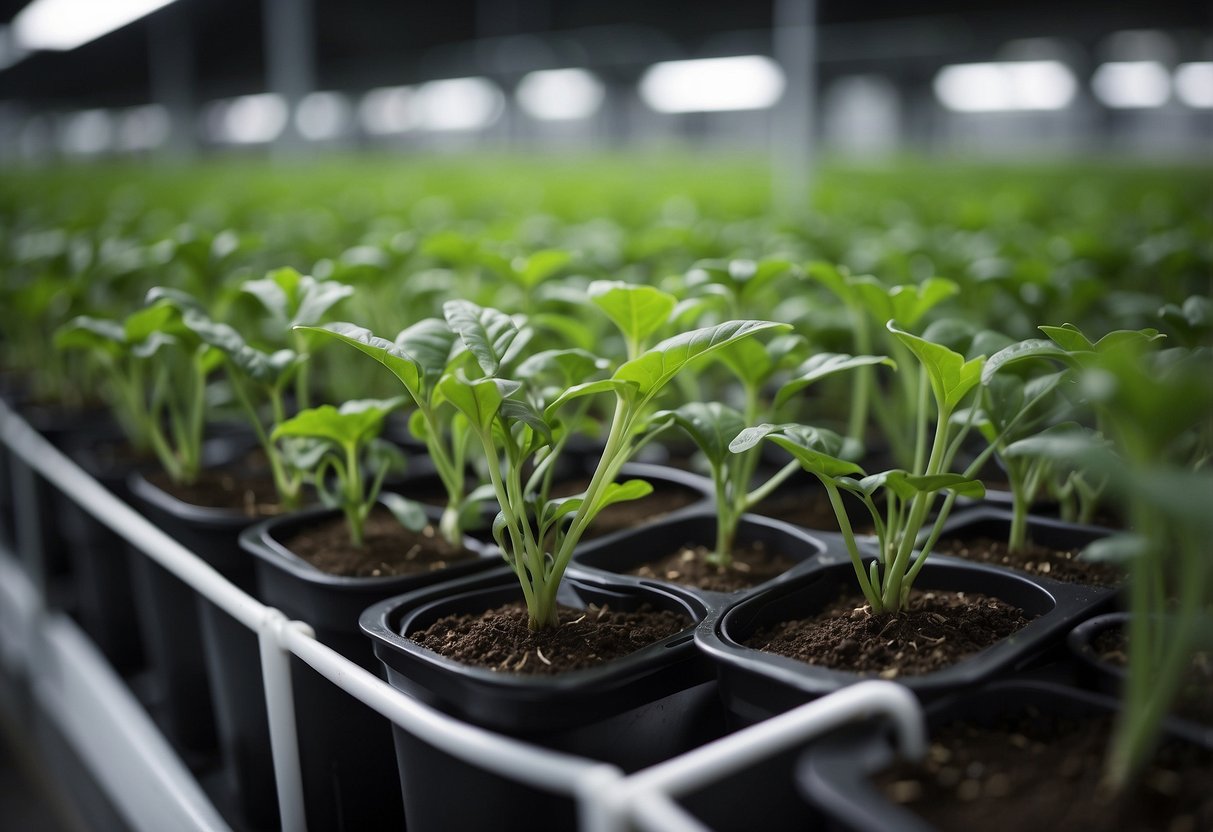
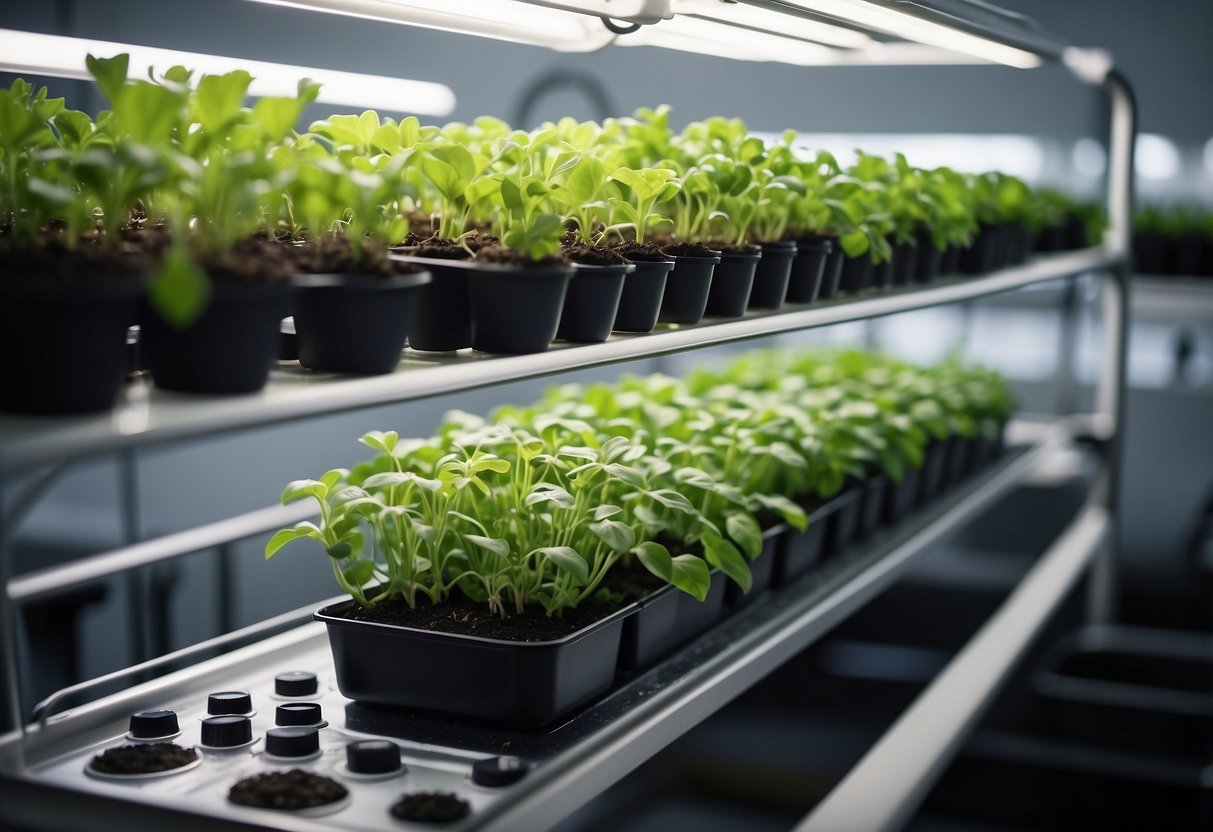
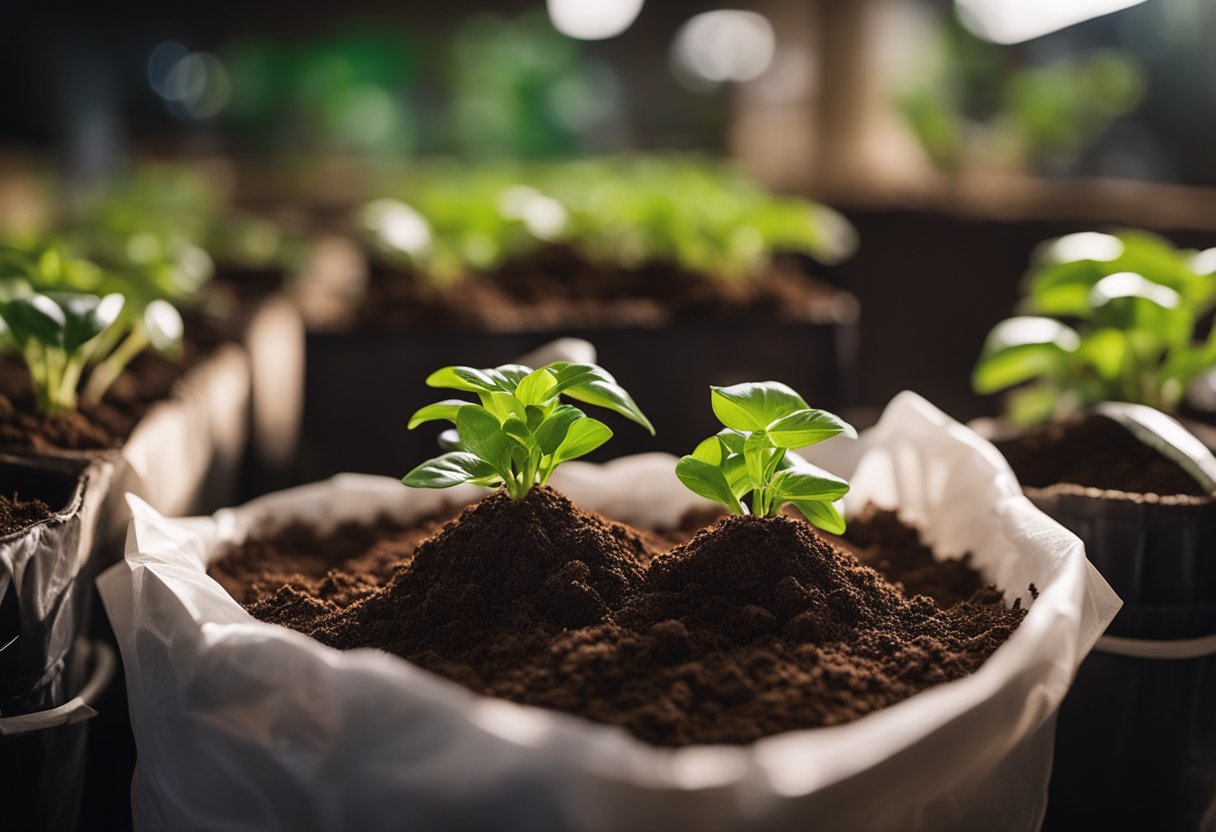
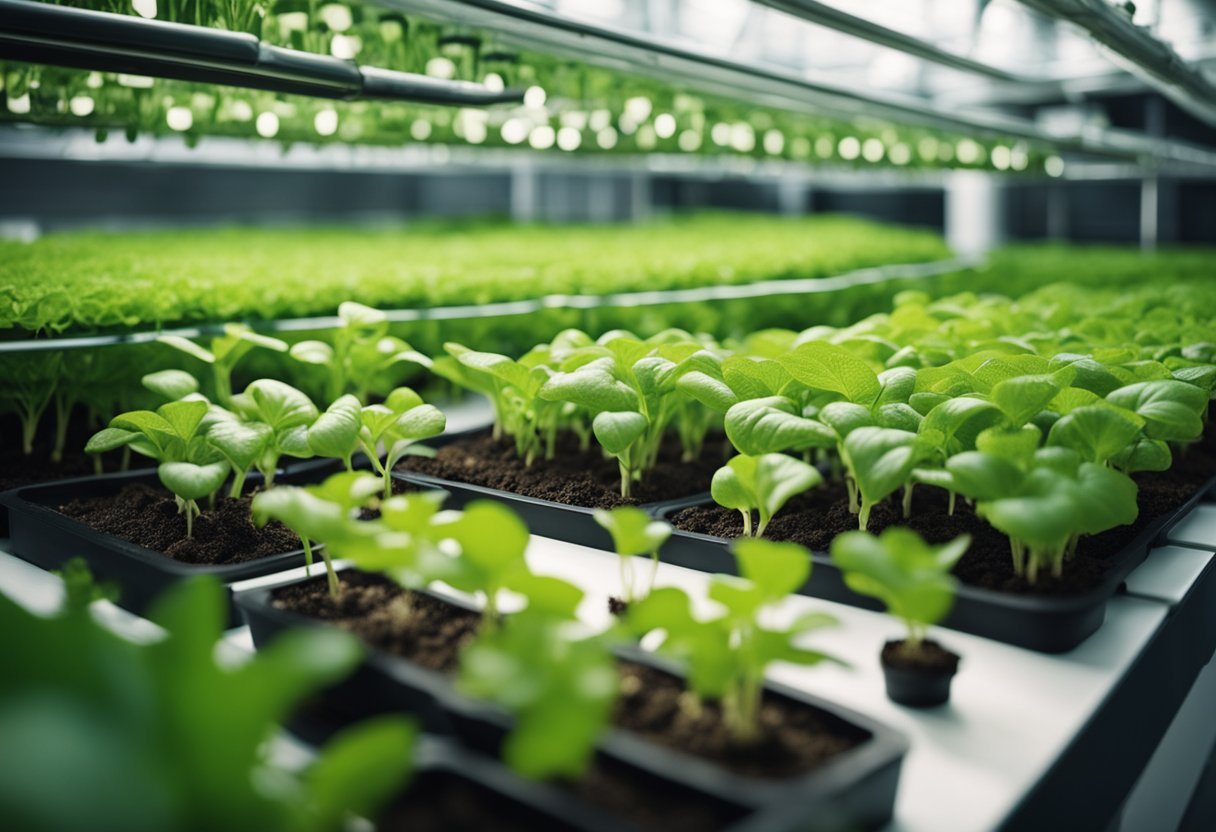
What Is Needed to Transplant a Hydroponic Plant to Soil
When we move our hydroponic plants to soil, it's a bit like a big move for them—they need careful preparation to settle into their new home comfortably. Here's what we'll need to make this transition smooth and successful.
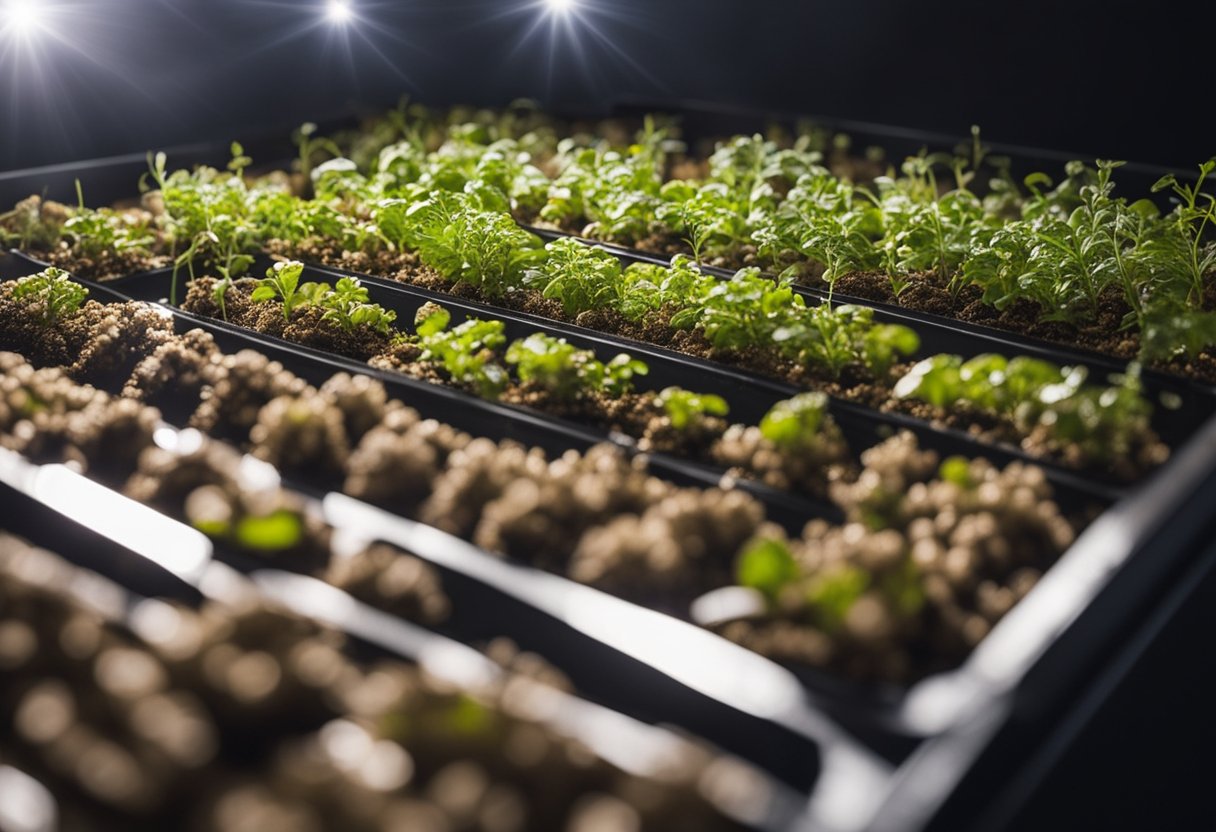
Soil Preparation
First things first, let's talk about where our plants are going to live. Selecting the right soil or growing medium is crucial. It should be loose, well-draining, and rich in organic matter such as compost. The medium must also be pH-balanced to suit the specific needs of our plants. As enthusiasts, we need:
- Potting soil or a soil-free peat mix, perfect for giving roots the space to breathe and grow.
- Compost, to mix in and enrich the soil with nutrients.
- A pH meter, to ensure the soil has the right acidity or alkalinity for our plant.
- Organic fertiliser will supply the essential nutrients our plants are accustomed to.
Root Systems Management
Now, let's get our hands dirty with the plant itself. We're aiming to minimise shock to the plants while they adjust, so careful handling of the roots is key. Here's what we'll be using:
- A trowel or our hands, to dig a gentle home for the plant's root system.
- Scissors or secateurs, just in case we need to trim damaged roots (we'll do it sparingly).
- Clean, room-temperature water to settle the soil and hydrate the plant post-transplant.
- Gloves, because while we love gardening, we don't necessarily love the cleanup!
Remember, our plants have been used to a certain lifestyle in their hydroponic environment—lots of water, a buffet of nutrients on tap, and no soil to speak of. By creating a new environment that respects their roots and offers them gradual adjustment to the soil's embrace, we're setting them up for success in their new earthen home.
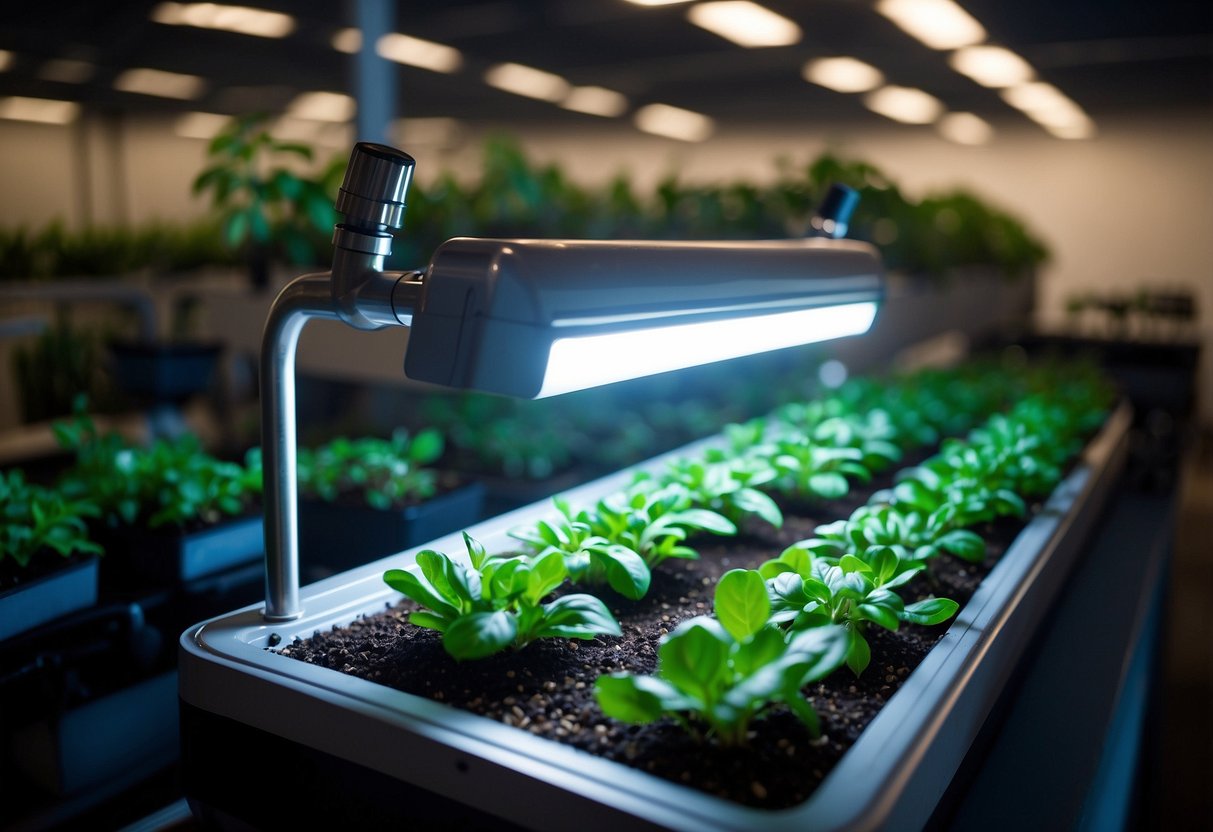
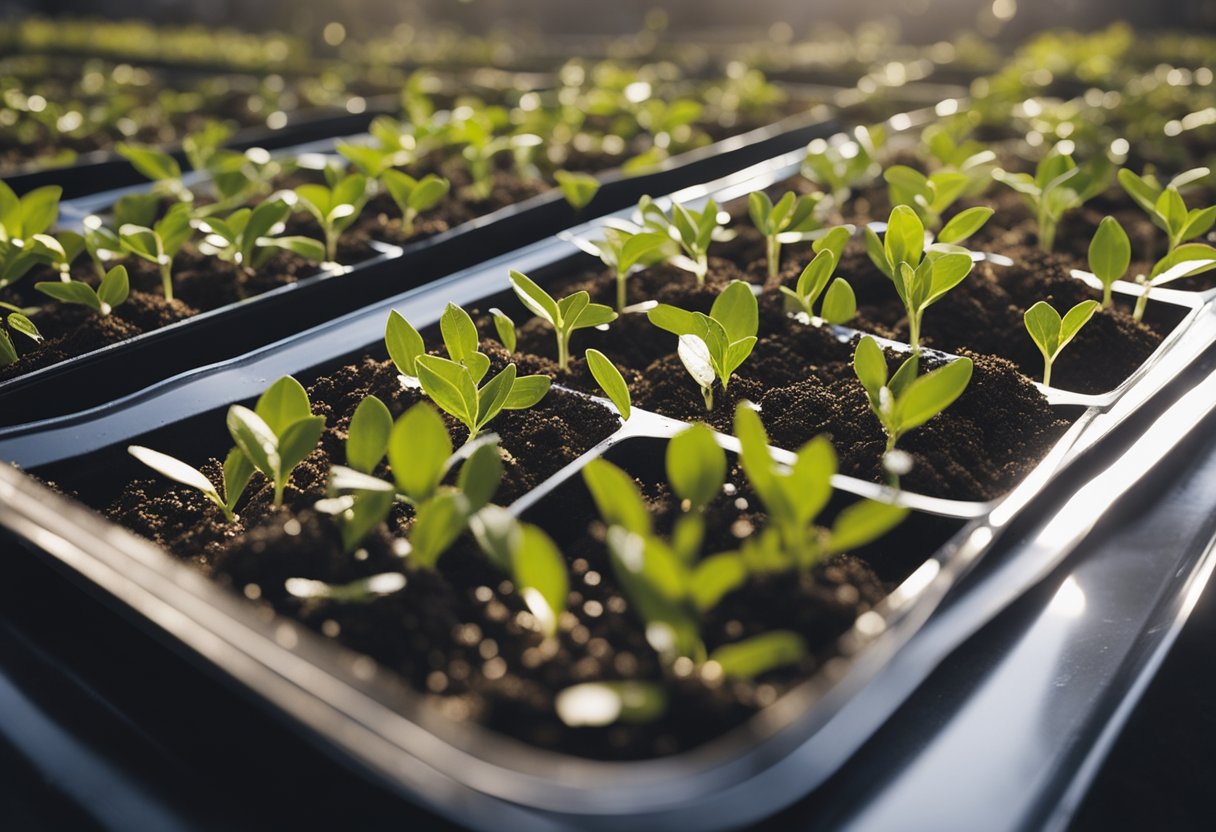
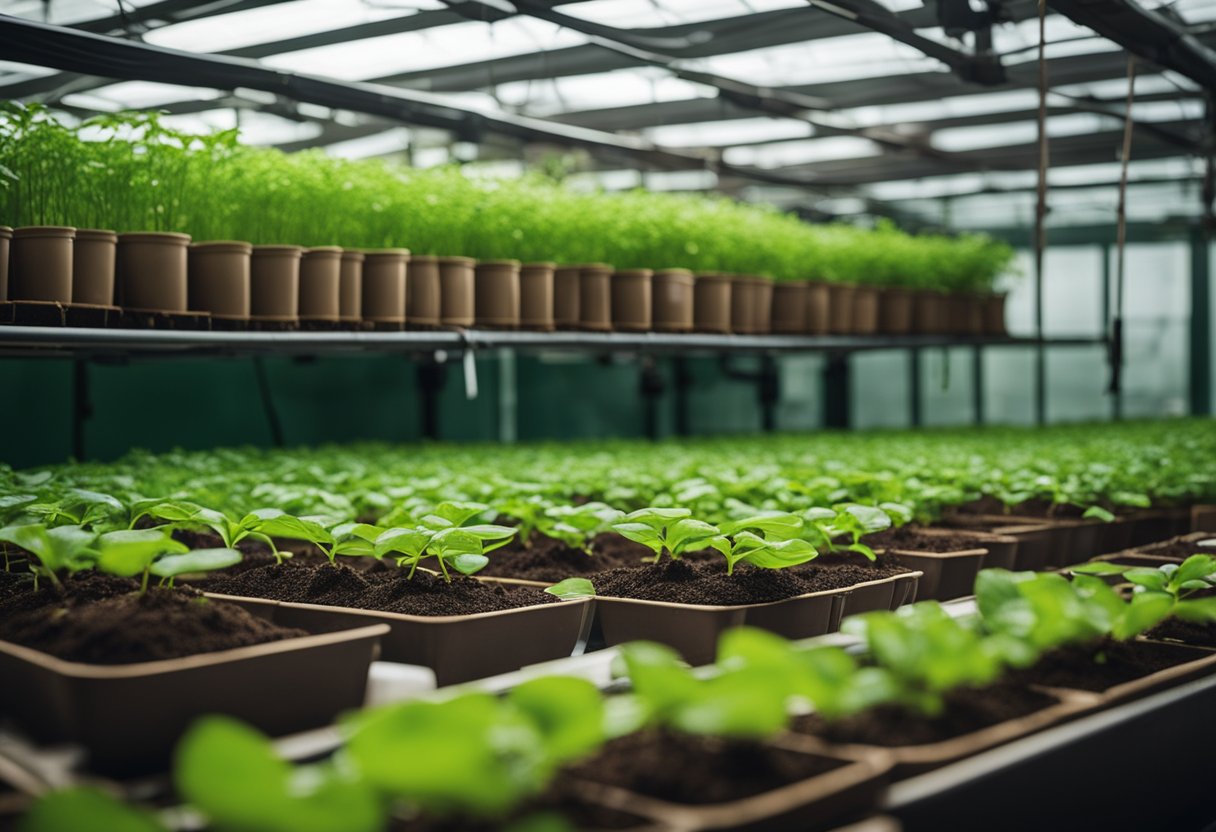
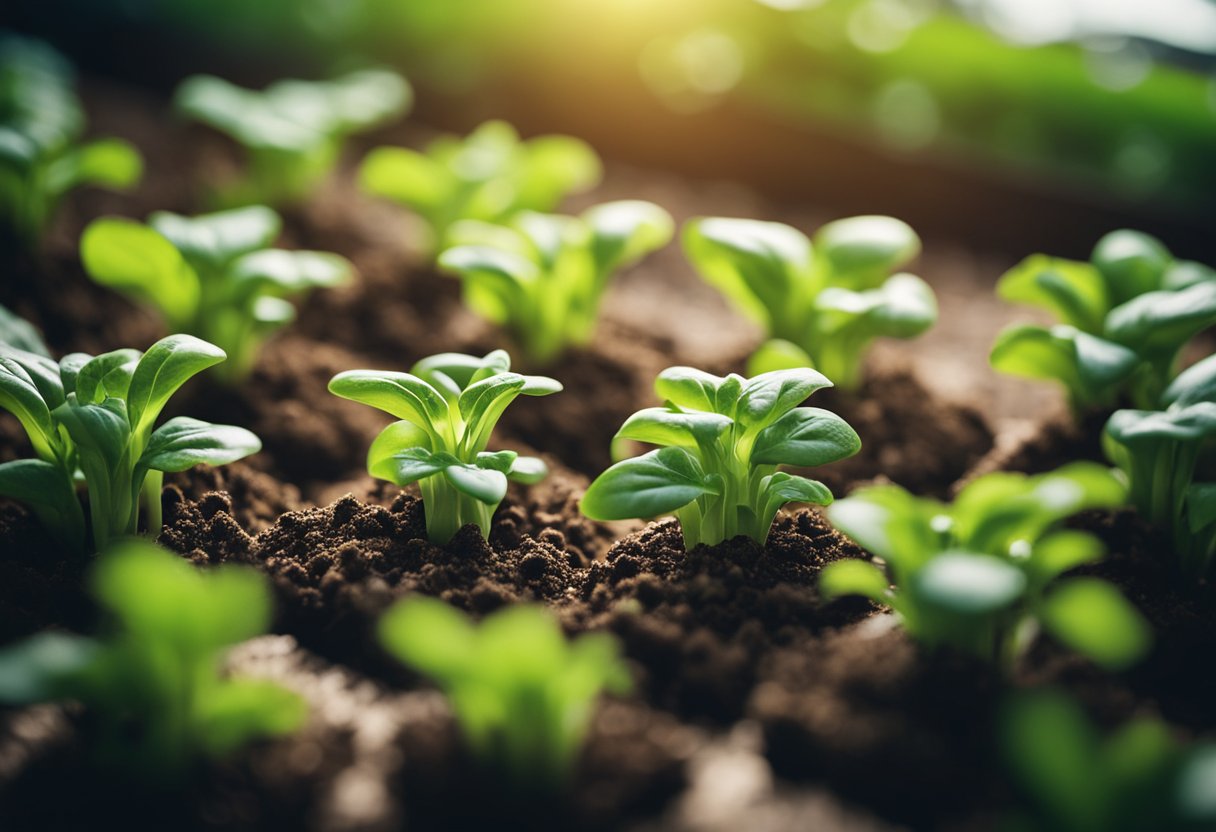
Steps to Transplant Hydroponic Plants into Soil
Taking hydroponic plants and introducing them to soil requires careful steps to reduce transplant shock. Let us guide you through the process of acclimating your plants and ensuring a smooth planting procedure.
Acclimating Your Plants
Step 1: Reduce Supplies Gradually
In the week leading up to the transplant, we'll want to limit how much we water the plant and how much nutrients we give. This helps them get used to the lower levels they'll experience in soil.
Step 2: Get Your Soil Ready
We should choose a suitable pot filled with a well-draining growing medium. By doing so, we create an inviting new home that offers good moisture without waterlogging our precious plants' roots.
Planting Procedure
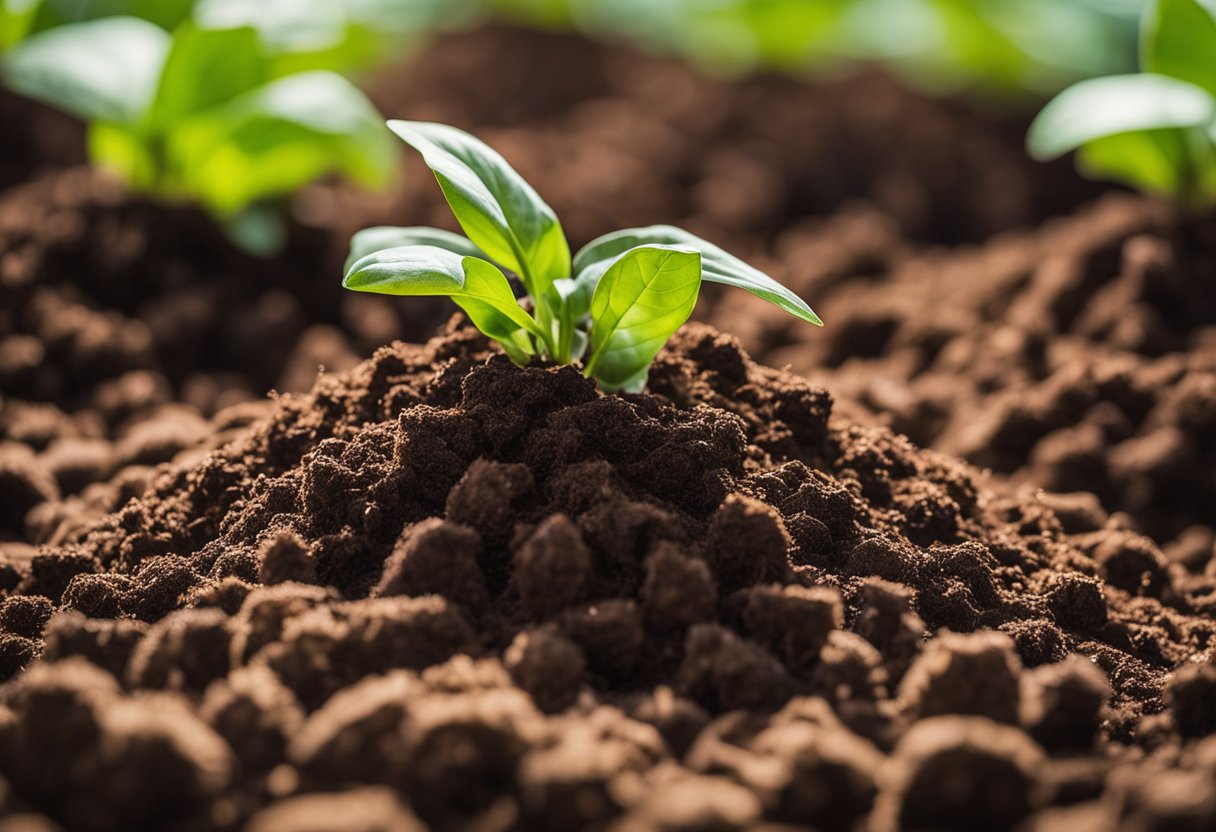
Step 3: Gentle Extraction
Next, we carefully lift the plants from their hydroponic setup. It's critical to rinse the roots gently to remove the old medium, taking care not to damage the plant roots.
Step 4: Planting
In our container filled with soil, we make a welcoming hole in the centre. We carefully place our plant in, making sure the roots are well spread out and snugly covered with soil to ensure stability and good contact.
Step 5: Initial Watering
After the move, we give our plants a thorough watering with a nutrient solution. We aim for moist, but not waterlogged soil, to prevent any root rot scenarios. The amount of water must be just right.
Step 6: Create the Right Environment
We then place our newly potted plants in an environment that's warm and humid, like a greenhouse. This simulates a cosy microclimate that encourages the plants to adjust and begin acclimating to their new surroundings.
Step 7: Observe and Tend
By keeping a vigilant eye and maintaining ideal conditions, we support our plants through their acclimatisation. Adjustments to the water, nutrients, and environment ensure they thrive post-transplant.
Risks of Transplanting Hydroponic Plants to Soil
Plants grown hydroponically are accustomed to a carefully controlled environment, which means moving to soil can introduce several risks. We'll go through these dangers, making sure you know what to look out for and how to dodge these potential issues.
Potential Stress Factors
Transplant Shock
Moving into the soil is a big leap for any hydroponic plant. Transplant shock occurs when a plant experiences stress due to sudden changes in its environment. Signs of this stress might include stunted growth, wilting, or leaves turning yellow. In the worst cases, it can lead to the death of the plant.
Root Damage
The roots of the plants, used to the supportive embrace of water, may be damaged when adapting to the more resistant soil environment. Damaged roots struggle to take up water and nutrients, which can leave plants looking rather sorry for themselves.
Nutrient Deficiency or Toxicity
In their new soil home, plants face the risk of nutrient imbalances—too little, and they'll starve; too much, and they can succumb to toxicity. Getting this balance right is key to a successful transition.
Pest or Disease Infestation
Once transplanted, your plants are more vulnerable to nasty pests and diseases. These unwelcome visitors can cause all sorts of havoc, from nibbling leaves to spreading infection.
Mitigation Techniques
Gradual Transplantation
We can't overstate the importance of gradual change. It's like getting into a chilly swimming pool—one does not simply dive in! Take it slow, gradually introduce plants and let them adapt to the new soil environment step by step.
Gentle and Hygienic Handling
Treat those roots with care—they're delicate! Make sure any tools you use are clean and your hands are gentle to prevent physical harm and the introduction of diseases.
Appropriate Nutrient Provision
Think of nutrients like a plant's diet. Too much or too little, and they'll struggle. Make sure you find out exactly what your plant needs and stick to that.
Protective Measures
Finally, keep an eye out for pests and diseases. Better yet, use organic methods to prevent them from showing up in the first place. It's like setting up a security system for your plants.
This section leaves us equipped with the know-how to navigate the potential perils that come with transplanting our hydroponic plants in soil. We're ready to tackle this with the best chance of keeping our leafy companions happy and healthy.
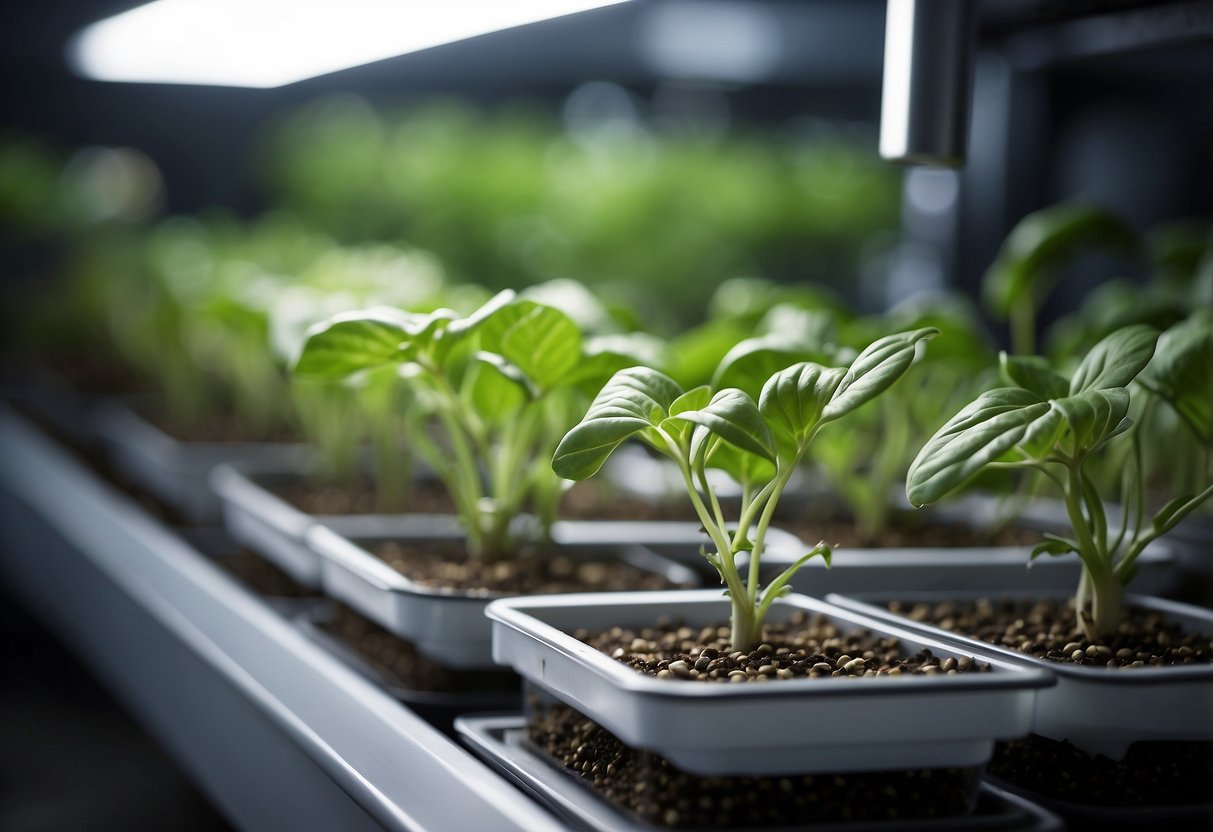
Tips for a Successful Transplant
Before we dive into the specific advice, we must understand that a bit of preparation and tender care can make all the difference between a hydroponic plant just surviving or truly thriving once it's moved to soil.
Expert Advice
When we're getting our hands dirty, we can't just chuck our hydroponic plants into any old soil and hope for the best, can we? Now, listen to what the experts are saying:
- Soil Selection: Pick a loose potting soil or a soil-free peat mixture that's light and airy. This is a spa experience for the roots, helping them feel free and unburdened while they adjust.
- Planting Depth: Keep it consistent, folks! The depth at which the plant was growing hydroponically should be the same once transplanted into soil.
- Delicate Touch: Gently backfill the soil around those roots. Just like we need support during big moves, plants crave snug soil-to-root contact without being squeezed too tight.
Want to feel like a pro? Here's the scoop—literally. Use a spoon or a small cup to move the soil and avoid compacting it with heavy-handed moves.
Continual Care Post-Transplant
Once we've got our greens comfortably tucked into their new soil abode, our job isn't over. Here's how we ensure they keep on keeping on:
- Adequate Watering: Not too much, not too little is key if you're moving plants. Overwatering is a real killjoy for newly transplanted plants.
- Monitoring: Keep a watchful eye on your green pals during those first critical weeks. They'll tell you how they're feeling by their leafy language—if they start to droop or fade, they might need a little extra TLC.
- Adjusting Environment: Let's keep conditions as close to their hydroponic setup as possible to minimize stress on the plants.
If we provide the right support and expert advice, along with continual care post-transplant, we're setting ourselves up for a garden party of thriving plants with not a sad leaf in sight!
Common Questions on Hydroponic Plants in Soil
Before we dive into the specifics, let's acknowledge that moving plants from hydroponic growing systems to traditional soil is doable with some adjustments. Our focus here is on ensuring that the transition impacts the plants minimally, especially concerning their water and nutrient intake.
Adjusting Watering Frequencies
First things first, let's talk water. When transplanting hydroponic plants to soil, we need to tweak the watering schedules. Since hydroponic plants are used to an all-you-can-drink buffet of water and nutrients, 24/7. But in soil, they'll have to send out root RSVPs and wait for their water to arrive via natural soil absorption.
- Before the move: Gradually reduce the water supply over a week.
- After settling in: Begin with careful, frequent watering and watch how your plants respond. Soon, you'll spot the sweet spot for the perfect watering frequency.
Changing Nutrient Routines
Now, let’s chew over nutrients. In the hydroponic system, nutrient requirements are pretty much spoon-fed to the plants. However, in soil, plants need to put in a little effort to extract those nutrients. It's like moving from ready meals to cooking from scratch.
- Start with a simple, balanced fertilizer: We aren't keeping it all organic just yet. Begin with a fertilizer that meets the basic nutrient requirements.
- Observe, then transition: Over time, you may wish to introduce organic fertilizers that release nutrients slowly, matching more closely the soil’s natural rhythm.
Remember, whether it's watering frequency or nutrient routines, the keyword is gradual. Our green buddies do need time to adjust from their hydroponic high life to their down-to-earth existence in soil. By monitoring their progress carefully, you’ll ensure they continue to thrive in their new home.
Hydroponics to Soil Summary
We've explored the viability of moving our hydroponics to soil and found that it's not only possible but also beneficial. A successful transplant can lead to greater resilience in plants, allowing them to thrive and adapt to varying environmental conditions. The key lies in careful preparation and patience.
- Preparing the soil: Choose a well-draining mix to encourage robust root growth.
- Gentle handling: Avoid damaging the delicate root systems during the transition.
- Acclimatisation: Give the plants time to adjust to their new environment, offering protection if necessary.
By transplanting, our plants can benefit from the myriad microorganisms in the soil, leading to a more dynamic ecosystem for our garden. Yet, we should remember that close attention to watering practices is crucial; balance is essential to prevent both drowning and dehydration of our new soil residents.
While the process allows us to enjoy our garden even more, it's not without its challenges. If you're looking to expand your knowledge further, why not explore other hydroponic systems or delve into the specifics of nutrient requirements for different types of soil?
Lastly, have you considered which of your hydroponic plants might find a new home in your garden soil? Share your thoughts or plans with us, and let's keep learning and growing together.