Taking Root Cuttings: Advice from a Pro
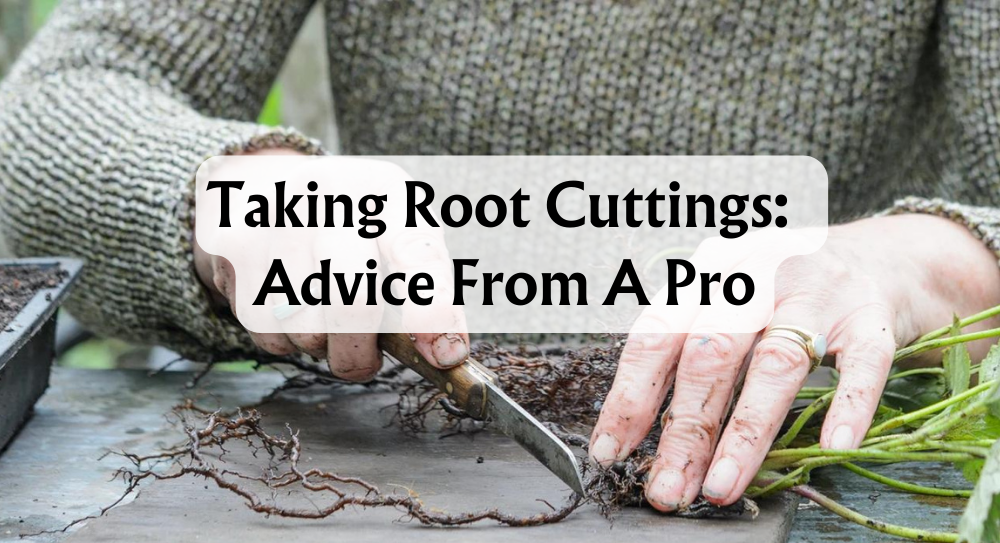
Below is a step-by-step, insightful guide to taking root cuttings. It comes from a veteran no-till grower who takes around 200 cuttings a week. This method has been described as fail-safe and is appropriate for both small and large-scale growing environments. The method covers the first 10 days till the cuttings have rooted.
Required Items
- Large high dome propagator
- Jiffy 7 peat pellets
- Scalpels
- Clonex
- Spray bottle
- Round pot saucer-200-300mm
- Ph Pen and solutions
- 1L measuring jug
- Surgical spirit and cotton balls
- 200w blue CFL
Cuttings need to be taken from a healthy mother plant. This is essential to the success of the cuttings.
Day 1
The measuring jug needs filling with water heated to 25 degrees and a ph. of 5.5. This can then be poured into the round pot saucer, picked for its ideal depth.
10 x jiffy pellets should be added next, over 30 seconds they will expand soaking up the water. The open side of the jiffy pellets should be facing up.
Once full expanded, remove the jiffy pellets one by one, squeeze out excess water and place on to the propagator tray.
Next, all 10 jiffy pellets should be removed and skewered all the way to the bottom of the jiffy. A metal kebab skewer is suitable for the task. After that cuttings can be taken.
Where to cut
IMPORTANT: USE A CLEAN BLADE
Be sure before you take a single cut that any implement, be it scalpels or scissors are wiped down with surgical spirit. Taking the cutting will leave an open wound on the plant and could easily infect it. Consider using a different blade for each mother plant and avoid reusing blades to stave off cross-contamination.
Use clean sharp scissors to take the cutting from the mother plant. The ideal location to take from is the ‘the crown’ if taking small amounts of cuttings. If taking a larger number of cuttings from various sources of the plant, start from the top and work your way down.
Cut the branch of the mother plant at a 45-degree angle. You want at least 3 nodes on the cutting. Cut the lower leaves flush to the stem leaving the leaves at the top (crown). If your cutting has any large fan leaves then these should be trimmed. This will stop the cutting from wilting and you can also fit more cuttings into the propagator.
Scratch And Dip
Once 10 cuttings are at your disposal, the preparation of scratching and dipping them can begin. Take a cutting and make a clean 45-degree angle cut at the base of a stem with a scalpel. Scratching the bottom 20mm with the scalpel’s edge will stimulate hormone production. Dip the bottom of the scratched cutting into Clonex. Once well coated place into the jiffy, ensuring it is placed firmly. Close up the top off the jiffy by pressing it closed.
As soon as all the cuttings have received this treatment, they require spraying with room temperature water. Ideally, the water would be between ph 5.5 and 5.8. Do not forget to also spray the inside of the propagator dome. Cuttings thrive in humidity and it is one of the strongest stimulants for their growth.
The dome should then be placed over the cuttings, under fluorescent light with the vents closed. Place the light 500mm above the propagator. The light cycle for the cuttings should mimic the mother plants, i.e. 18hrs for the mother plant, 18hrs for cuttings etc. Consistency is the key.
Day 2 and 3
For best results, 3 times a day, remove the dome and spay its insides and the cuttings with water.
Day 4
Once again, spray the inside of the dome and the cuttings but open the vents. Enabling the moisture to escape from the propagator will dry the jiffy’s forcing the roots to search out for moisture.
Day 5
At this point, jiffy’s should be dry to the touch. Add 250mm of water at a ph. of 5.5 into the tray. Be sure to not add water to the top of the cuttings, we want the roots to search for it which will grow and strengthen them in the process. The cuttings should never be allowed to sit in excess water. If come 2 hours there is any excess, remove with paper towels or a syringe.
Day 6
This is the day to bring back the humidity. Close the vents on the propagator, spray the cuttings and the dome twice on this day.
Day 7
Around half of the cuttings should be showing roots coming through. Spraying the dome and cuttings should be done twice a day still, with the vents remaining closed.
Day 8 and 9
The business end of the process: come Day 8 all your cuttings should be showing roots. Add 250mm of water at a ph. of 5.8 and a half strength formulex. Vents should be kept closed and sprayed with water once across these two days. The roots will double in size across the next 12 hours.
Day 10
Take off the dome. This allows the cuttings to acclimatize to a normal environment. This will begin the process of ‘hardening’ the cuttings. If the cuttings appear to be wilting to begin with this is perfectly routine, do not be alarmed. Your cuttings are now ready to be transplanted when you please.




 Store Locator
