3 x Papillon On A Light Mover
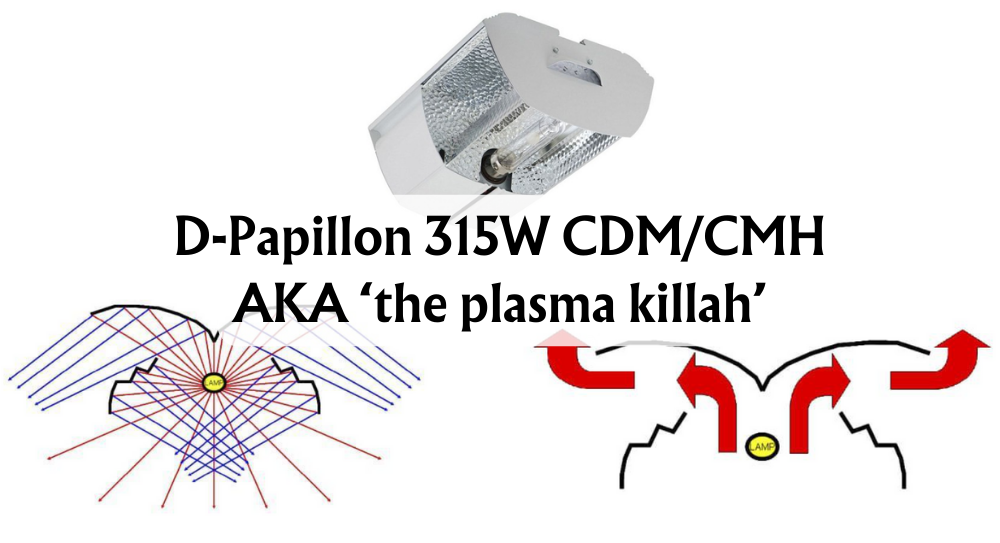
I have written a series of blogs testing the 315w Papillon in various setups. I really like the light it is without a doubt one of the best grow lights on the market. The reason for doing various tests was to find out how to get the most from this amazing light. I am looking for quality over quantity and I will never sacrifice quality over yield. But having the best quality with a 1g per watt minimum yield would be ever so nice.
- 2 X 275mm ventilation ports.
- 2 X 100mm cable ports.
- 2 X 225mm air-cooled lighting vents
- 2 X passive vents with Velcro covers.
- ‘up-lift’ bar to allow for incoming irrigation lines.
- Strong, black, powder-coated 25mm steel frame.
- Quick lock, push & click pole assembly.
- Green viewing window.
- Very high-quality zips.
I have just finished testing this lighting system and I have been impressed by the results. The quality of the flowers is outstanding as they tend to be when using the 315 Papillons.
The Kit I Used
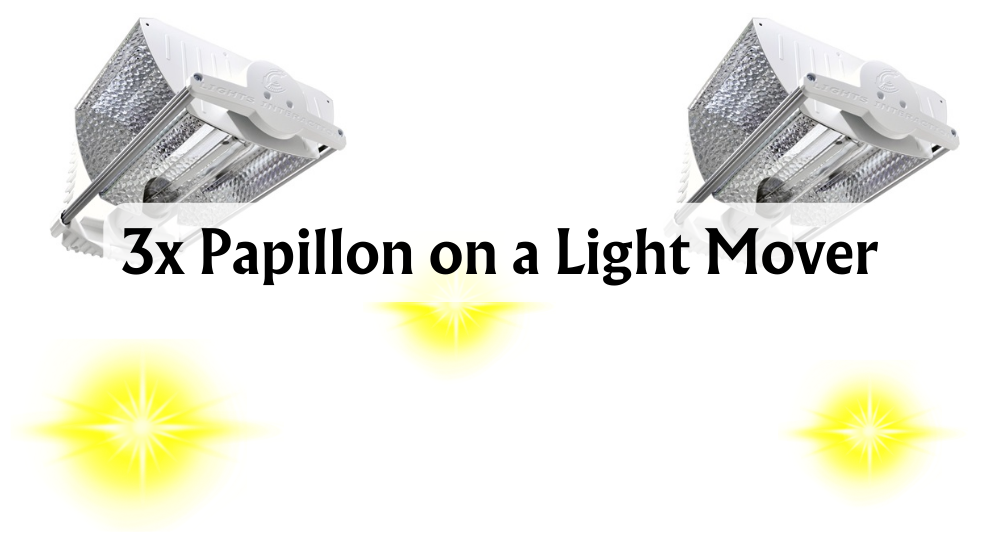
- Jupiter light mover kit 2 for a maximum of 3 lights
- 315w Papillon x 2
- 1000w Papillon HPS 400v
- Lumi rope ratchets
Always make sure that you have solid fixings when hanging lighting systems, ask a member of staff at Hyjo for the best instructions for your type of setup.
Set Up For Light Mover
I have mounted my light mover kit on rope ratchets so that I can adjust the heights of the lights as the plants grow. I will be keeping the lights 300mm from the canopy at all times, as this is the best distance to maximise yield. The lights will be travelling 1m on the light rail.
I have bolted the 315s at either end of the crossbar and the 1000w in the middle, for veg, I only use the 315 the 1000w HPS is turned on at day 21 of the flower when the plants have finished stretching.
I’ve set a delay on the light mover of 20 seconds this means it will stop at either end for 20 seconds giving the plants at the edge of the room equal light as those in the middle. I also hung 3 hygrometers from the light rail so I could monitor temp and humidity at all times under each light.
It’s also very important to have plenty of airflow between the lights and canopy, I use 3 wall fans for this 2 that come on with the lights and 1 is on permanently. If you’re leaving fans on permanently make sure you cover up any lights with insulation tape I also use ORCA to cover all of my fans.
Benefits Of Light Movers
- Less heat build-up
- The sun moves so why not indoor grow lights
- The light hits the plants at different angles
- Increased yield –up to 20%
- Better quality due to less heat
- Better use of a light source
- Plants grow faster
Starting Conditions
Right let’s see what this setup can do, all plants have been in the veg room in 3.8L root pouches and have now been put into 78L root pouches under the 2 x 315s on the light mover.
The lights off temp is set to 24 with a greenhouse heater and humidity is 65% for veg.
Grow Test with Light Mover
Day 7
After a week the plants are all looking good very healthy and green (all plants are growing in DEM super soil) I’ve started to LST the plants now and they are recovering well. The temp between the light and canopy is 25 and the humidity is 70%
Day 14
The plants are growing much faster than normal and they seem to recover from LST a lot faster, I’m very impressed with the light mover so far, I like the fact that the plants get a break from the heat caused by the lights.
Light movers are definitely a good idea to stop heat from being pushed onto the plants. The light is hitting every part of the plant rather than a static light just hitting the top part.
All the way through veg the plants look amazing in every way, I think that by using a light mover I have taken 1 week off my veg time and the 315 Papillon has done an amazing job. Lights off temp is set to 23 and humidity is 50% for flower.
Day 21
The 1000w Papillon is now turned on as all plants have finished stretching, and the light has been dimmed down to the lowest setting of 600w, I will increase it week by week as needed.
Results and Review
This may be the best lighting setup I’ve ever used. The introduction of the 600w from the Papillon has made a massive difference in flower production. I have flower sites all over the canopy now and the HPS is blending with the 315 at either side so the plants are getting the best of both worlds. I’m keeping the temp between plant and light at 26 and the humidity is 50% the 1000w pap is now set to 750w and will remain at that for the rest of the grow giving me 1380w over the plants. I decided to keep the 1000w pap at 750 as I think anything more than that would be too intense and I don’t want to burn away any terpenes.
This setup is producing massive amounts of flowers it’s a bit of a shock that it’s doing so well. I’m at day 60 now, 14 days until harvest. I feel like the HPS has now done its job and is turned off leaving me with just the 2 x 315’s to finish the plants off. I now set the temp between the light and canopy at 22 and the humidity at 45% until harvest day.
This is a stunning lighting setup: the quality of the flowers is amazing, and that break-in heat makes all the difference. Yield-wise I was able to hit 1g per watt which I’m only happy with. I would heavily advise avid growers to consider their own setups with movers from the extensive range of Hyjo’s products. If you’ve seen what I’ve seen, the right set-up can make a world of difference.


 Store Locator
