

 Store Locator
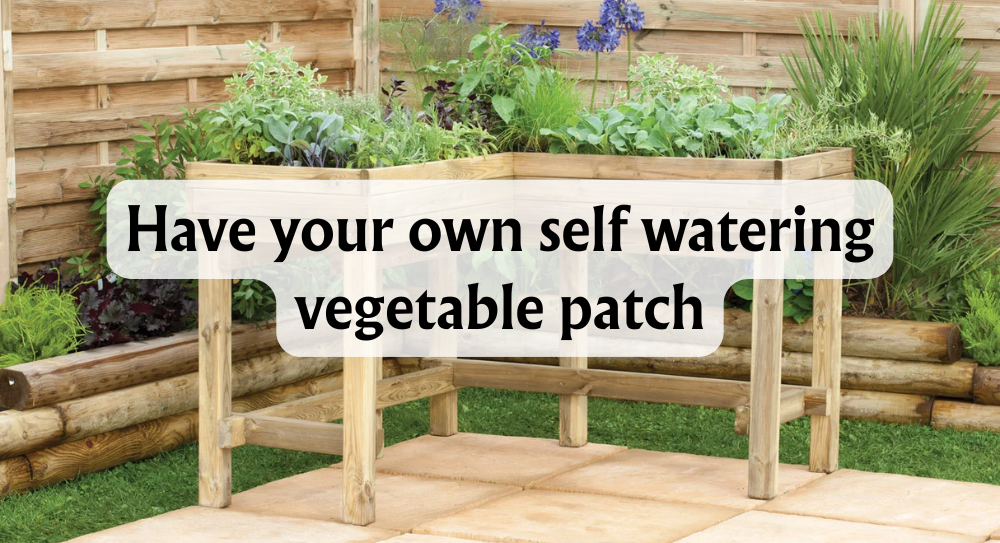
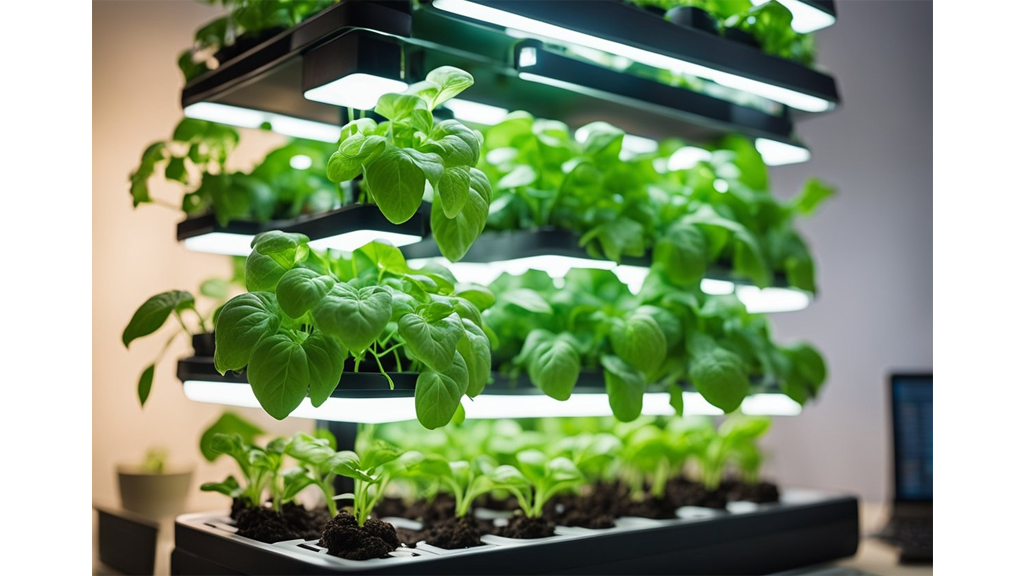
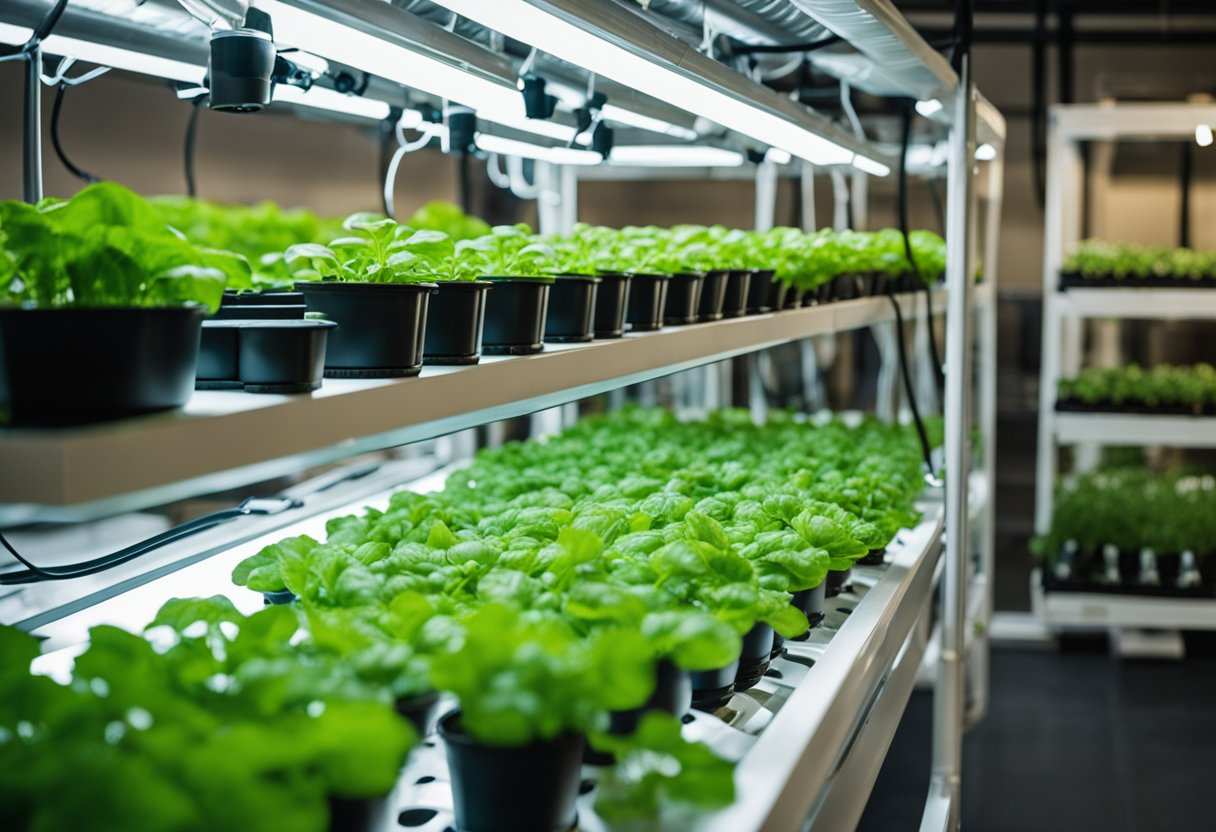
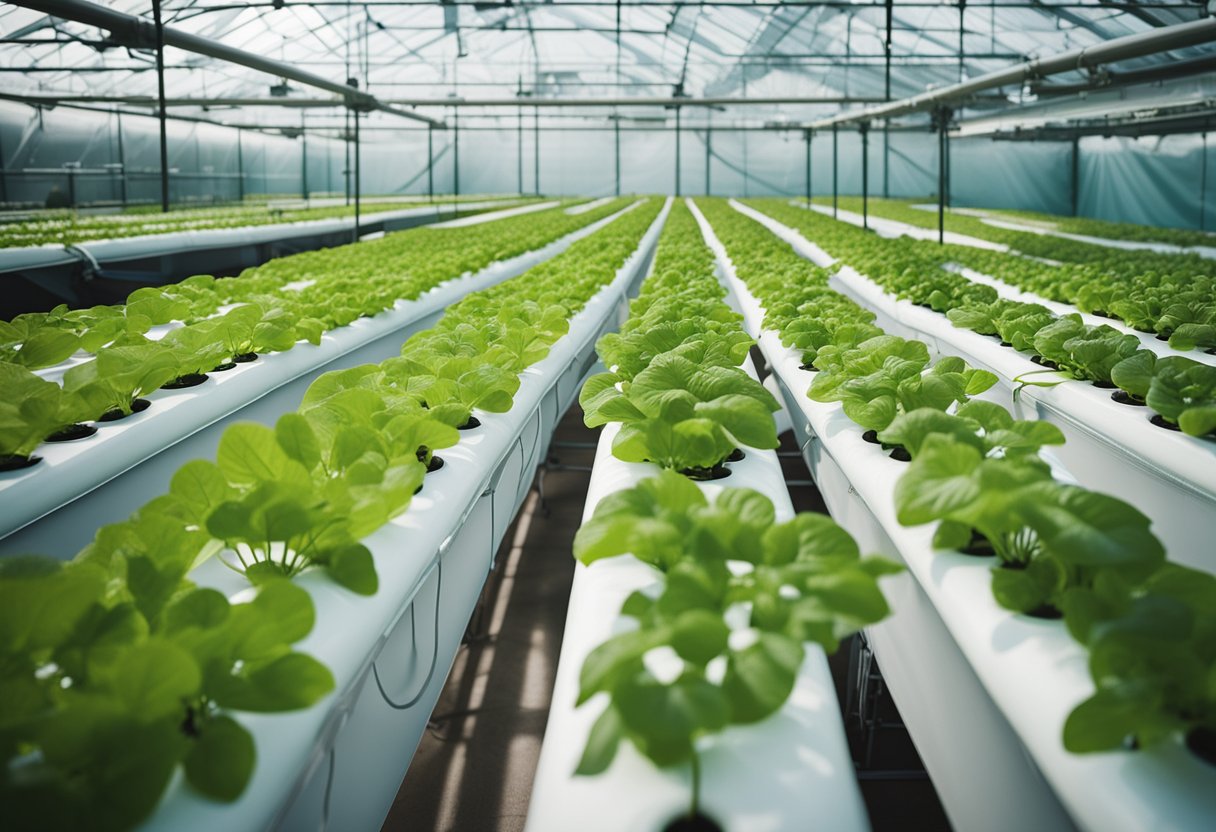
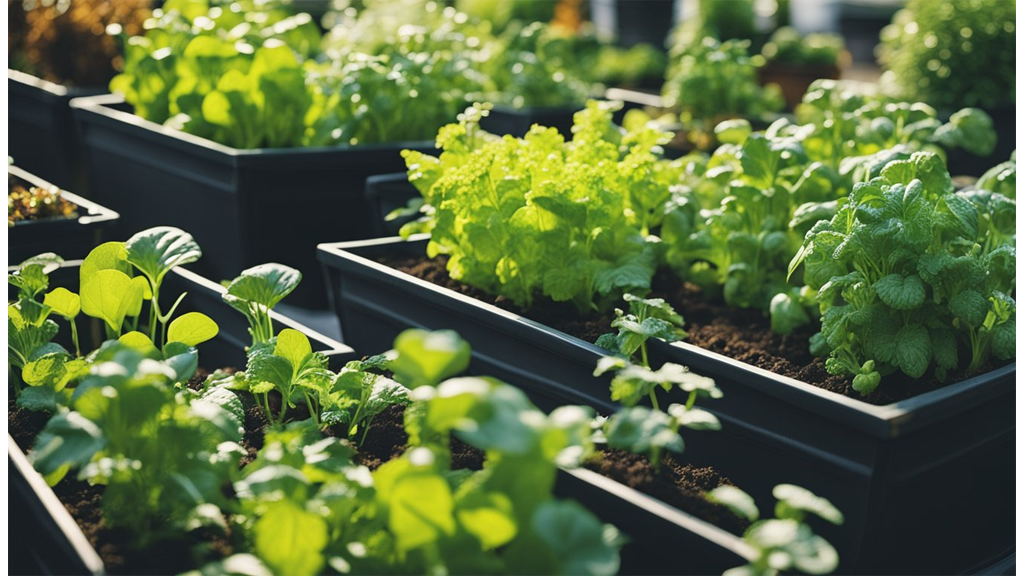
Creating our own self-watering vegetable patch is a game-changer for garden enthusiasts looking to optimise plant health and ensure consistent watering. Our vegetables require a precise balance of water to thrive, but traditional methods often lead to either overwatering or underwatering. With self-watering systems, we provide our garden with a steady supply of moisture, reducing the margin for error and allowing our plants to flourish.
Imagine spending less time fretting over watering schedules and more time reaping the rewards of a bountiful harvest. A self-watering vegetable patch not only simplifies our gardening routine but also elevates it by accommodating the plant's natural needs. It's a perfect solution for those of us devoted to sustainable gardening and a thoughtful approach to conserving water resources.
Let's consider the practical side: we can opt for pre-made kits, or for the DIY enthusiasts among us, building our own system is a rewarding project. Selecting quality materials and following tried-and-tested designs can ensure our patch meets both our needs and those of our cherished vegetables. Taking the time to set up this kind of system can truly transform our gardening experience.
Key Takeaways
- Self-watering planters provide a consistent water supply
- Boosts plant health and reduces manual watering
- DIY systems allow customisation and sustainability
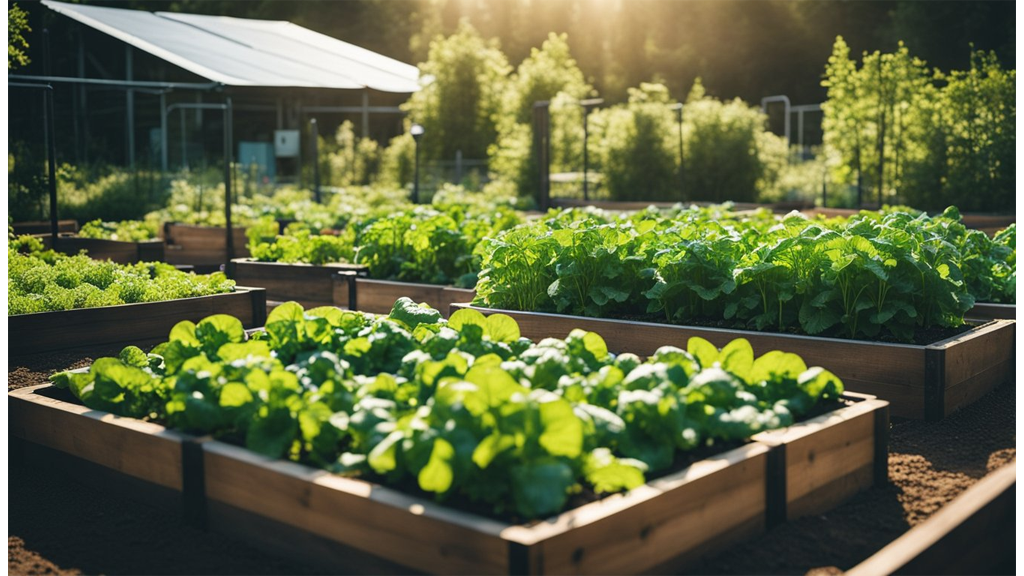
Benefits Of Self-Watering Planters
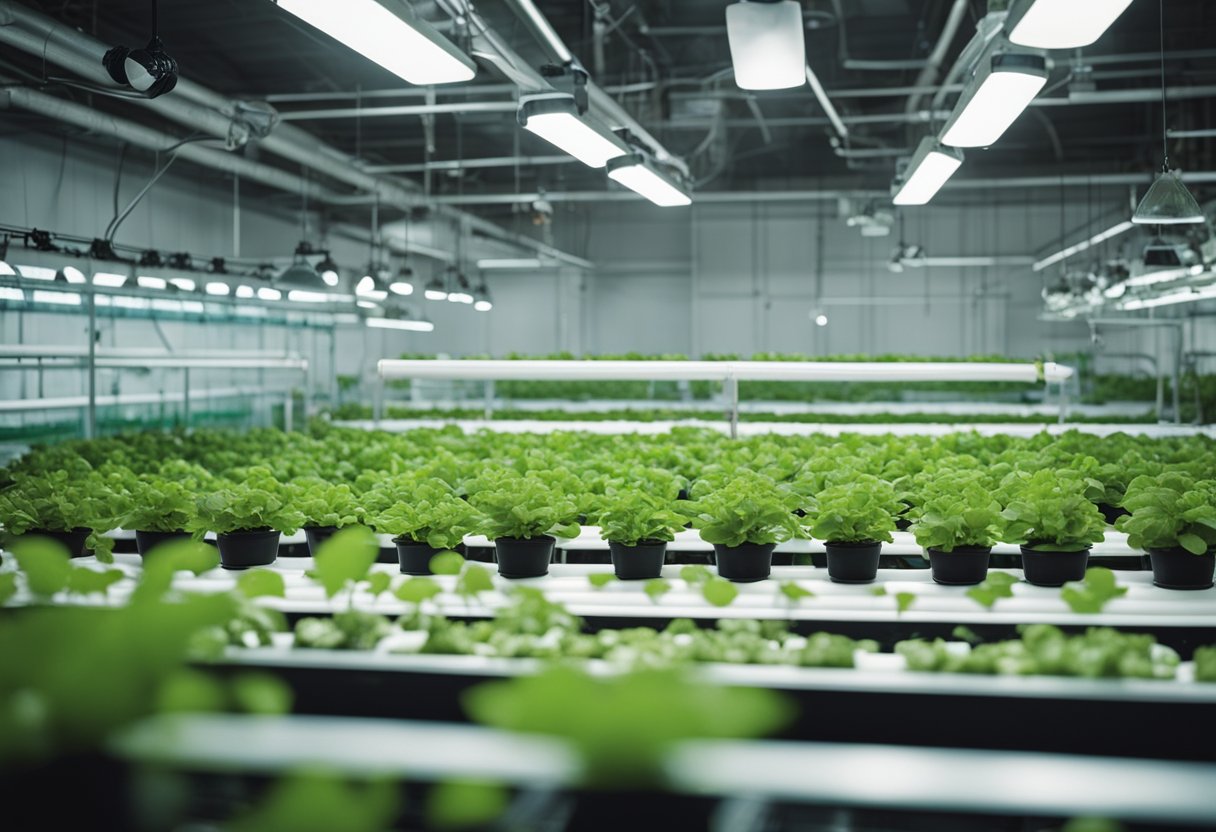
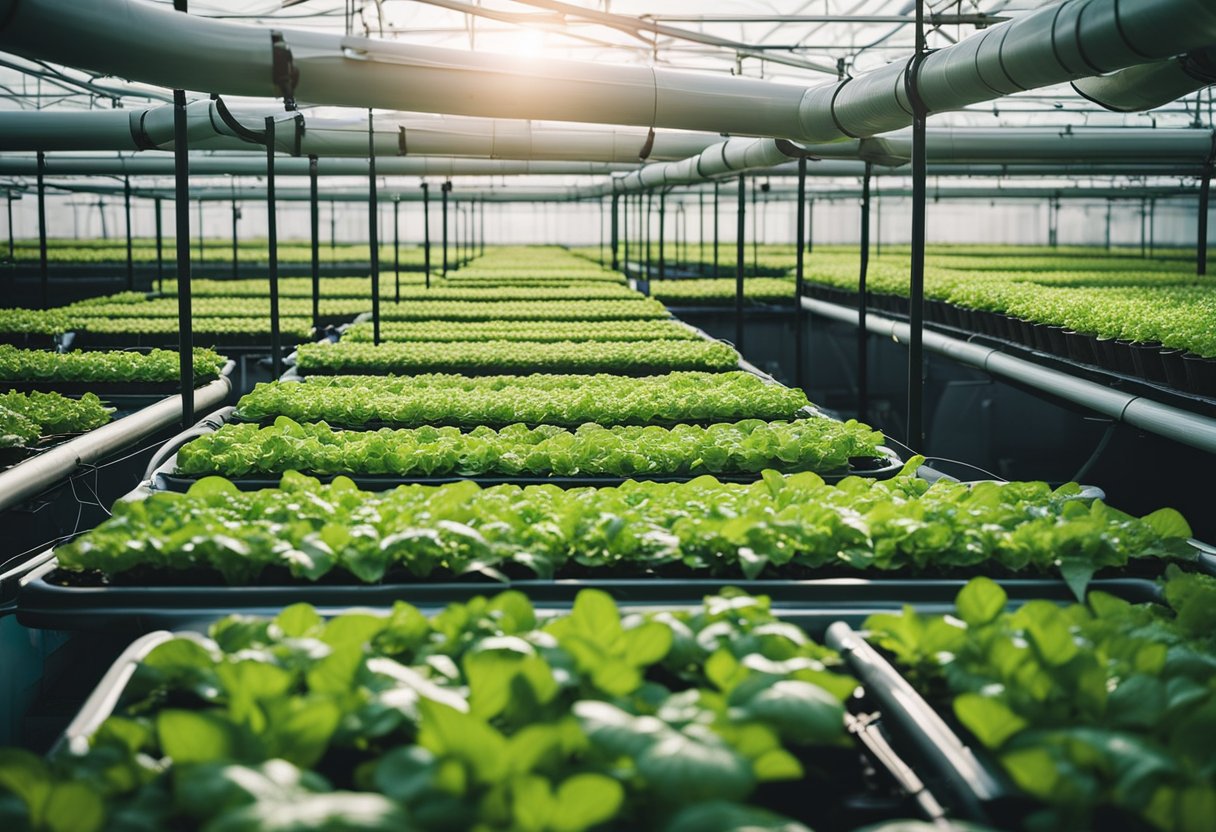
Self-watering planters can transform our gardening experience by encouraging effective water conservation. They efficiently minimise evaporation and runoff, making them perfect for regions with water restrictions or during drought conditions. By reducing unnecessary water use, we're also contributing to a more sustainable environment.
A key advantage is the consistent moisture levels they provide. These planters deliver a steady supply of water directly to plant roots, reducing plant stress and ensuring uniform growth. With this system, we allow our plants to thrive without the worry of uneven watering.
Reduced maintenance is another boon for self-watering planters. We can decrease the frequency of manual watering, granting us more freedom and flexibility. Whether we're away on holiday or simply busy with life, our plants remain healthy and watered.
Self-watering planters also contribute significantly to improved plant health. By regulating moisture levels, they help prevent overwatering and root rot. This regulation enhances nutrient uptake and improves the overall vigour of our plants, leading to flourishing gardens.
Incorporating self-watering technology into our home gardens brings numerous benefits. These planters support healthy vegetable growth while reducing the burden on gardeners.
Adopting these innovative solutions allows us to focus more on the joys of growing our own produce, with peace of mind that our plants are well cared for.
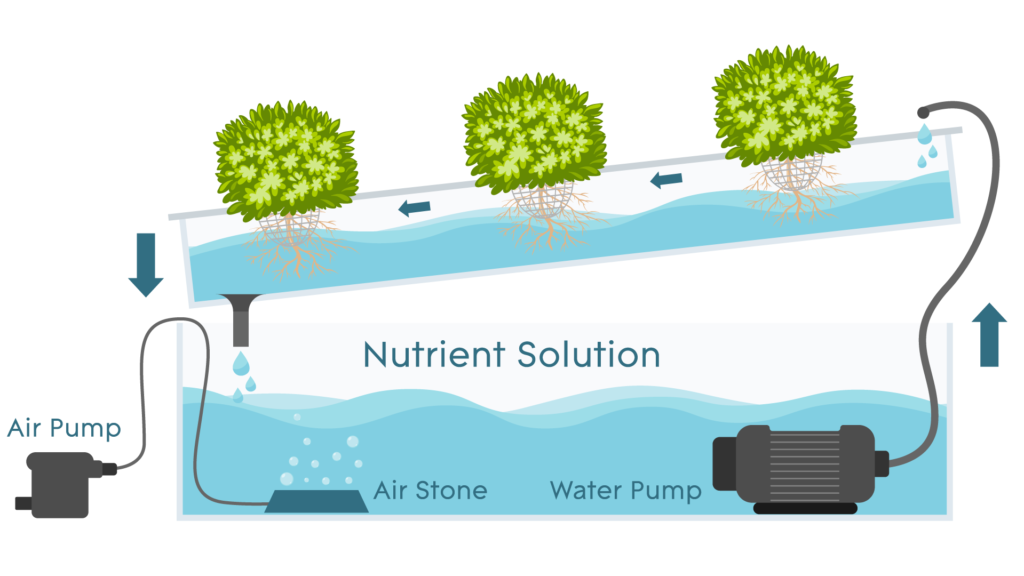
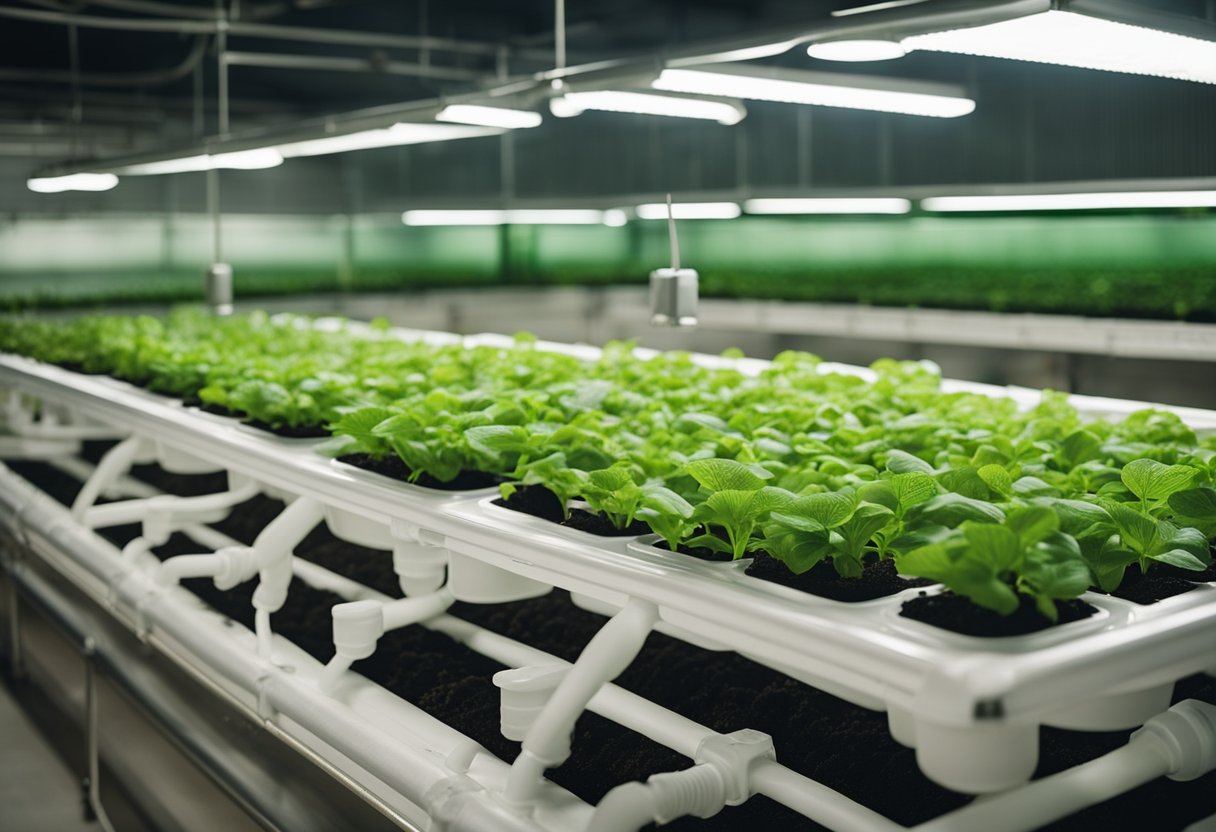
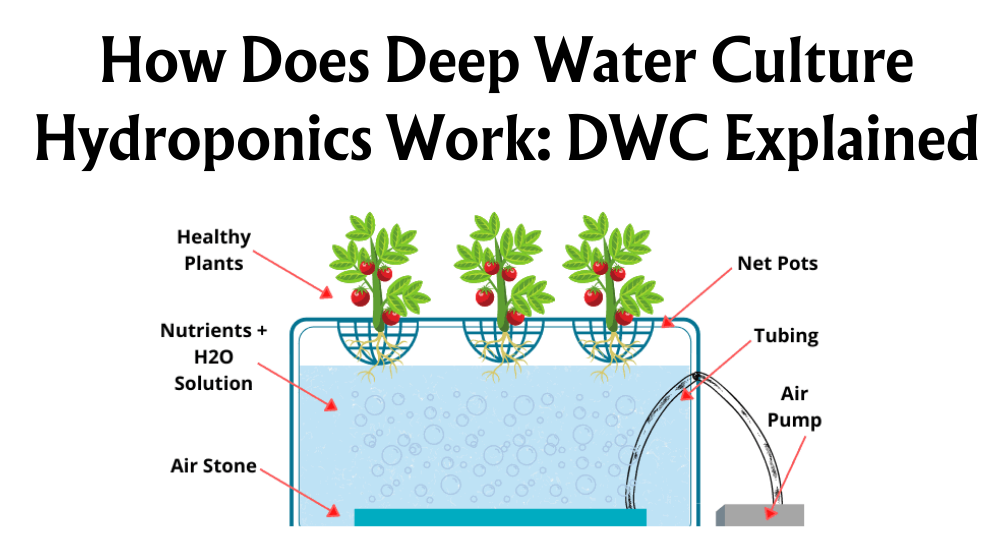
How Self-Watering Planters Work
Self-watering planters offer a clever solution for maintaining plant hydration with minimal effort. Central to these systems is the water reservoir, which is located at the base of the planter. Water is stored here, allowing plants access to moisture even when we're not around to water them regularly.
The magic happens through a wicking mechanism. This mechanism draws water from the reservoir up to the soil, ensuring our plants never go dry. Think of it like a natural sponge, keeping the soil consistently moist.
Preventing overwatering is crucial, and that’s where the overflow outlet comes in. Situated near the top of the reservoir, it ensures excess water has a route to escape, preventing root rot. This drainage feature is essential for keeping plant roots healthy and strong.
Capillary action plays a pivotal role in this system. It helps water move upward through the soil, distributing moisture evenly to the root zone. This natural process ensures that plants receive a steady supply of moisture without waterlogging.
For simple and hassle-free reservoir refills, a fill tube is provided. It extends above the planter, allowing us to replenish the water without disturbing the soil or roots. This feature is particularly handy when using soaker hoses as part of our watering systems, ensuring easy integration and maintenance.
By using these elements, self-watering planters make gardening easier and more efficient for us all.
Planting A Self-Watering Planter
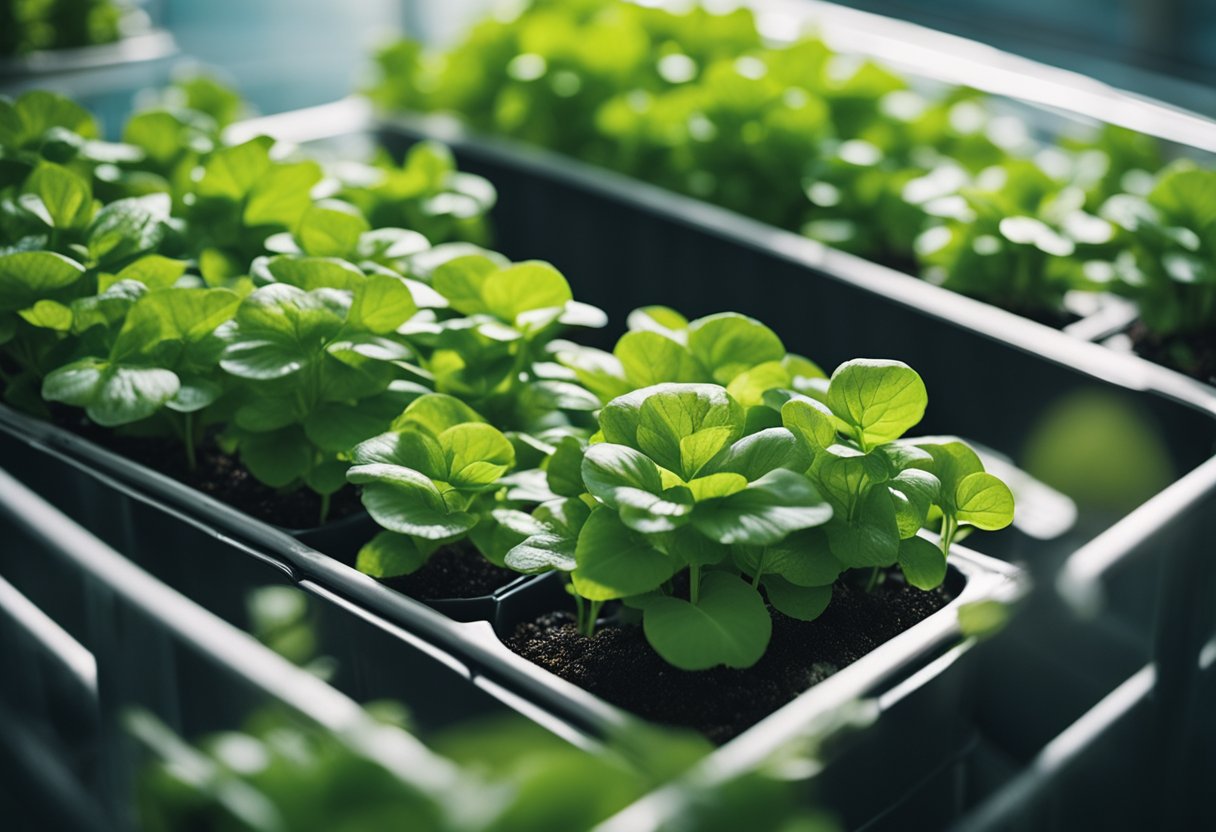
Selecting Suitable Vegetables
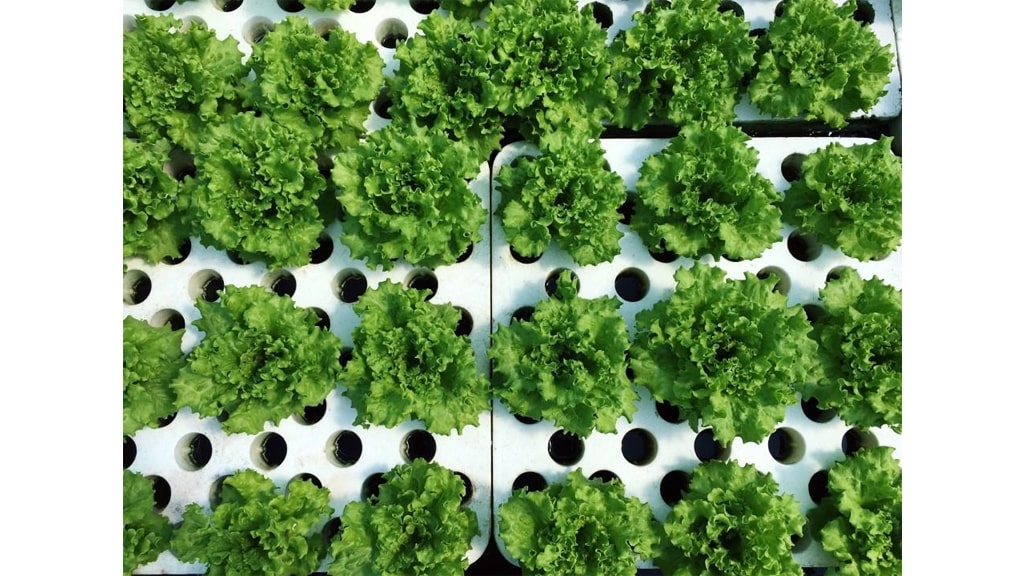
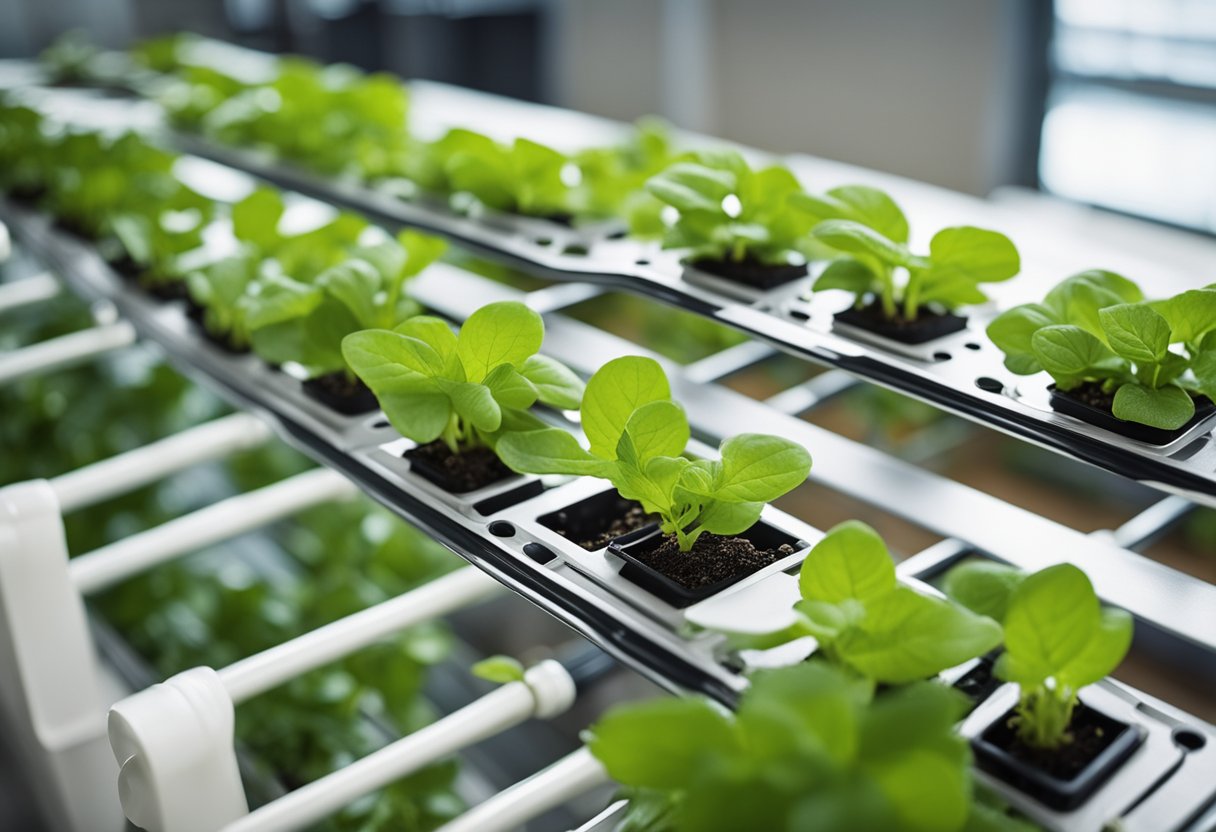
When selecting vegetables for our self-watering planter, it's important to choose those that thrive in container gardens. Leafy greens like lettuce and spinach work well. Fruit-bearing plants such as tomatoes and peppers are also great choices. Don't forget about root vegetables like carrots and radishes, which are ideal for these systems.
Soil Preparation
Preparing the soil is crucial for a healthy vegetable garden. We should use a well-draining potting mix, which helps to prevent waterlogging. Adding organic matter, like compost, can enhance the soil’s nutrient content. This preparation ensures our vegetable plants receive the best start.
Planting Technique
When planting, it's essential to consider the mature size and spacing needs of each plant. For example, tomatoes and eggplant need more space compared to smaller plants like beans and strawberries. Proper spacing helps with air circulation and maximises growth potential.
To make the most of the self-watering feature, ensure that the wicking mechanism is in contact with the soil. This helps maintain consistent moisture levels, especially beneficial for plants like corn and peppers, which thrive on steady hydration.
By following these steps, we're on our way to cultivating a thriving self-watering vegetable patch.
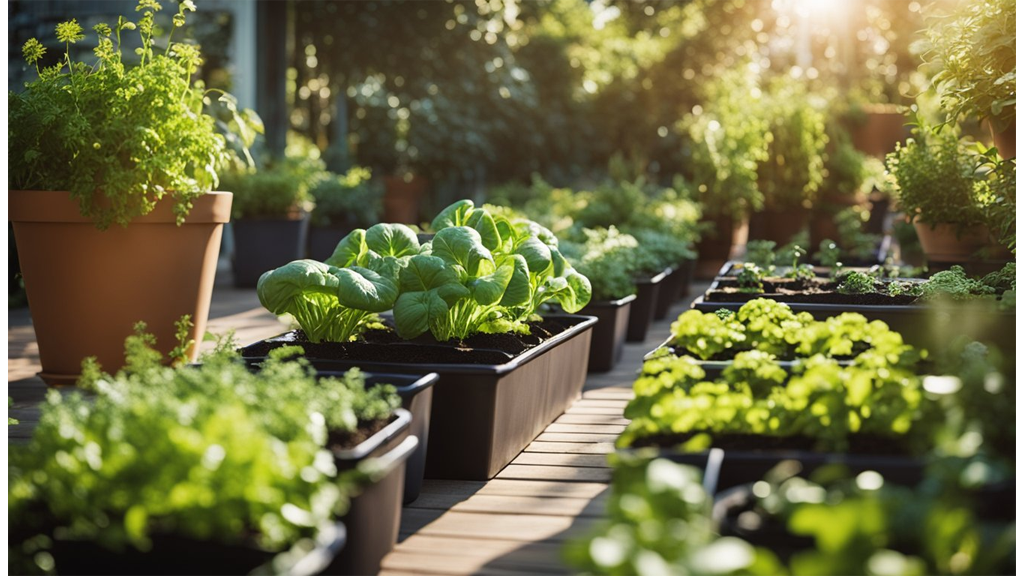
Best Self-Watering Planters
When it comes to maintaining a thriving vegetable patch, self-watering planters are real game-changers. They simplify the gardening process and ensure that our plants receive consistent moisture. Let's explore some of the standout choices.
AutoPot Tray2Grow Planter Kit
The AutoPot Tray2Grow Planter Kit offers an effective self-watering system. Its innovative design includes a power-free system that offers five ways to feed and water your plants. This model suits various types of vegetables, is easy to assemble, and requires minimal maintenance.
Medium Raised Garden Bed with Cover
The Medium Raised Garden Bed with Cover is perfect for smaller spaces, featuring a compact design that fits snugly on patios and balconies. It includes a cover to reduce water evaporation, making it efficient with less water. Proven success in increasing yields makes this model a favourite among urban gardeners.
Small Raised Garden Bed with Cover
For those living in cities, the Small Raised Garden Bed with Cover blends functionality with a sleek, modern look. It can grow up to 15 varieties of different greens and vegetables. The integrated self-watering wicker system makes for easy watering for the raised bed and the built-in irrigation system has 1 misting spray.
Taking advantage of these innovative systems can make our gardening experience more enjoyable. Each of these planters brings unique features that cater to different needs, from small spaces to urban aesthetics. By choosing the right planter, we can cultivate a thriving vegetable patch with confidence.
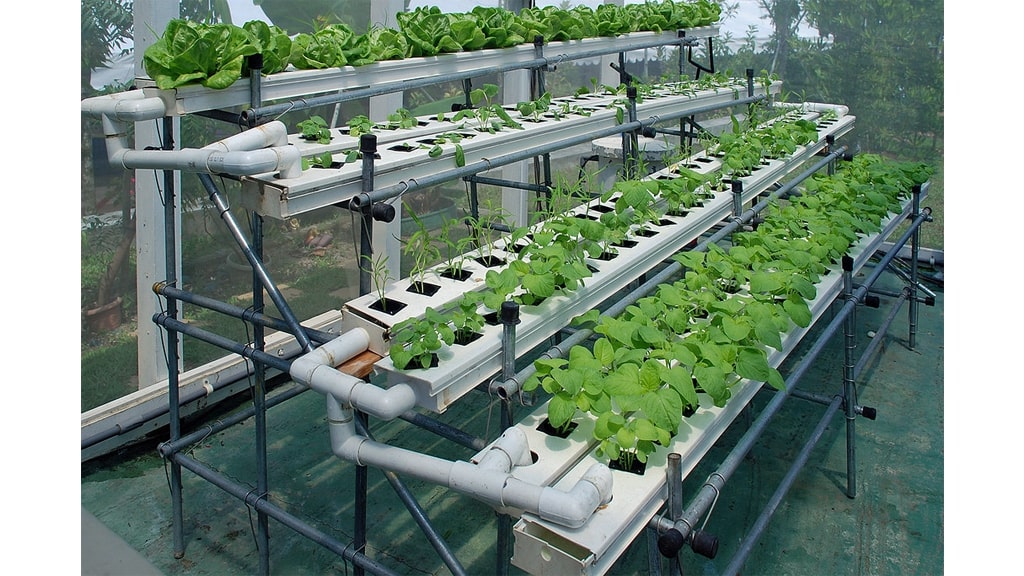
How To Build A DIY Self-Watering Vegetable Patch
Creating a self-watering vegetable patch simplifies gardening and promotes healthy plant growth. This approach combines sustainable gardening techniques with convenience, helping us enjoy bountiful harvests with minimal effort. From selecting the right spot to filling and planting, we've outlined each critical step in our guide.
Decide A Spot
We must choose a location that receives at least 6-8 hours of sunlight daily. Good air circulation is essential, so ensure the area is open yet protected from harsh winds.
A level ground will aid in even water distribution. Consider convenience too; having the patch near our regular activities can make maintenance easier. Observing the spot at different times of day will help confirm consistent sunlight exposure.
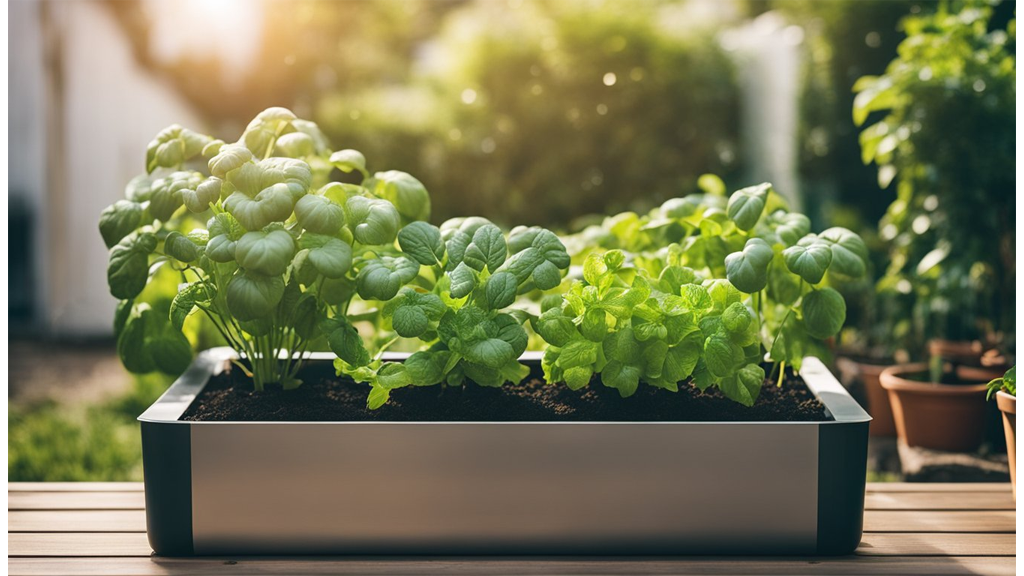
Choose A Container
When selecting a container, materials like wood, metal, or plastic are ideal. These options provide durability and can withstand various weather conditions.
The size of the container depends on what vegetables we plan to grow. If we're cultivating a mix of leafy greens and root vegetables, a more substantial container will offer the necessary space for diverse plant needs. Ensure the container is sturdy to handle the weight of soil and water.
Get the Correct Depth
The depth of the container is crucial for accommodating different vegetable root systems. Aiming for a depth of 12-18 inches allows for proper root development.
For root vegetables like carrots or beetroot, deeper containers are recommended. This additional depth promotes healthy growth by providing ample space for roots to expand. Using a tape measure can help maintain consistent depth across multiple containers.
Waterproof Liner
Using a pond liner or heavy-duty plastic, line the interior of the container. This step helps protect the material from water damage and ensures moisture retention.
Securing the lining evenly around the interior with staples or clips will prevent water from seeping through. Also, double-check for any tears or gaps before proceeding to the next stage.
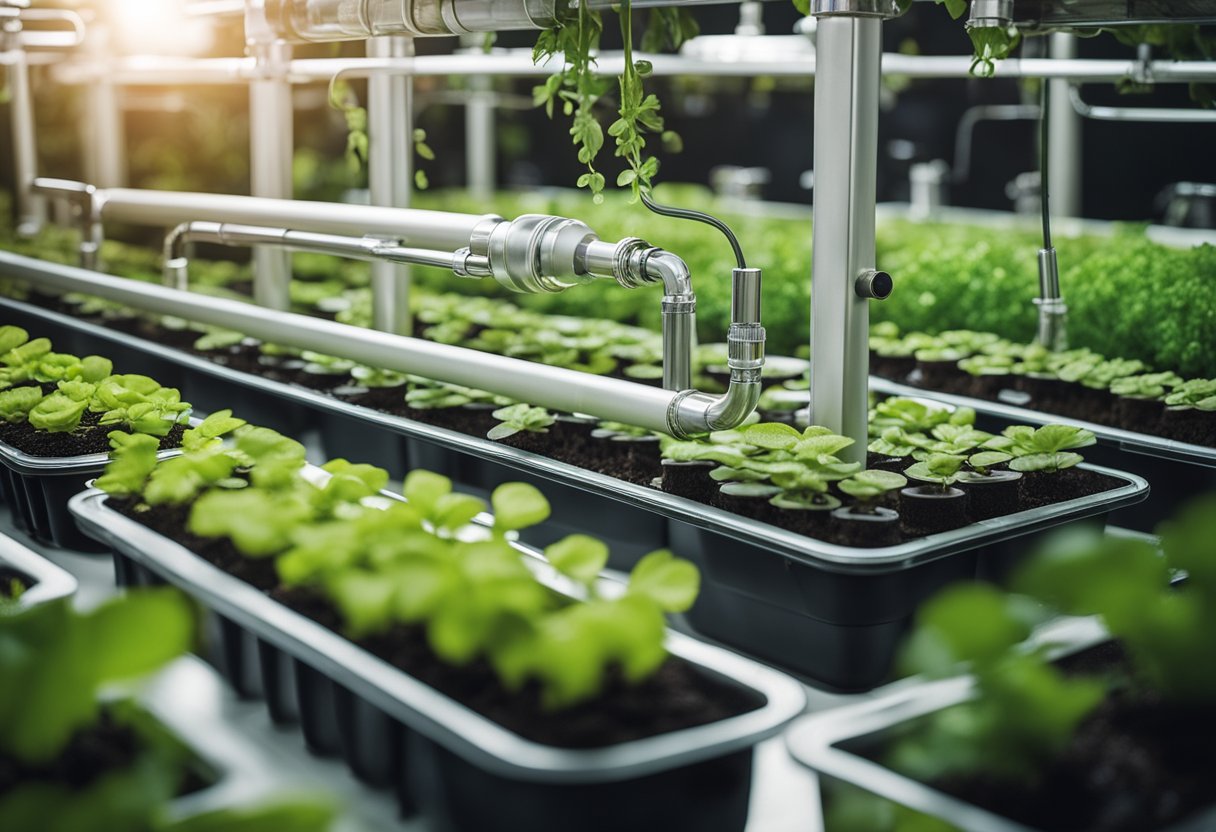
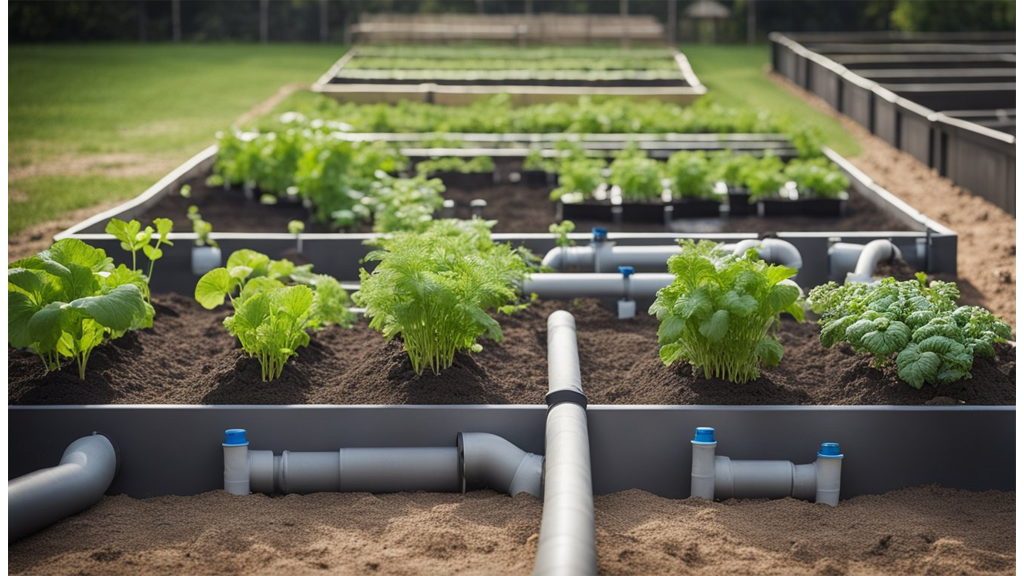
Lay Inlet Pipe
A vertical PVC pipe should be installed, reaching from the reservoir's base to above the soil. This setup allows us to fill the reservoir without disrupting the soil surface.
The PVC pipe should be snugly fitted to prevent soil from entering. Regularly checking the pipe for blockages will ensure water flows smoothly into the reservoir.
Fill With Substrate
The substrate layer consists of materials like gravel, sand, or perlite. These components create a wicking bed, allowing water to move efficiently from the reservoir to the plants.
We should ensure an even distribution of the substrate for consistent wicking action. Depending on availability, we can use a combination of these materials to balance cost and effectiveness.
Overflow Outlet
Drilling a hole slightly below the soil level creates an effective overflow outlet. This hole prevents overwatering by allowing excess water to drain out, maintaining the right moisture level.
We need to be cautious when drilling to avoid damaging the liner. Regular inspection of the overflow outlet, particularly after rainfall, will help ensure it functions correctly.
Add Great Soil
Cover the substrate with a layer of quality potting mix enriched with compost. This mix guarantees nutrient availability, supporting plant growth.
Spreading the soil evenly prepares a fertile ground for our vegetables. Mixed into the potting mix, compost provides a slow-release nutrient source, essential for sustained plant health and productivity.
Fill, Plant, Mulch
With the inlet pipe, we can fill the reservoir. This step is crucial before planting so that soil moisture is just right.
Plant our chosen vegetables ensuring proper spacing. Using mulch over the soil conserves moisture and suppresses weeds. By regularly checking moisture levels and topping up the reservoir, we can keep our self-watering patch thriving.
Conclusion
Our journey into the world of self-watering vegetable patches has been both enlightening and inspiring. These ingenious systems save us time and water, making gardening simpler and more sustainable.
By allowing water to wick through the soil from a reservoir, our plants stay hydrated efficiently. This method reduces water waste and ensures a steadier moisture supply, crucial for healthy growth.
Imagine a flourishing garden with minimal effort. We're freed from constant watering chores and can enjoy thriving veggies, even during busy or dry periods.
Let's take the step together. Implementing a self-watering system in our gardens is not just an investment in convenience but also in sustainability. It empowers us to grow our own food with respect for our precious resources.
Shall we embrace this smart gardening revolution? It offers a rewarding and eco-friendly way to enjoy the delights of homegrown vegetables.