

 Store Locator
Carbon dioxide, often associated with climate change and environmental impacts, plays a crucial role in plant growth for reasons not immediately obvious. When we increase CO₂ concentrations, plants can enhance their photosynthesis process, enabling them to produce more sugars and grow more vigorously. The carbon fertilisation effect highlights this relationship, demonstrating how CO₂ acts as a nutrient for plants, boosting their growth and potentially increasing agricultural yields.
As gardeners and farmers, understanding the role of CO₂ supplementation can be highly beneficial. By supplying the right amount of CO₂ to our plants, we can push their growth and development to new levels, beyond what they achieve in natural conditions. However, it is essential to balance this enhancement with environmental considerations, as excess CO₂ in the atmosphere also contributes to climate change.
Knowing how to apply CO₂ optimally, and in what quantities, can make a significant difference in the results we achieve. As we explore various methods to measure and apply CO₂ effectively, we improve our ability to maximise plant health and productivity, demonstrating the versatile importance of carbon dioxide in both agriculture and climate science.
Key Takeaways
- CO₂ boosts plant growth by enhancing photosynthesis.
- Effective CO₂ use increases agricultural yields.
- Balance CO₂ application with environmental impacts.
How Does CO2 Aid Plant Growth?
When we talk about plant growth, carbon dioxide (CO₂) plays a starring role. It's a vital component of photosynthesis, the process by which plants convert CO₂ and sunlight into glucose and oxygen. This is how plants produce the energy necessary for growth.
Increased CO₂ levels affect stomatal function. Stomata are tiny openings on leaves that control gas exchange. With more CO₂, stomata don't need to open as wide or as often. This can result in better water retention and more efficient nutrient uptake, ultimately supporting plant growth.
The carbon fertilisation effect is well-documented. The Scientific American highlights how higher atmospheric CO₂ can enhance photosynthesis and promote growth. Greater availability of carbon aids in producing more sugars—a key energy source for plants. This, in turn, pushes plant growth to new levels.
Understanding the direct effects of CO₂ on the carbon cycle helps us appreciate its influence on plant life. While plants absorb CO₂, they also release oxygen, contributing significantly to our atmospheric balance. These transformations underscore the interconnectedness of natural systems.
In summary, CO₂ is more than just a greenhouse gas—it's a growth booster for plants. By affecting processes such as photosynthesis and influencing stomatal function, higher levels of CO₂ help meet plants' energy and nutrient demands. This enables stronger, more rapid growth in diverse environments.
When Should I Use CO₂?
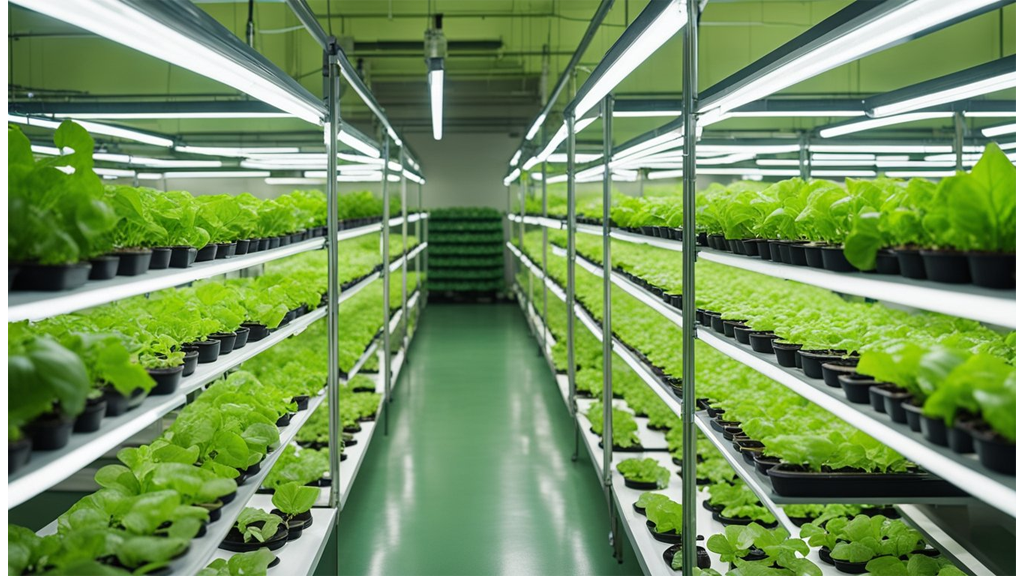
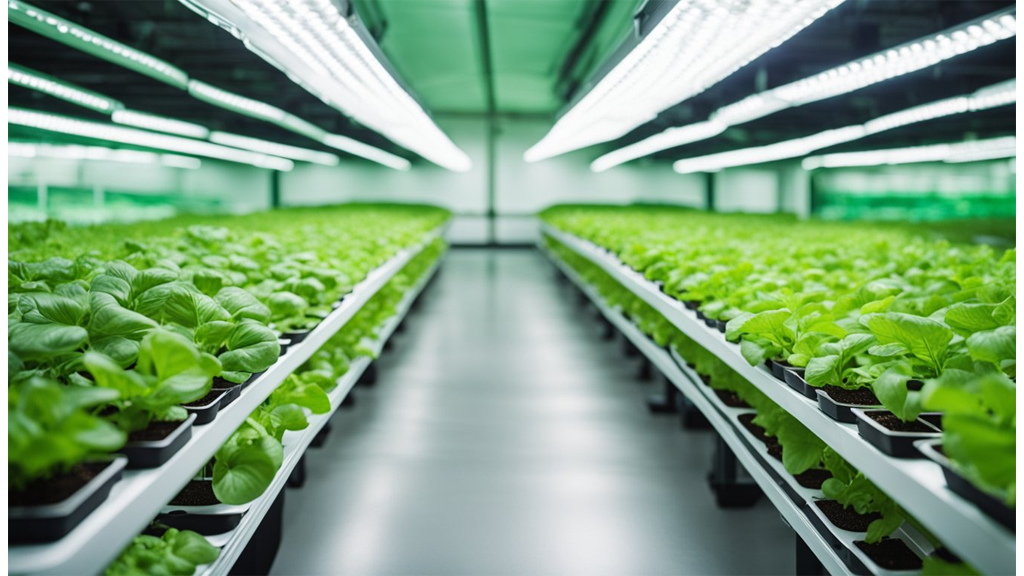
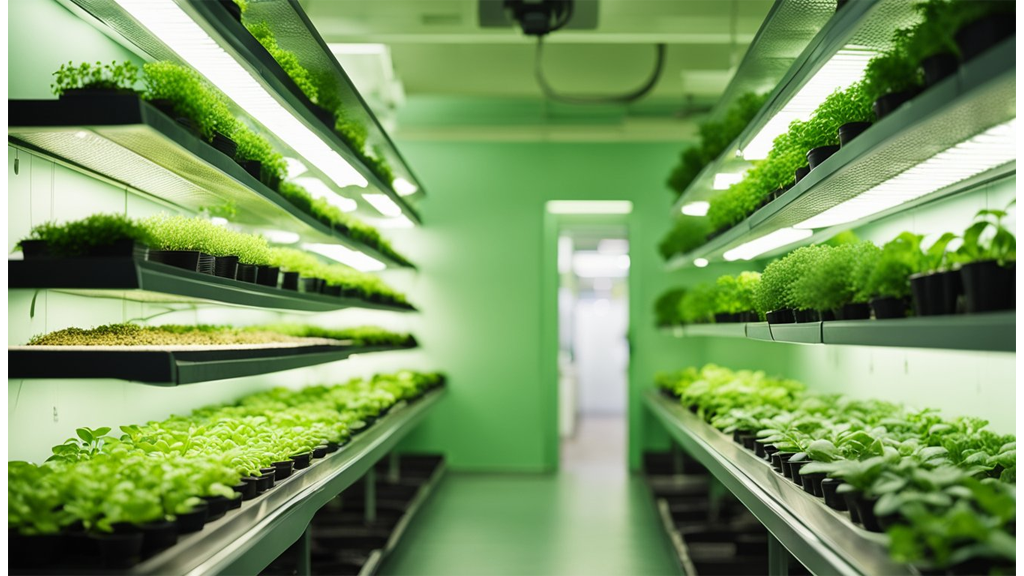
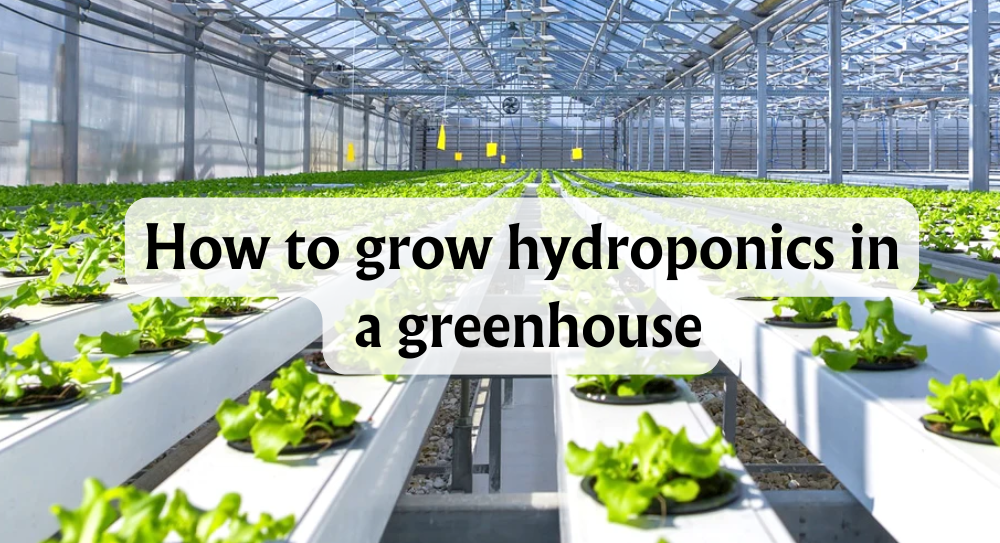
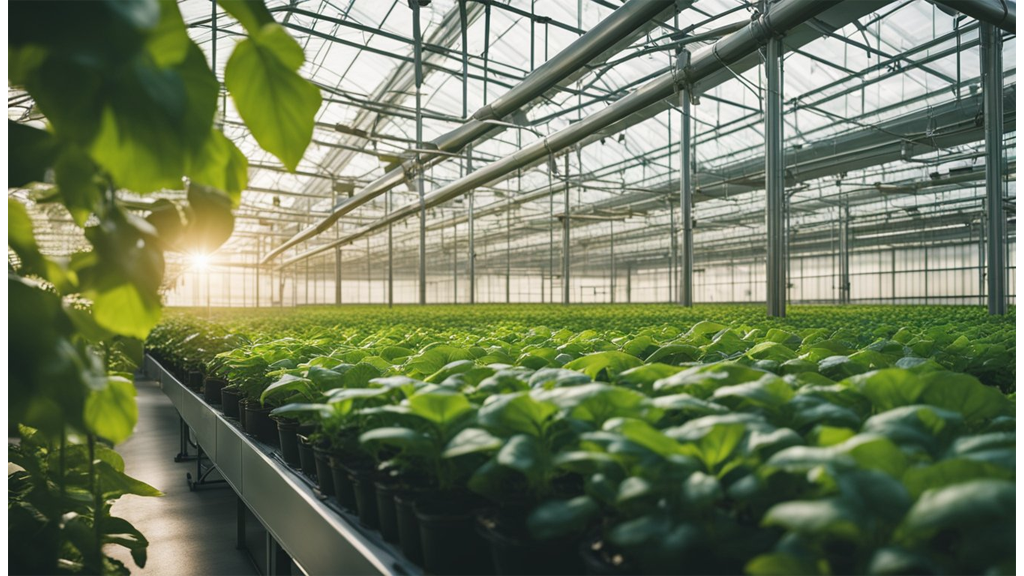
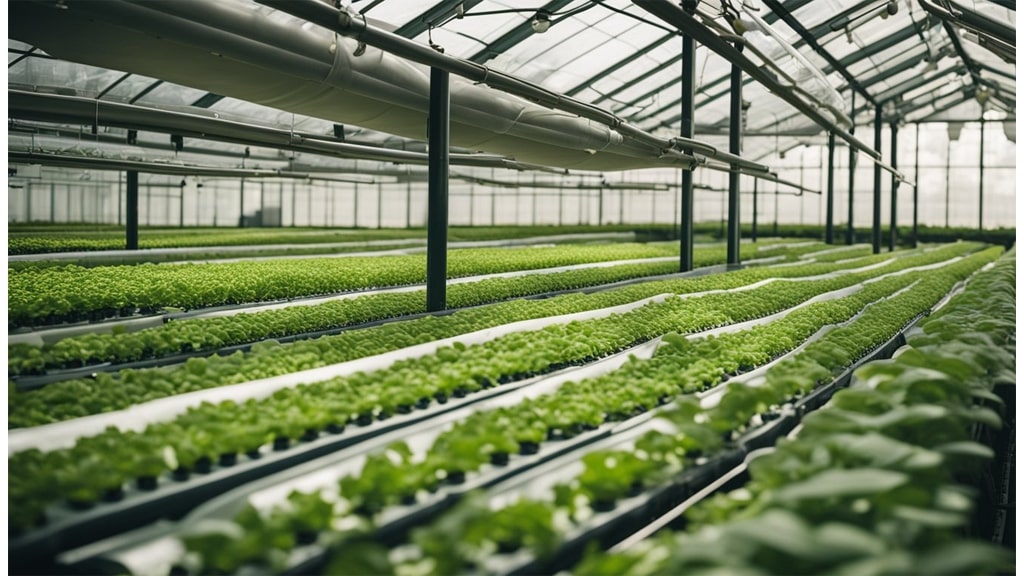
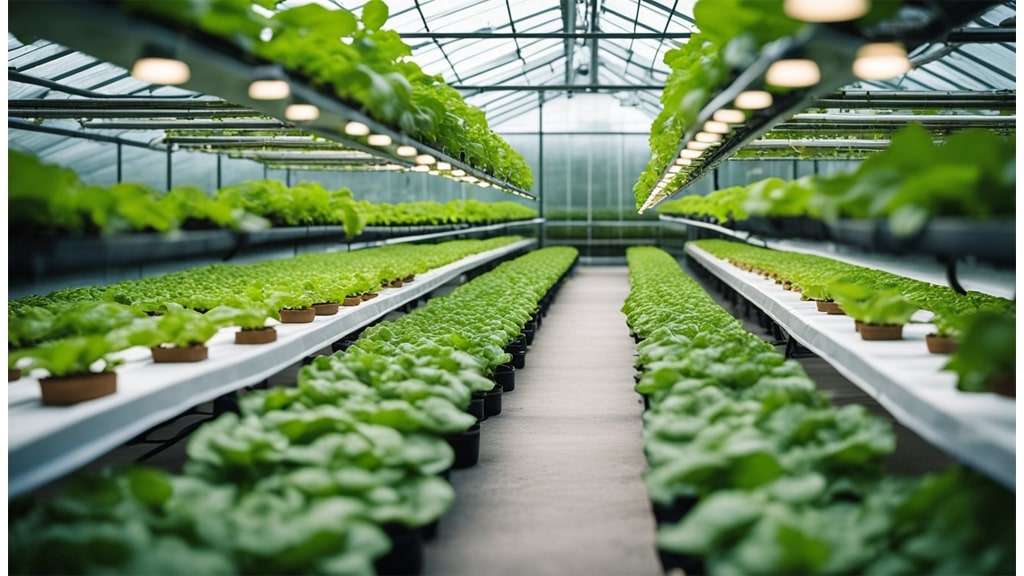
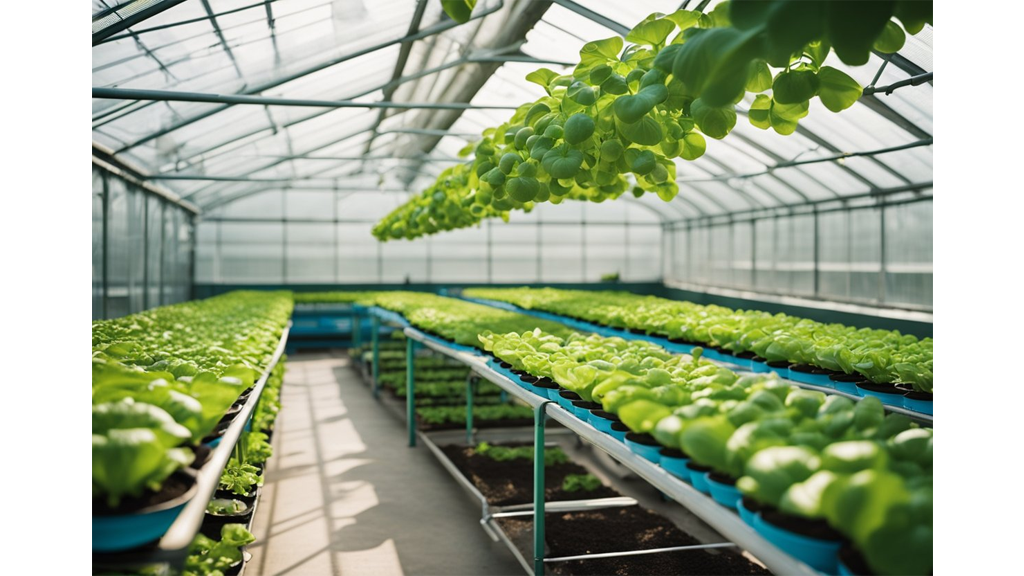
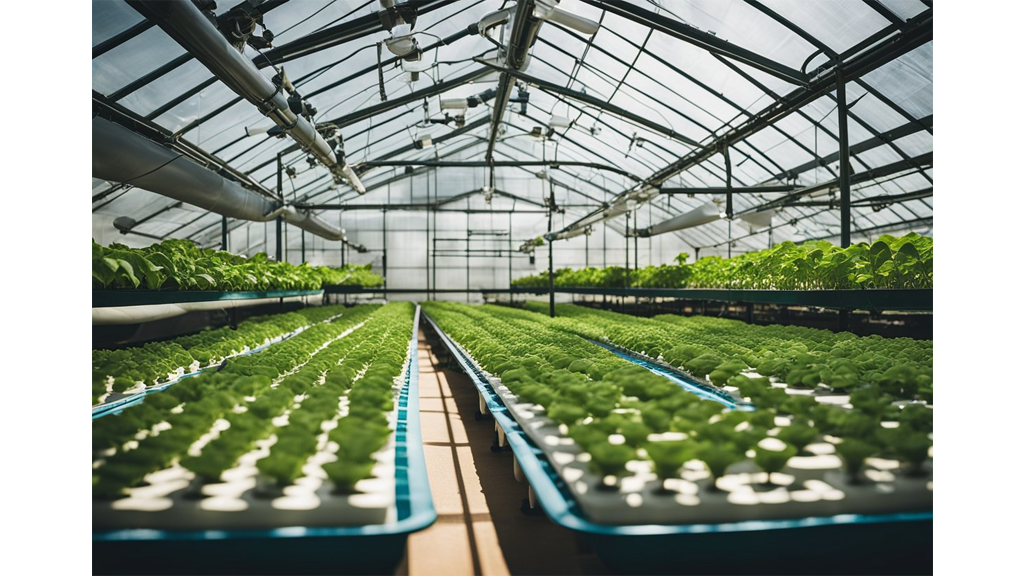
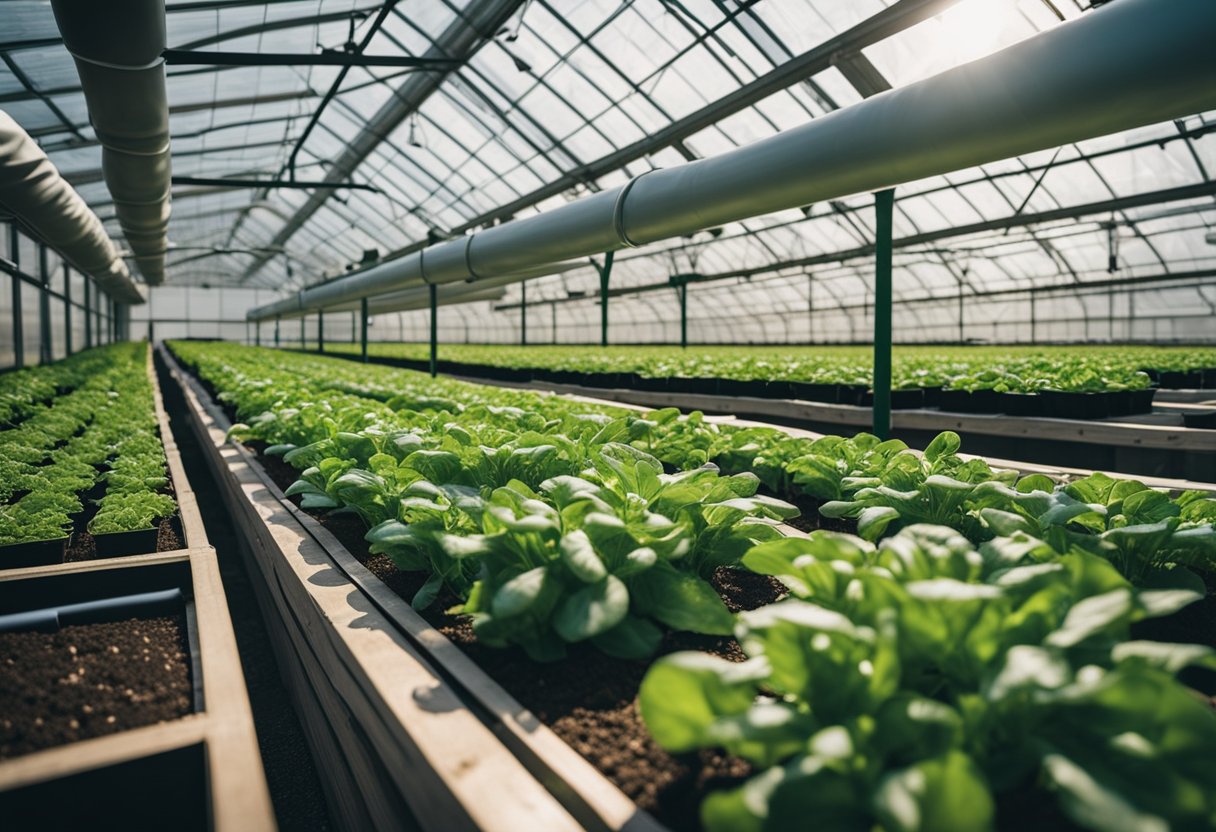
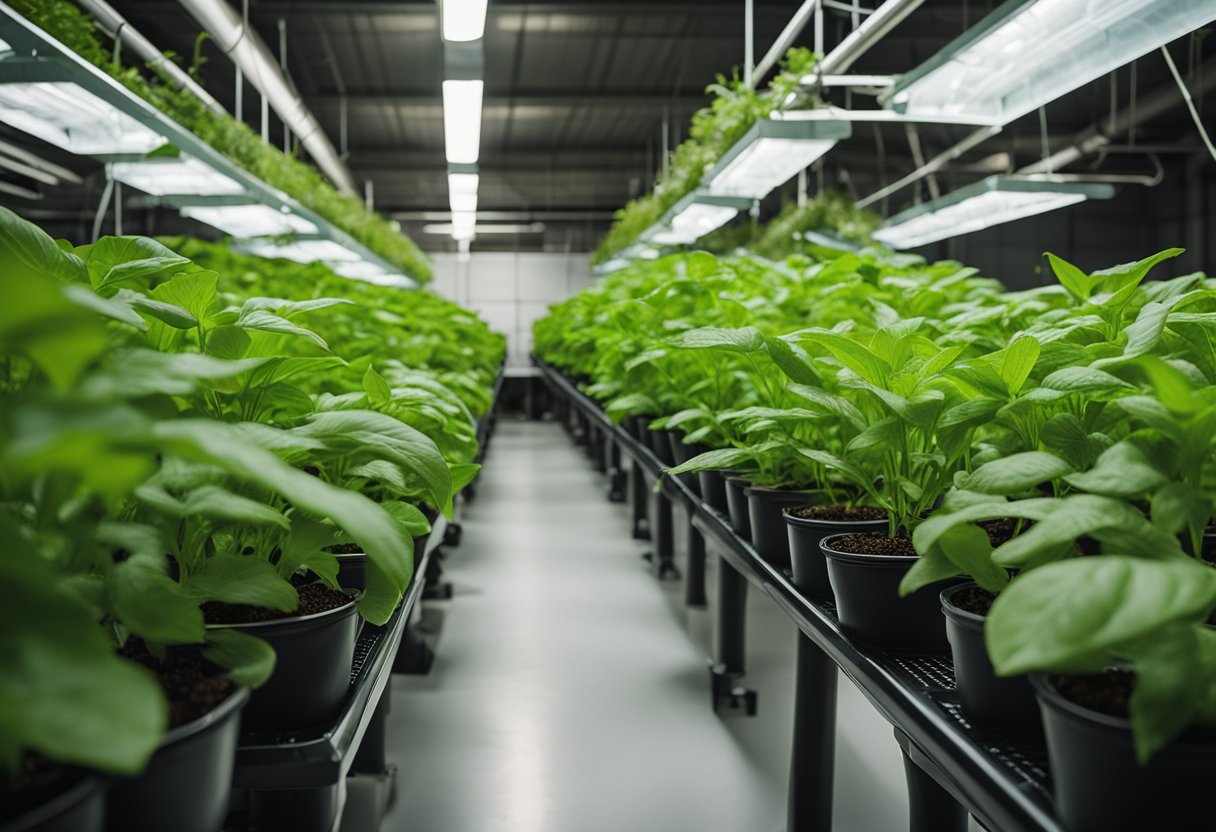
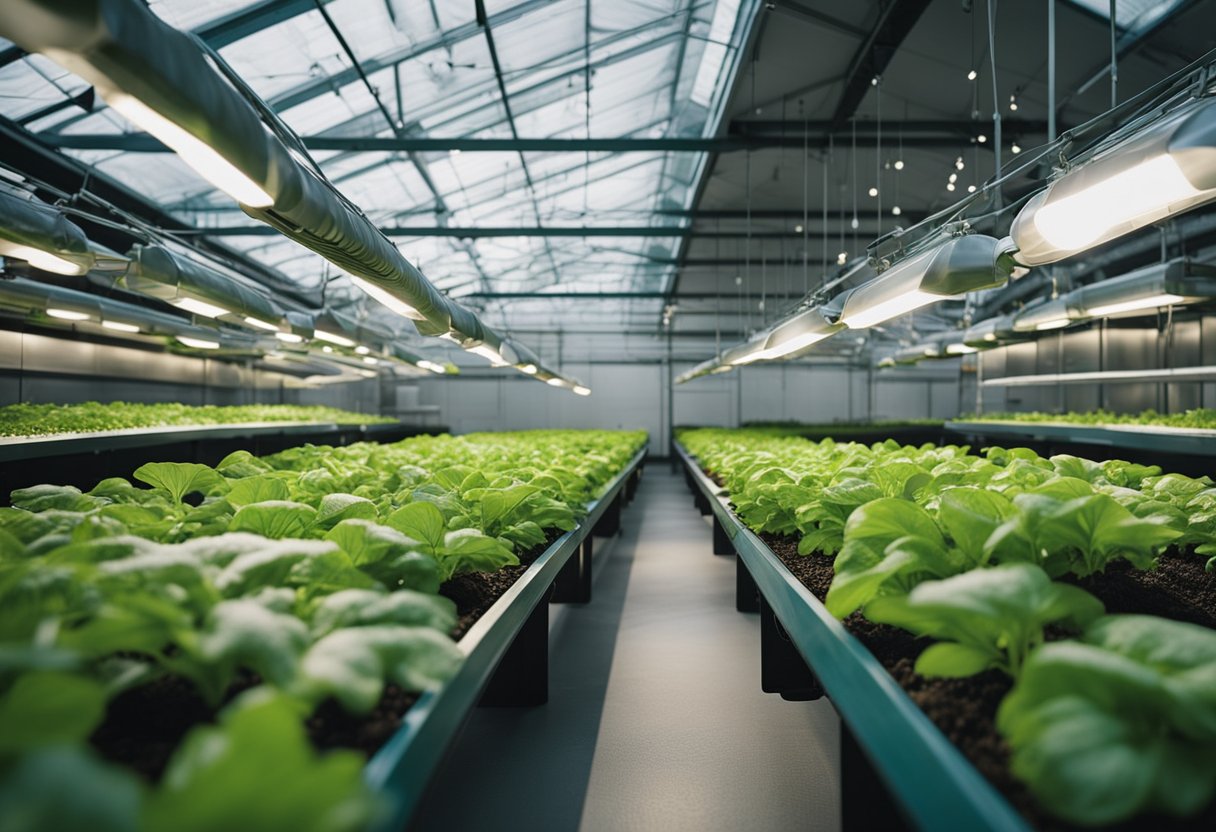
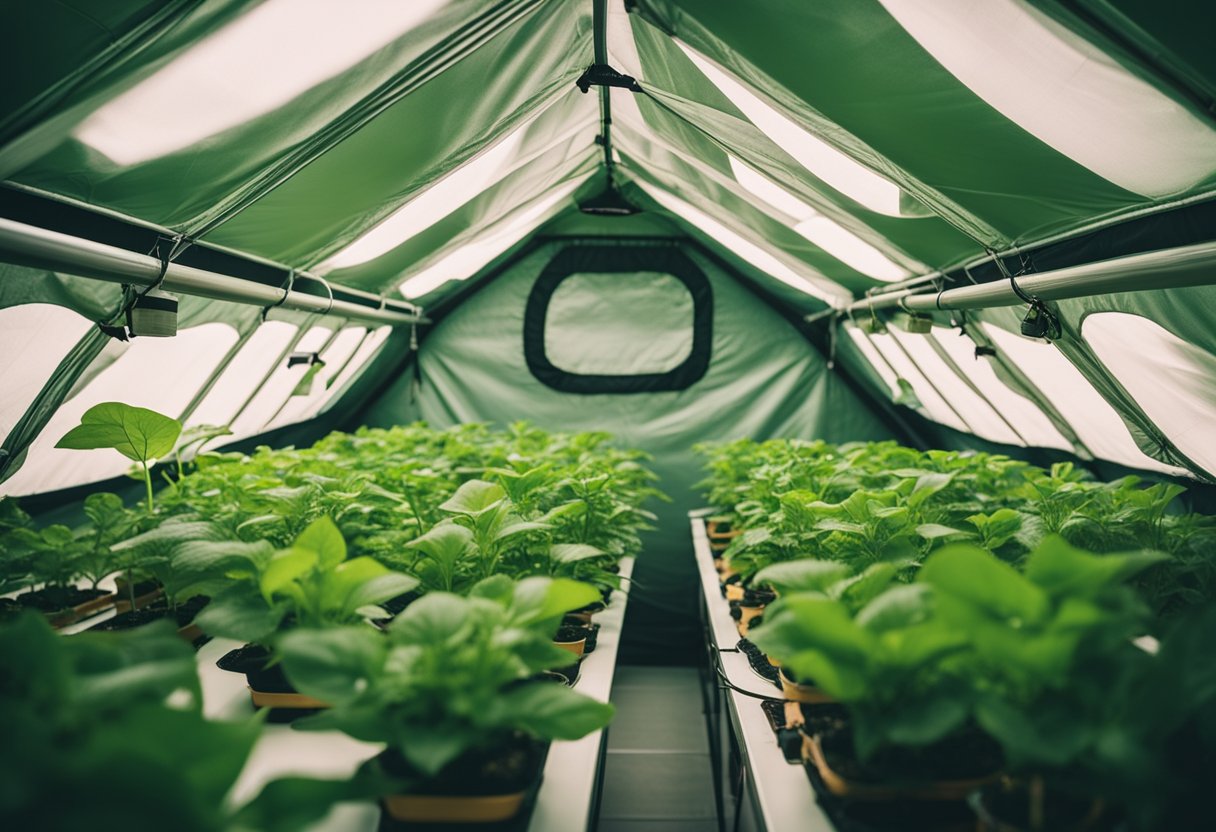
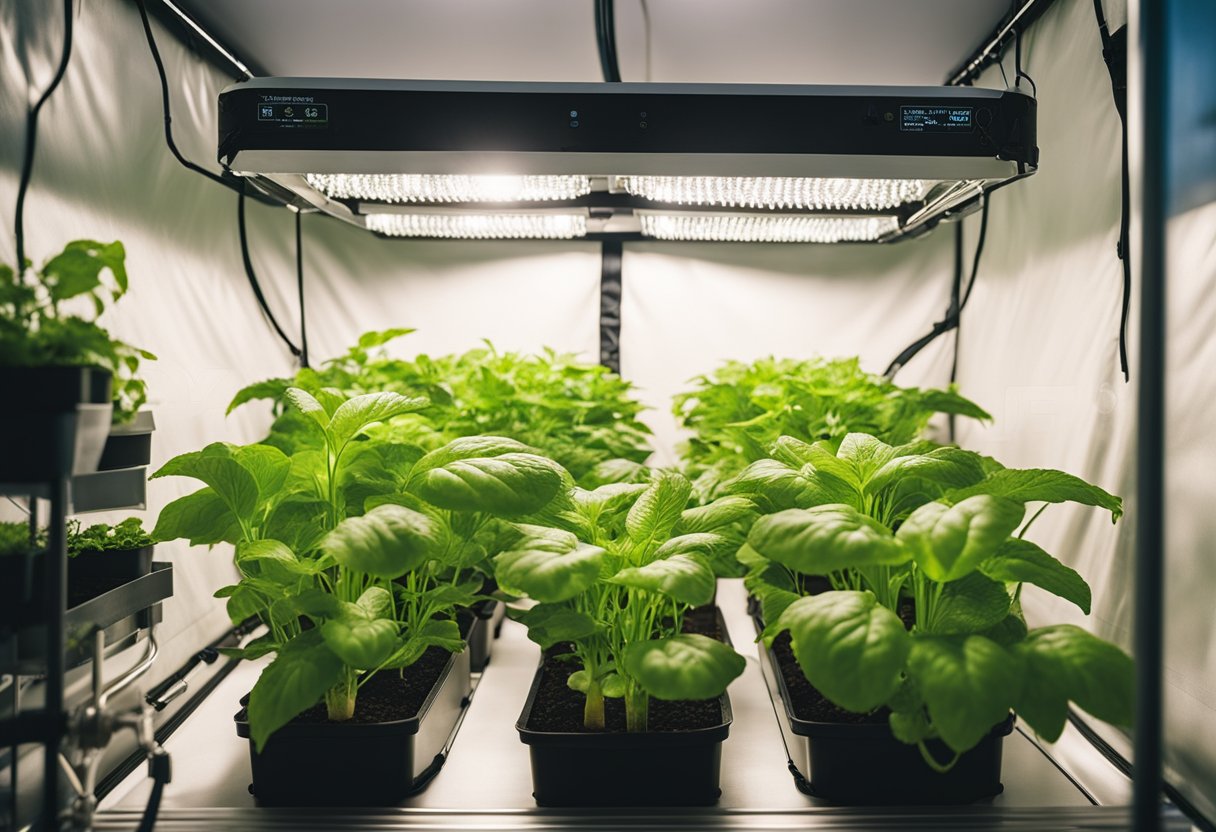
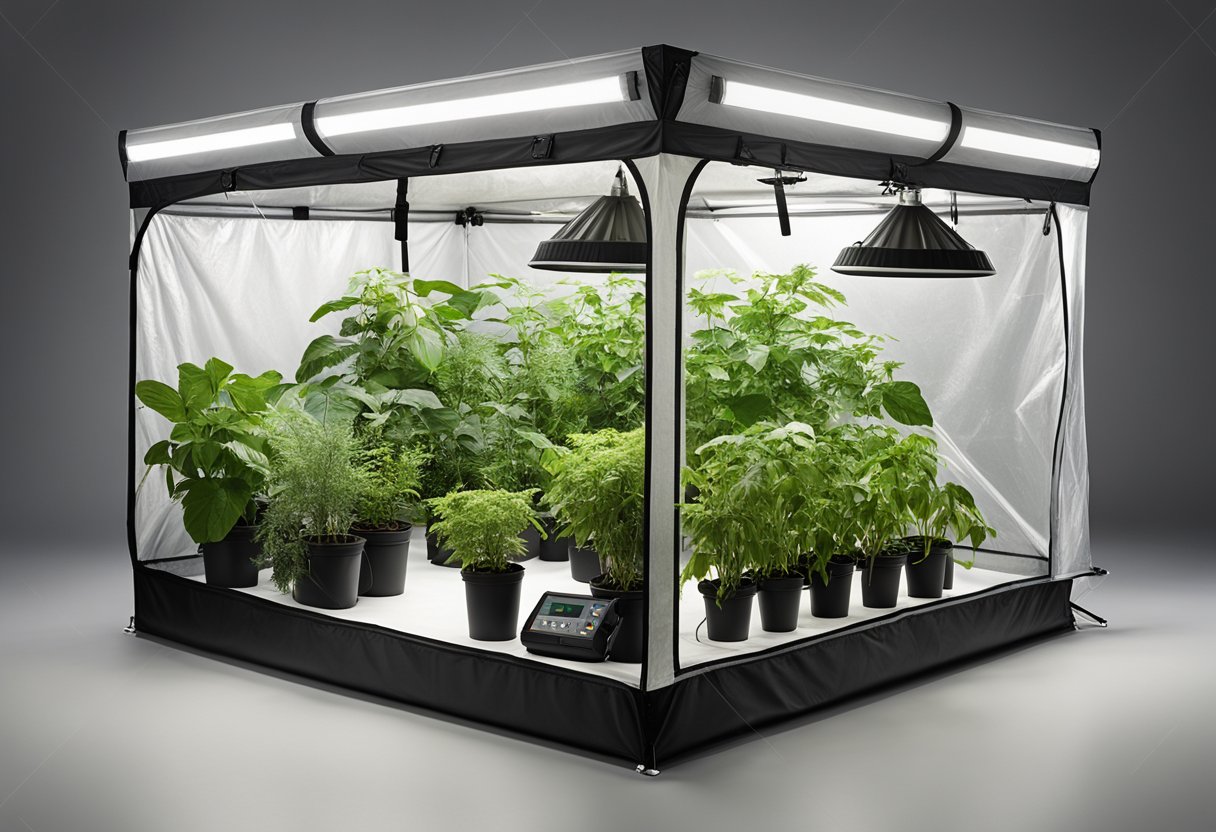
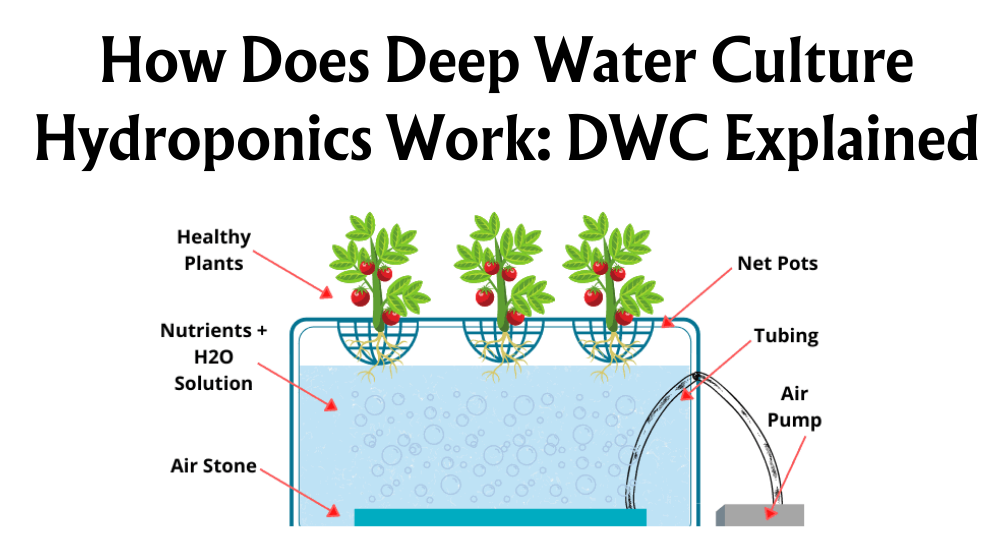
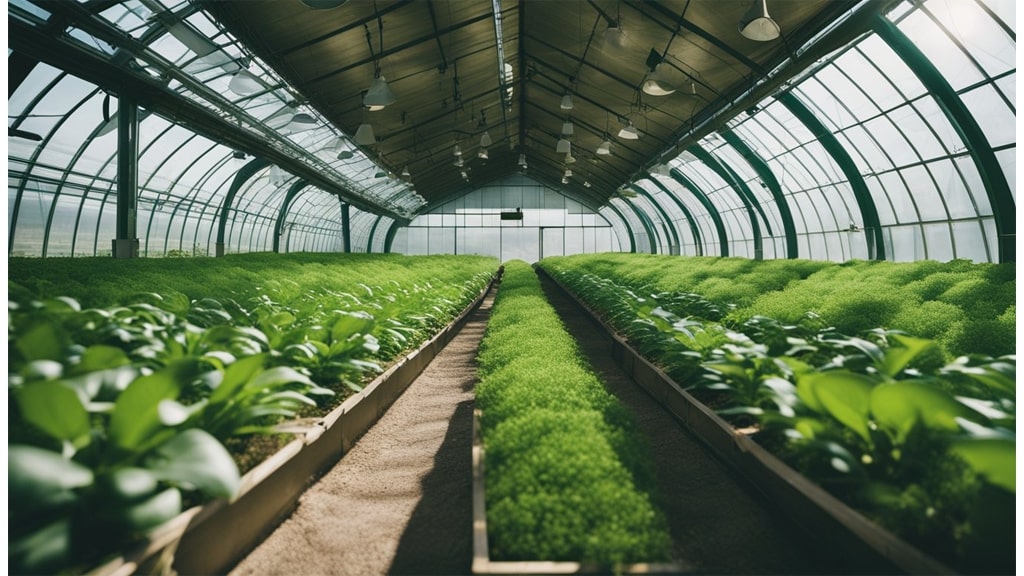
Deciding when to use CO₂ supplementation can significantly impact plant growth. Indoor environments, like greenhouses and hydroponic systems, are ideal for introducing CO₂ due to their controlled conditions. Here, we can easily manage factors such as lighting and temperature, which are crucial for maximising the benefits of CO₂.

In outdoor settings, the situation is different. Natural CO₂ levels may suffice, especially if plants are in well-ventilated areas. However, in large-scale cultivation where consistent growth and yield are priorities, CO₂ supplementation might still be beneficial.
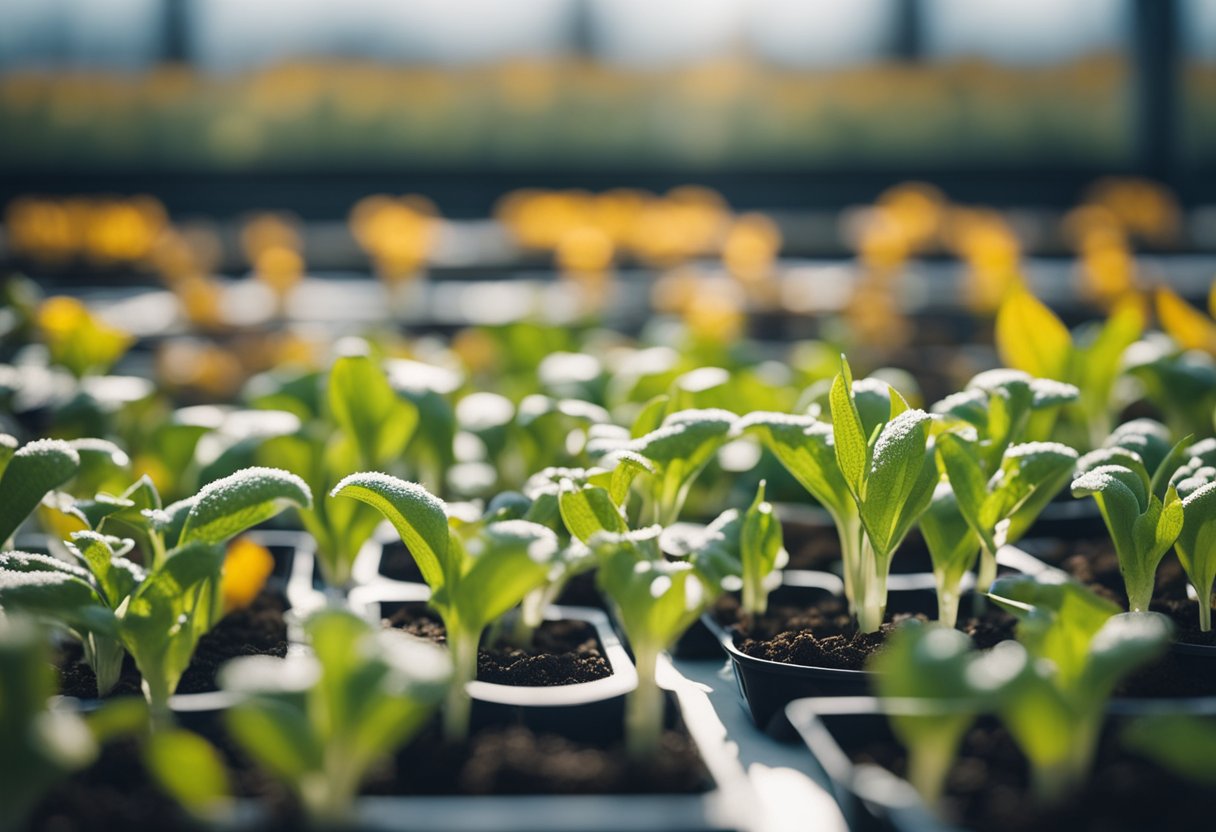
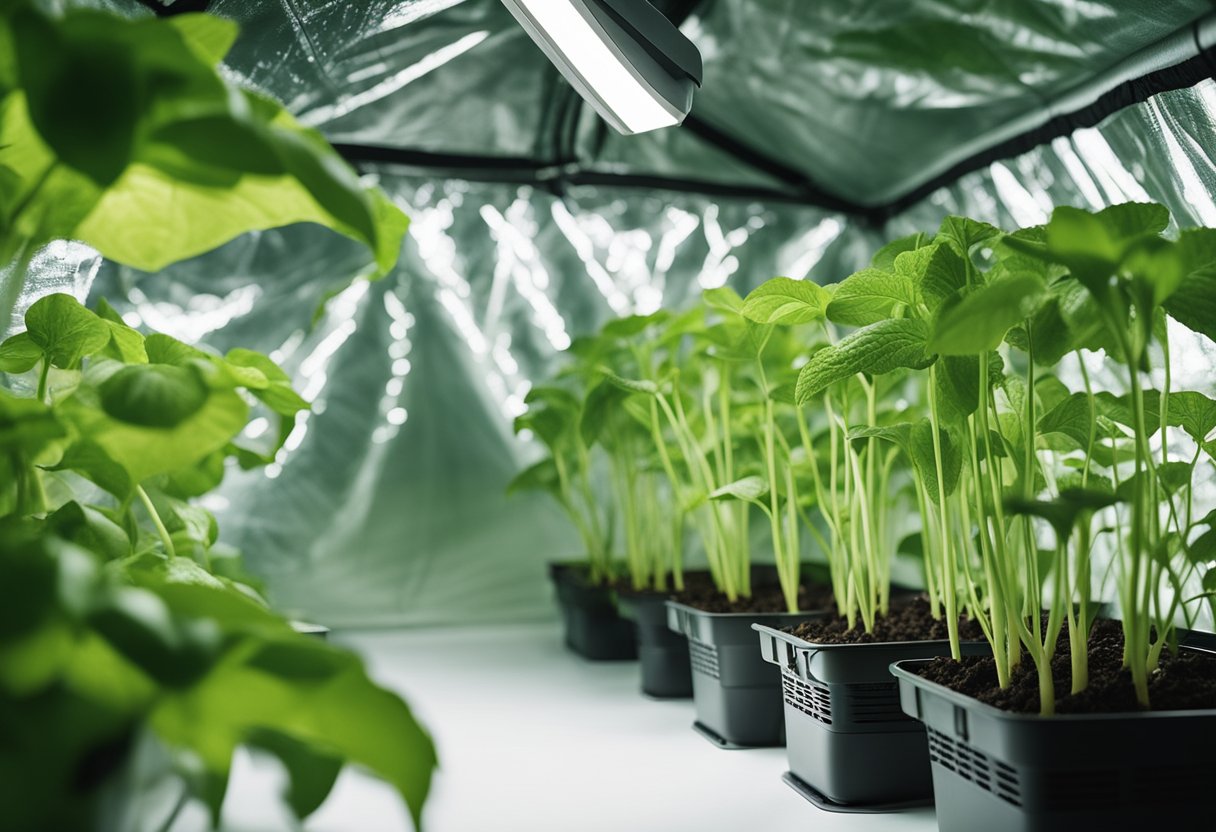
Timing is key during a plant's lifecycle. It's particularly effective to introduce CO₂ during the vegetative stage when photosynthesis demand is high. Additional CO₂ can promote faster, healthier growth, setting a strong foundation for the flowering stage.
Environmental conditions play a vital role. Adequate lighting, temperature, and humidity must be maintained, as they interact with CO₂ levels. Without the right balance, plants could experience stress, negating any potential benefits.
When considering CO₂ emissions and greenhouse gases, our approach should be responsible and mindful of environmental impacts. CO₂ supplementation offers many advantages, yet it's important for us to implement these practices sustainably to minimise our carbon footprint.
How Much CO2 Do Plants Need?
We often wonder about the right levels of carbon dioxide that plants need to thrive. Natural CO₂ levels in the atmosphere hover around 419.3 ppm as of 2023, which is usually sufficient for basic plant growth. However, for enhanced growth, it’s beneficial to increase these levels.

To boost plant growth, many recommend supplementing CO₂ concentrations to between 1,000 and 1,500 ppm. This provides plants with enough carbon for processes like photosynthesis, thereby increasing biomass production.
We should also consider the roles of carbon sinks and sources in maintaining optimal CO₂ levels. Plants act as carbon sinks, absorbing CO₂ and storing it. Monitoring these levels is necessary to keep them balanced.
Regularly measuring CO₂ concentrations is crucial. Monitoring tools can help us adjust conditions in greenhouses or controlled environments, ensuring plants have the right amount of carbon dioxide. Maintaining these optimal conditions supports sustainable plant growth and maximises agricultural output.
What Are The Benefits Of CO2 For Plants?
CO2 plays a crucial role in enhancing plant growth. By providing a greater source of carbon for photosynthesis, plants can grow faster and more efficiently. Studies demonstrate that elevated CO2 levels contribute to accelerated growth rates, which is particularly beneficial for agriculture where faster crop cycles can lead to increased food production.

Higher CO2 concentrations also impact yields positively. In agriculture, we find that crops under CO2 enrichment conditions often produce higher yields. This boost occurs because plants can photosynthesise more effectively, leading to a greater conversion of sunlight into plant biomass.
One significant advantage of increased CO2 is improved water use efficiency. Plants adapt to higher CO2 levels by regulating their stomata more effectively, which reduces water loss. This adaptation is vital in areas prone to water scarcity, enabling plants to thrive with less water.
In ecosystems like tropical forests and savannas, increased CO2 levels can enhance carbon sink capacities. As trees and plants grow larger and quicker, they absorb more CO2, which plays a vital role in mitigating climate change effects.
Impact on ecosystems is considerable, altering plant communities and potentially affecting biodiversity. For example, a mature forest in the Amazon rainforest might see changes in its composition, with some species benefiting more than others.
It's crucial to consider how these CO2 benefits interface with environmental challenges. Although CO2 can aid plant resilience, challenges like deforestation and heat stress still need addressing for sustainable growth in plant life and agriculture.
The Best Ways To Apply CO2

CO₂ Generators: These devices burn propane or natural gas to produce CO₂, making them a great option for larger grow spaces. We find these generators increase CO₂ levels efficiently and can be particularly effective in commercial settings. It's essential to ensure proper ventilation, though, to prevent the build-up of excess heat.
Compressed CO₂ Tanks: When it comes to small to medium-sized grow rooms, using pressurized CO₂ tanks with regulators is incredibly useful. These tanks allow us to control the release of CO₂ precisely, ensuring plants get exactly what they need. It's a simple yet reliable method for those serious about managing CO₂ levels.
CO₂ Bags or Pads: For those of us operating on a smaller scale, CO₂ bags or pads come in handy. These organic solutions release CO₂ gradually over time. They're convenient, easy to use, and require no additional equipment. Just place them near our plants, and they'll naturally enhance the CO₂ levels without any hassle.
Case Study: Pro-Leaf CO₂ Controller: Let's highlight the Pro-Leaf CO₂ Controller, a fine example of innovative technology in CO₂ delivery. Users have praised its ease of use and effectiveness. The controller offers precise adjustments, making it perfect for optimising our growing environment. We can maintain consistent CO₂ levels, enhancing the growth rates of trees and other plants.
How To Measure CO2 For Plants
Measuring CO₂ levels for plants is essential to optimise growth and ensure a healthy environment. We can use various tools and methods to get accurate readings.

CO₂ Meters
CO₂ meters are a popular choice. We can choose between handheld and stationary models. Handheld meters are portable and easy to use, while stationary meters offer continuous monitoring. Accuracy varies by model, so it's important to select a meter that suits our needs.
Integrated Environmental Controllers
These devices not only monitor CO₂ levels but also adjust them alongside other environmental factors like humidity and temperature. Using satellite data, these controllers provide a comprehensive approach to managing plant growth environments. They are ideal for larger, more sophisticated setups.
DIY Methods
For hobbyists or smaller projects, simple DIY methods can estimate CO₂ levels. One basic technique involves observing plant response. Plants often show visible signs when CO₂ levels are low, such as slower growth. While not precise, these methods can be useful for casual monitoring.
In summary, choosing the right method depends on our specific needs and resources. From sophisticated controllers to DIY approaches, the options allow us to efficiently monitor and maintain ideal CO₂ levels for our plants.
Conclusion
We've seen that enriching plant environments with CO₂ can significantly enhance growth. Increased photosynthesis means plants produce more sugars, fuelling growth and improving yields. This process is especially beneficial in controlled environments like greenhouses.
Key Advantages:
- Higher Photosynthesis Rates: More CO₂ means more food for plants.
- Improved Water Efficiency: Plants use water more effectively, crucial in dry regions.
While CO₂ enrichment offers notable benefits, it's crucial to maintain a balanced approach. Excessive CO₂ can lead to diminished returns or other unexpected challenges.
We must carefully monitor environmental variables. Temperature, humidity, and light levels play pivotal roles in how plants respond to CO₂. Using tools like CO₂ controllers can help in maintaining the right balance.
Ultimately, with the right management and a keen eye on various conditions, we can achieve optimal plant health and increased crop yields. Balance is key in driving plant growth to new heights with CO₂ enhancement.