

 Store Locator
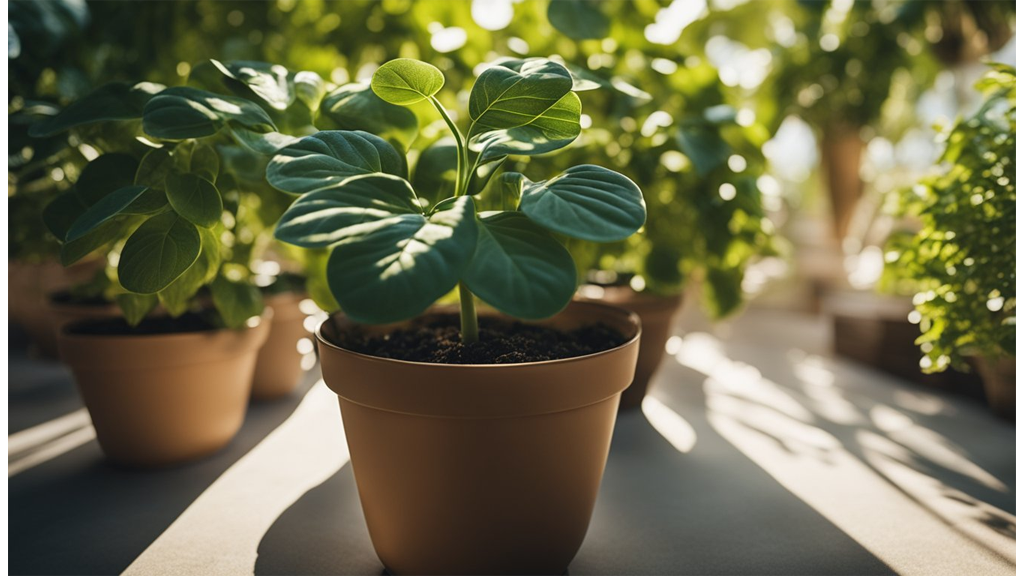
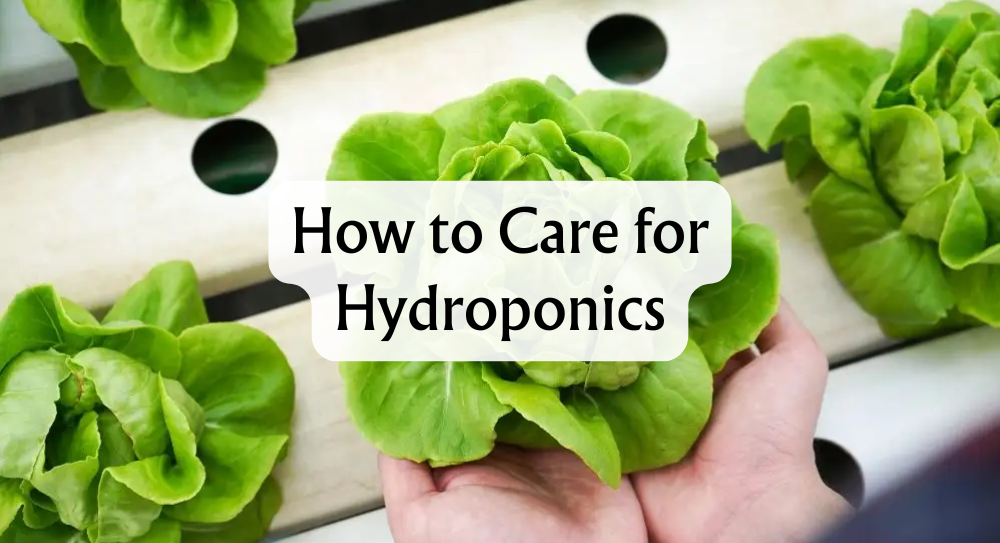
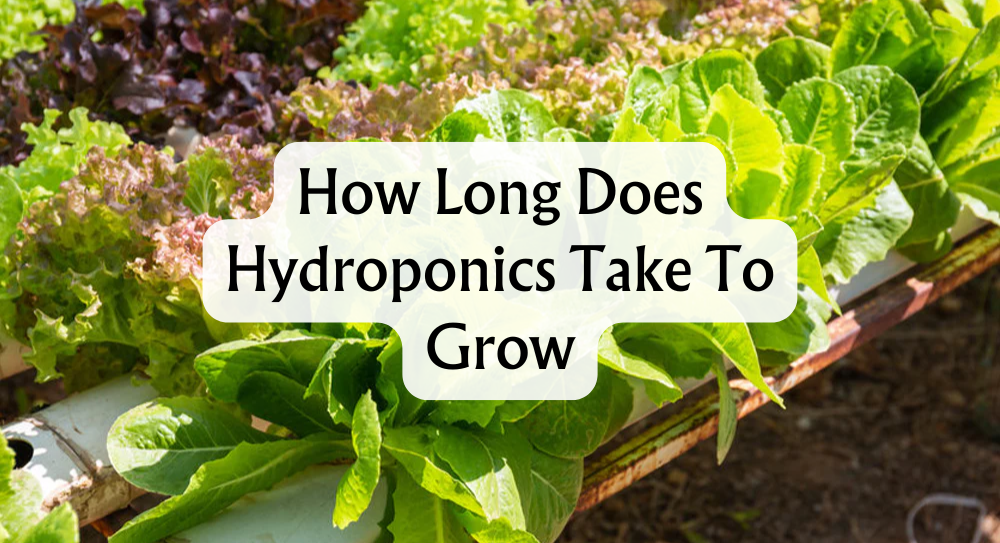
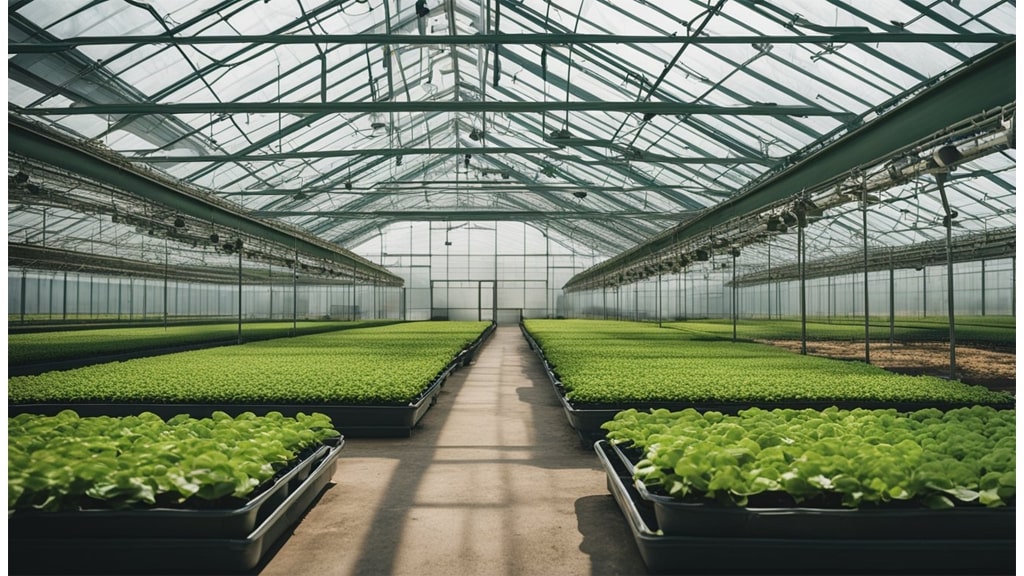
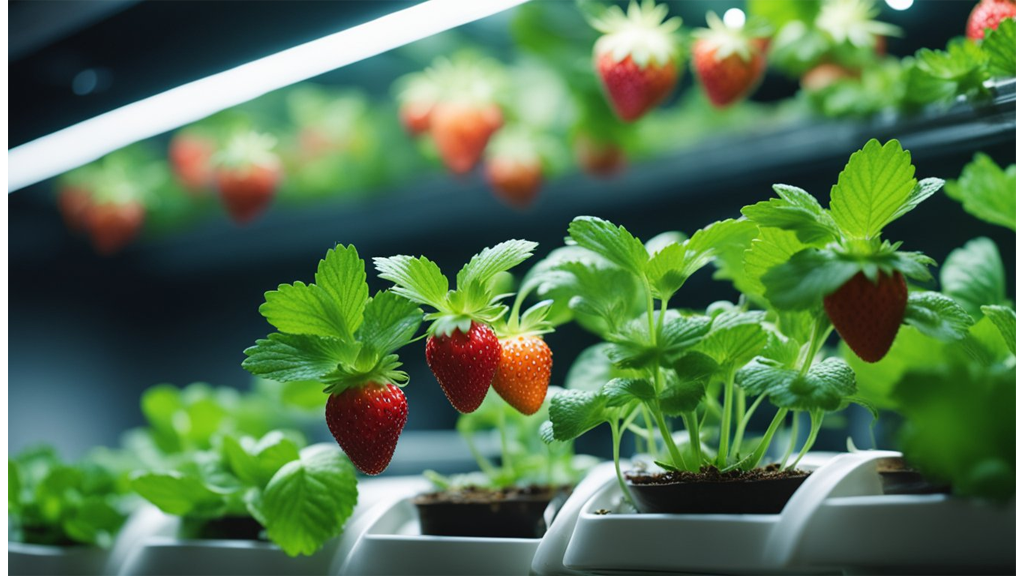
Hydroponics is quickly becoming a popular method for growing plants, offering control over nutrients and water that traditional soil methods just can’t match. As more of us experiment with hydroponic gardens, questions about specific techniques naturally arise. One of the most debated is flushing—removing nutrients from the system just before harvest to supposedly improve crop quality.
Flushing is not always necessary in hydroponics, but many growers do it to help plants use up excess nutrients and potentially improve flavour or quality at harvest. If you’re curious whether flushing really makes a difference, when to do it, or how it might affect your next crop, this article breaks down what flushing involves, the reasoning behind it, and the key benefits and drawbacks.
We’ll look at what flushing actually means in a hydroponic context, common practices, and advice on whether you should always bother with a final flush. We’ll also share tips on timing, methods, and what to expect if you decide to give it a try.
Key Takeaways
- Flushing can help plants use remaining nutrients before harvest.
- Timing and method vary depending on system and goals.
- Not every hydroponic grower considers flushing essential.
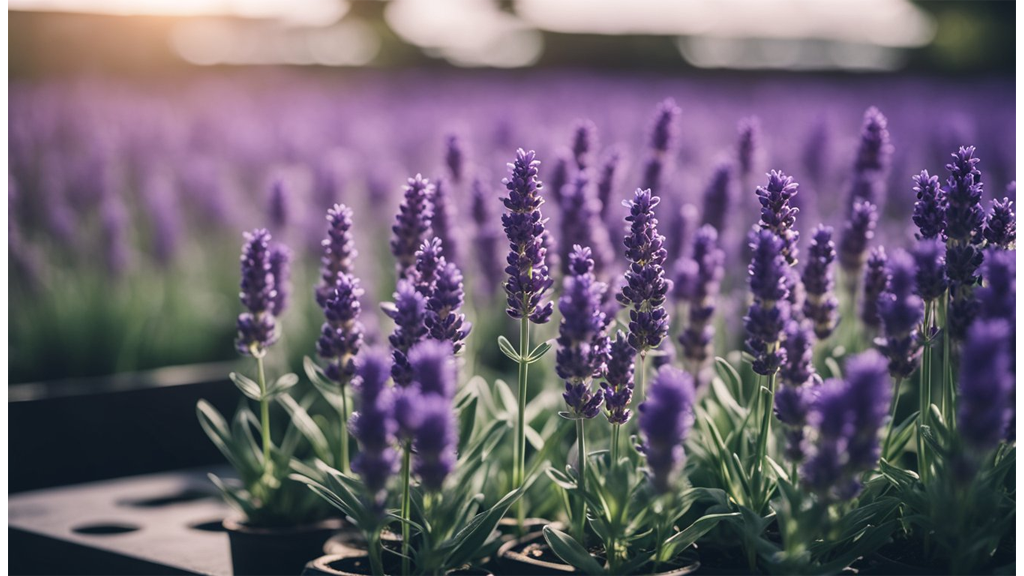
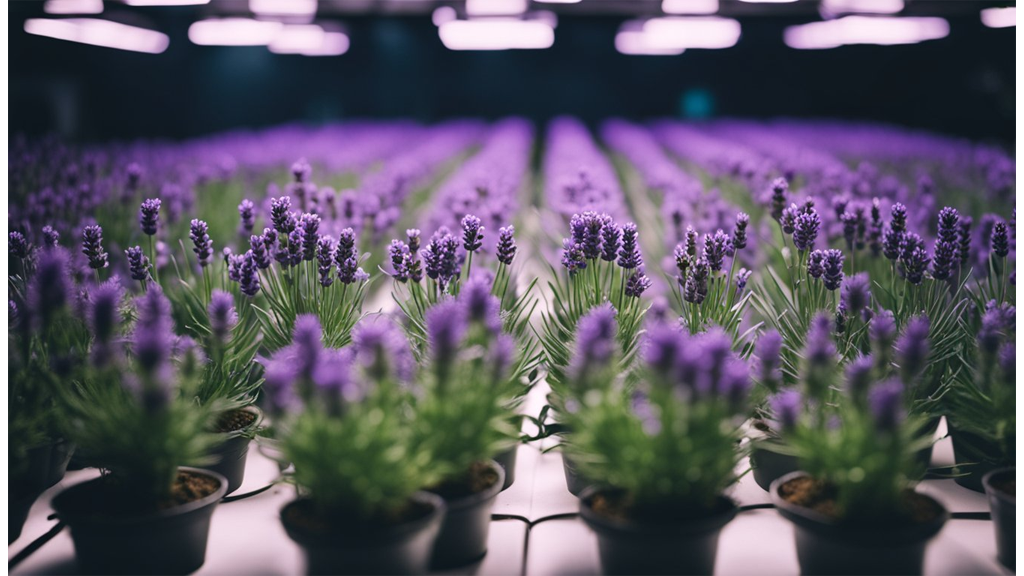
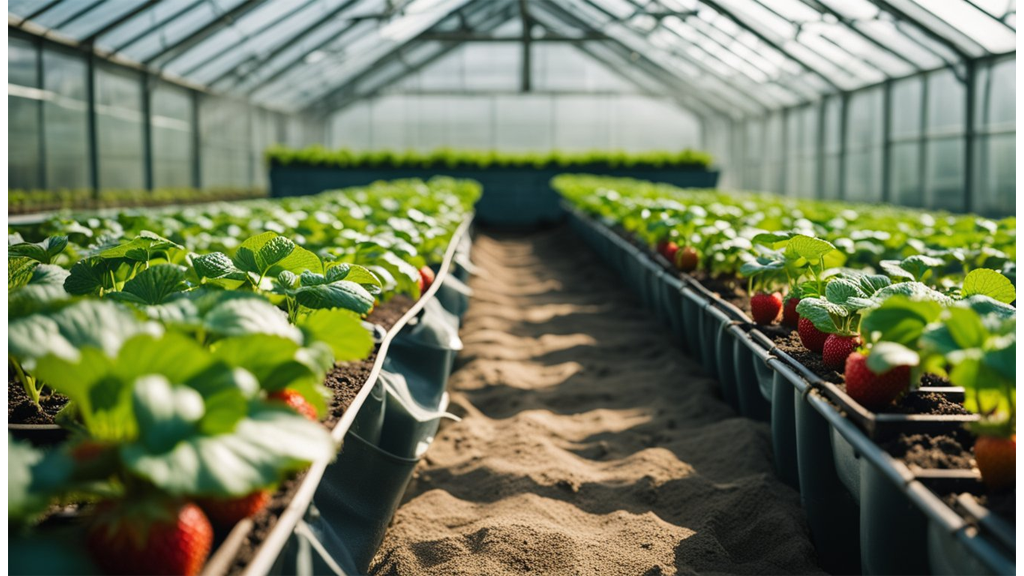
What Is Flushing?
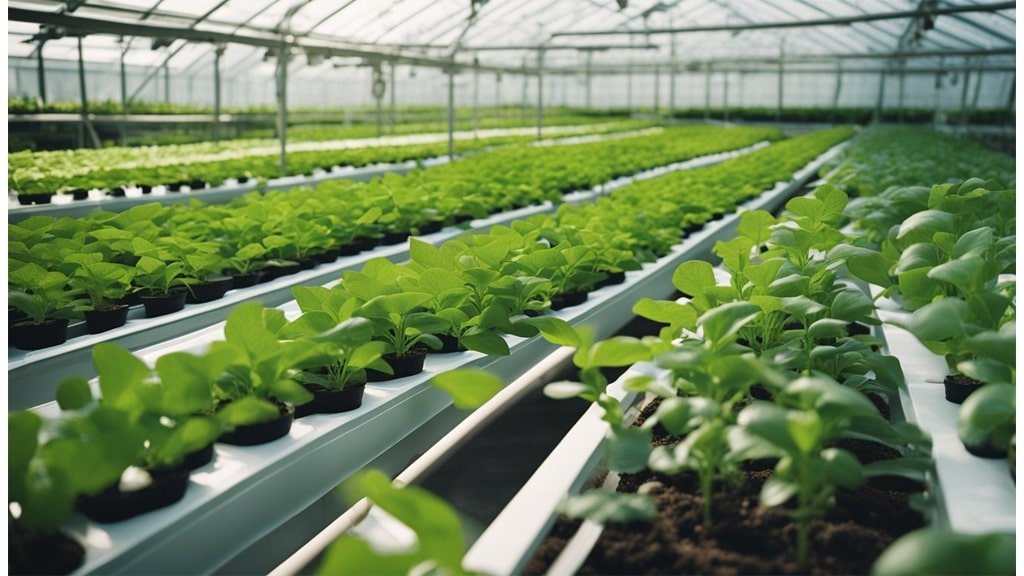
Flushing in hydroponics is the practice of running clean, usually pH-balanced water through our hydroponic systems. The goal is to remove any built-up nutrients, salts, and residues that may have collected in the root zone or the system itself.

When we talk about flushing, we mean more than just changing the water. While regular water changes are part of good maintenance, flushing is a deliberate step using clean water to actively clear out excess nutrients. This process is often called hydro flushing or a nutrient flush.
Why do we flush?
Flushing ensures that plants aren't exposed to a buildup of minerals, which can lead to nutrient lockout or unwanted flavours, especially near harvest time. It also helps us maintain a balanced environment and prevents issues that could affect growth or the quality of our crops.
Here’s how flushing compares in different setups:
| Method | Purpose | Duration |
|---|---|---|
| Hydroponics | Remove nutrients & salts | 2–7 days before harvest |
| Soil Gardening | Rinse out excess fertiliser | 1–2 weeks before harvest |
Flushing is a key part of nutrient management in hydroponic systems. It helps us keep plants healthy and supports cleaner, more consistent results. Unlike in soil gardening, nutrients in hydroponics can build up more rapidly, so flushing is especially important for us.
We use flushing as both a maintenance tool and a pre-harvest step, making sure our plants have what they need and nothing they don't.
Why Flush?
When we talk about flushing in hydroponics, we're referring to running plain water through our system to remove excess nutrients and salts. This process helps prevent nutrient buildup and potential problems that can harm our plants.
Over time, unused nutrients—like potassium, nitrogen, and phosphorus—can accumulate in our growing medium and root zone. This can result in nutrient lockout or toxicity, making it harder for the plants to absorb the macronutrients and micronutrients they need.
Benefits of Flushing:
- Prevents salt accumulation and nutrient toxicity
- Improves nutrient uptake by roots
- Boosts plant health and final product taste
According to Growell and Proponics, letting these nutrients build up can alter the flavour of the final product. Flushing helps produce a cleaner and more pleasant taste.
Here's a quick example in our own experience:
| Problem | Effect | Solution |
|---|---|---|
| Potassium Buildup | Leaf edge burn, stunted growth | Flushing restored normal growth within 48 hours |
| Nitrogen Excess | Dark green, fragile leaves | Water flushing improved plant resilience |
| Phosphorus Imbalance | Poor root development | Flushing corrected uptake issues |
When we flush, we’re giving our plants a fresh start. This enables them to use up stored nutrients and reduces the risk of harmful residues in the harvest. By regularly flushing, we can support stronger plant growth and greater overall health.
When Do Most Growers Flush?
Most growers flush their hydroponic systems at specific points during the growth cycle, primarily right before harvest. It's common to see flushing start during the last 1–3 days before harvesting, especially in hydroponics, because longer flushes can cause premature yellowing of leaves.

Flushing Schedules:
We might see growers follow regular routines, such as flushing:
- Weekly or biweekly, as part of a regular maintenance plan
- After spotting nutrient imbalances, deficiencies, or toxicity
- Right before key cycle transitions, like changing feed or moving to flowering
Here's a quick table for reference:
| Timing | Typical Purpose | Duration |
|---|---|---|
| Final 1–3 days | Remove excess nutrients pre-harvest | 1–3 days |
| After nutrient issues | Correct deficiencies/toxicity | 1–2 days |
| Regular maintenance | Prevent build-up in the system | 1 day or as needed |
Factors like crop type, system size, and the specific feeding schedule we use can affect how long we flush. For instance, leafy greens might need less time than fruiting crops since their nutrient uptake rates differ.
We also pay attention to signs from our plants, such as leaf colour and overall vigour, when deciding when and how long to flush. Many sources suggest that in a typical hydroponic setup, a flush between 1–3 days before harvest is effective, especially if we've kept our nutrients balanced throughout the cycle.
If we use a regular flushing schedule, weekly or biweekly flushes can help keep the system clean and nutrient levels consistent, reducing the risk of salt build-up or lockout.
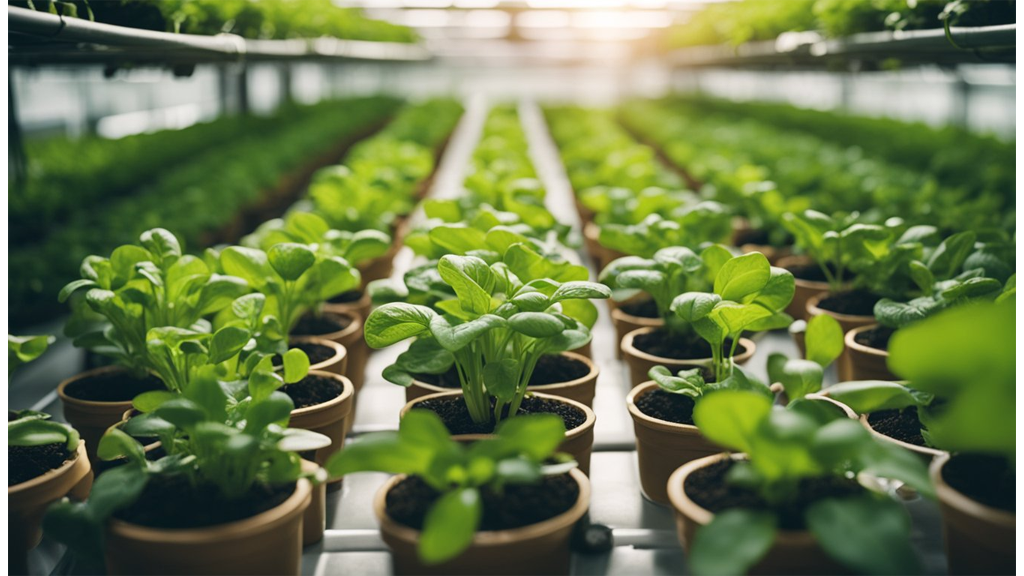
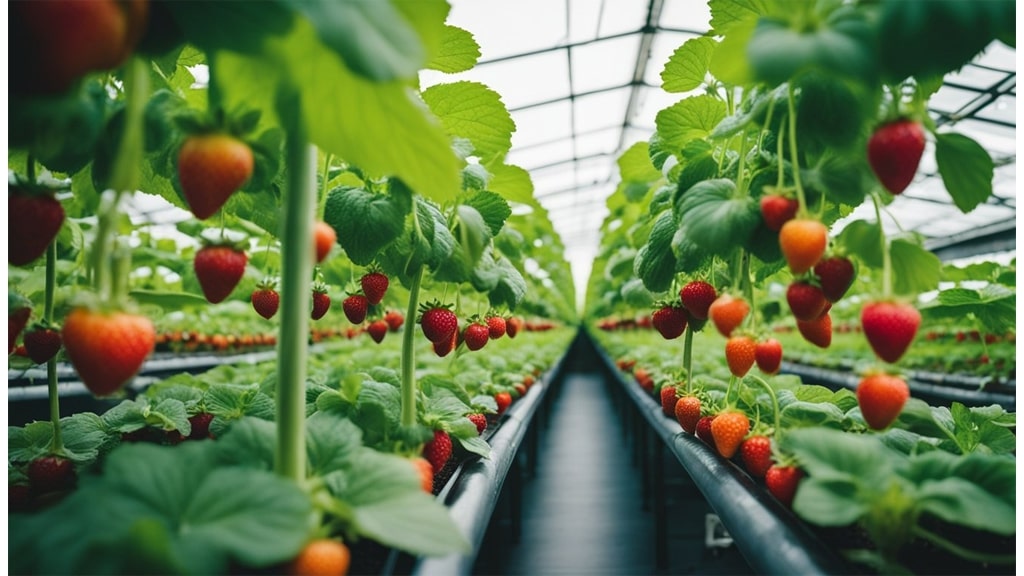
Benefits Of Flushing Before Harvest
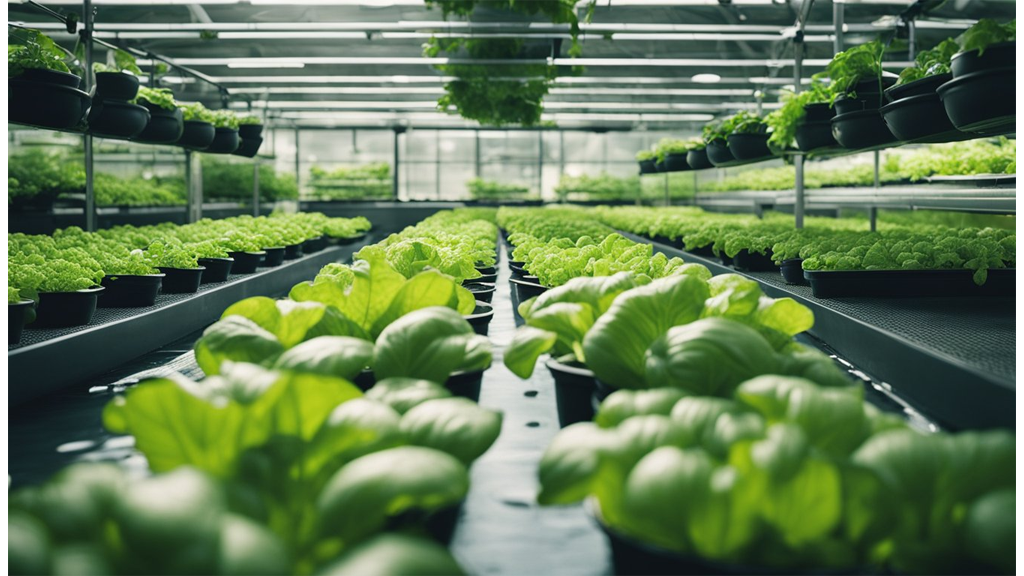
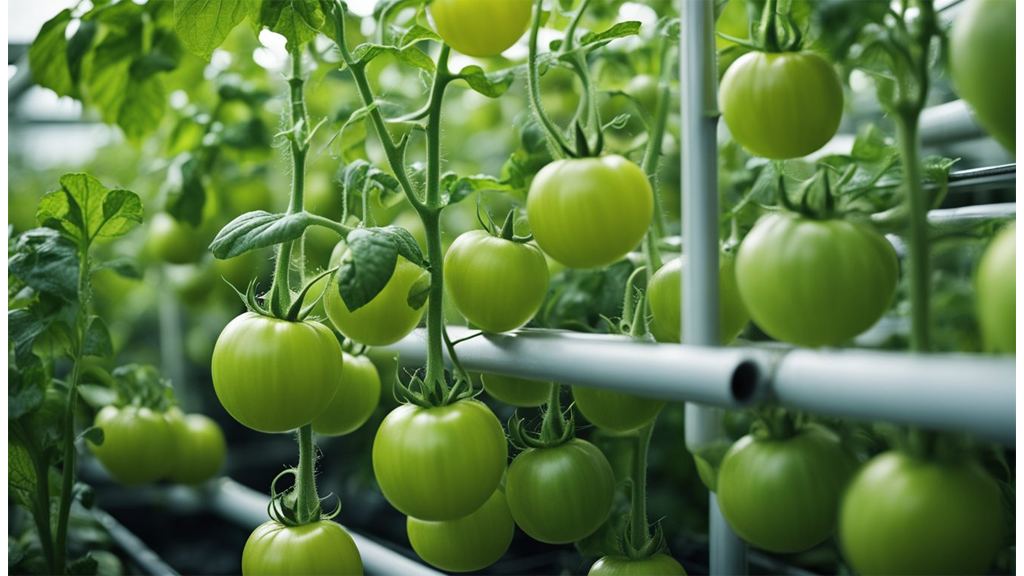
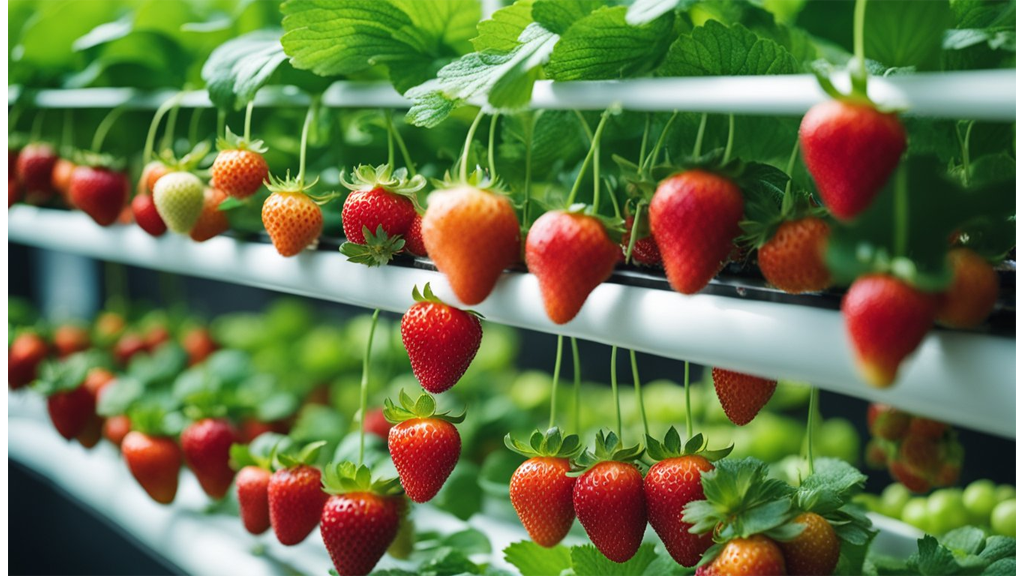
When we flush hydroponic plants before harvest, we allow them to use up any nutrients stored in their tissues. This practice often leads to a cleaner and smoother taste, especially for crops like lettuce or tomatoes, and it’s essential for improving flower quality and reducing harshness.
Many growers notice that flushing helps avoid the build-up of residual nutrients in the edible parts of plants. By running only water through the system, we reduce the risk of an unpleasant chemical taste or texture in our harvests. This can make a significant difference in the final flavour profile and consumer experience.
Let’s look at some key advantages:
- Better Taste and Texture: Removing extra fertilisers before harvest can help us avoid a bitter or metallic taste and improve mouthfeel.
- Cleaner Produce: Flushing helps clean out salts and nutrients, leaving produce fresher and less likely to cause aftertaste.
- Healthier Roots: Reducing salt buildup around the roots minimises root burn and supports root oxygenation, leading to better plant health.
Several growers report noticeable improvements in flavour post-flush. Crops like leafy greens or herbs also tend to have a milder, more natural taste.
Here’s a quick comparison in a table:
| Benefit | With Flushing | Without Flushing |
|---|---|---|
| Taste | Cleaner | Possible residue |
| Texture | Smoother | Variable |
| Root Health | Improved | Risk of salt build-up |
| Plant Cleanliness | Higher | Possible residue |
By tackling over-fertilisation with a flush, we promote higher quality, taste, and texture in our hydroponic harvests and help maintain a clean growing system.
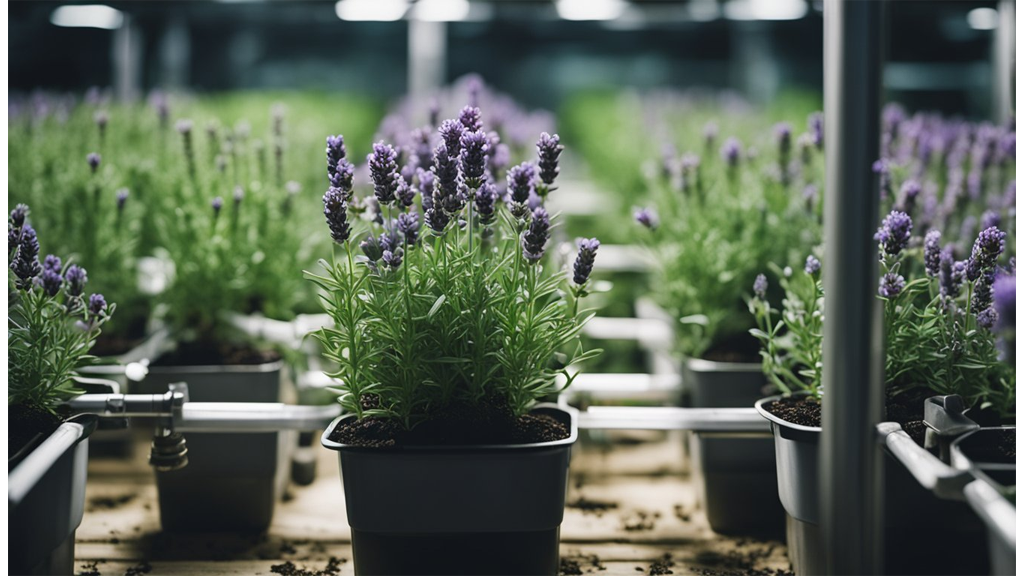
How Do I Flush?
When we flush our hydroponic system, the goal is to remove excess nutrient salts and residues from the nutrient reservoir and root zone. This helps our plants access clean water before harvest or after periods of over-fertilisation.
Here’s a simple step-by-step guide:
- Drain the existing nutrient solution from the reservoir.
- Clean the reservoir and system components, removing any obvious build-up.
- Fill the nutrient reservoir with fresh water. It’s best to use water with a balanced pH between 5.8 and 6.2. Make sure the water temperature is around 18–22°C.
We may use plain water or a mild flushing agent such as Canna Flush. Flushing agents claim to speed up the removal of nutrient residues, but results may vary based on the brand and plant type.
Monitoring matters:
Check the electrical conductivity (EC) of the runoff using an EC meter.
Our goal is to lower EC levels until they are close to those in the fresh flush water, signalling most salts have been removed.
| Flush Additives | Pros | Cons |
|---|---|---|
| Plain Water | Cheap, accessible | May take longer |
| Flushing Agent | May work faster | Extra cost, mixed evidence |
Different hydroponic systems need slight adjustments:
- NFT & DWC: Simply replace the nutrient solution with flush water.
- Ebb & Flow: Run flush cycles as normal, but only with water or flush agent.
We always double-check pH and EC during the process. Useful tools include pH testers, EC meters, and nutrient calculators. Frequent monitoring helps us track progress and avoid over-flushing.
Should I Always Flush At The End Of A Crop?
When we reach the end of a hydroponic crop cycle, many growers wonder if a final flush is always required. Flushing typically means running plain water—without nutrients—through the system for a set period before harvesting.
Arguments for doing a final flush include:
- Preventing nutrient buildup and salt residues in the growing medium or system
- Helping prepare our system for the next crop and reducing the risk of pests and diseases
Removing excess nutrients at the end can improve the overall condition and taste of our crops, but timing is crucial. If we flush too early, plants can suffer from nutrient deficiencies, which might reduce yield or quality.
Arguments against unnecessary flushing:
- Flushing too often or too early may mean our plants don’t get the nutrition they need during their vital finishing phase
- It can lead to a waste of water and nutrients, especially if there’s no actual salt buildup or residue issue
Alternatives to routine flushing include:
- Performing regular system resets between crops rather than just before harvest
- Routine water changes throughout the crop cycle
It’s helpful to check our plants and measure nutrient buildup before deciding on a final flush. Some growers find that short-cycle crops especially benefit from this, while others get good results without it under proper management.
A quick reference table:
| Benefit of Flushing | Drawback of Flushing |
|---|---|
| Reduces salt buildup | Can cause deficiencies |
| Cleans the system | May waste resources |
| Prepares for next crop | Not always needed |
By weighing these points, we can decide when a final flush makes sense for our system and plants.
Any Downsides To Flushing?
When we talk about flushing in hydroponics, it's important to remember that it isn't without risks. Flushing too aggressively, or for too long, can stress our plants. This can lead to slower growth or even a reduction in flower and resin production, especially if we remove nutrients the plants still need.
One of the biggest issues is the potential for nutrient deficiencies. By flushing our system with de-mineralised water or reverse osmosis water, we can wash away iron, zinc, and other essential chelates. This might cause our crops to show signs of malnutrition or missed nutrient uptake, particularly in soilless mix or clay pebbles setups.
Salt build-up is a common reason we might consider flushing, but if we flush excessively, we risk stripping the substrate—rockwool or clay pebbles—of both good nutrients and bad buildup. As a result, we may end up with imbalances that affect plant health and final quality if not managed carefully.
We also need to consider the environmental impact. Flushing uses a significant amount of water, especially if we're trying to remove excess salts or dissolved solids. This increase in water waste is something to be mindful of, as it can affect our sustainability goals.
To avoid these downsides, let's keep these tips in mind:
- Only flush when necessary (such as pre-harvest or to correct excess nutrients).
- Monitor electrical conductivity (EC) levels before and after flushing.
- Observe our plants’ response for any signs of deficiency.
- Avoid routine flushing—use it as a precise correction tool, not a standard practice.
By following these steps, we can minimise risks and still keep our hydroponic systems clean and healthy.
Conclusion
Flushing is a useful tool in hydroponics, especially when managing excess nutrients or preparing plants for harvest. However, it’s not always mandatory for every system or crop.
We need to consider the specific needs of our system, the crop type, and the stage of growth before deciding to flush. For instance, some studies indicate that flushing doesn’t significantly change yield or plant profile, particularly in certain setups.
Key things to assess before flushing:
- Is our crop showing signs of nutrient excess?
- Are we using mineral-based or organic nutrients?
- What stage of growth are our plants in?
From Hyjo’s experience spanning 40 years, the best approach is to:
- Flush strategically, not routinely.
- Monitor plants and water quality closely.
- Keep the system clean to support healthy root growth and optimal yields.
It’s helpful to remember that what works for one grower might not work for everyone. We encourage experimenting with flushing practices and keeping notes on the results.
By staying attentive and flexible, we can find the right balance for our own hydroponic gardens.